












Profile links are usually a row of small icons in a header or footer — simple to describe and fiddly to build evenly by hand.
The Social Icon block builds that row from a list, with shared sizing, spacing and hover behaviour.
Before You Start
- Edition: Free — works in Nexter Blocks (free) and with Nexter Blocks Pro.
- Block to enable: Social Icon, switched on under Nexter > Blocks in your WordPress dashboard.
- The profile URLs you want to link to.
Video Tutorial

Steps
- Add the Social Icon block to your page.
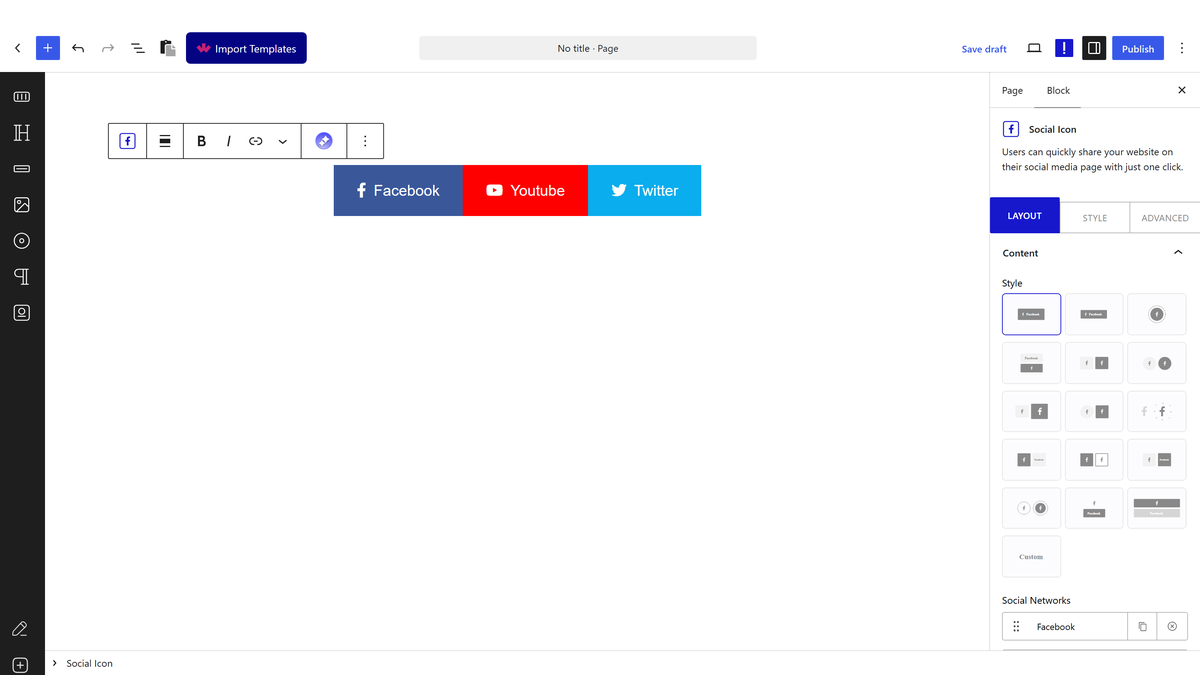
- Add one entry per network and choose its icon.
- Enter the profile URL for each one.
- Choose a style and a hover effect.
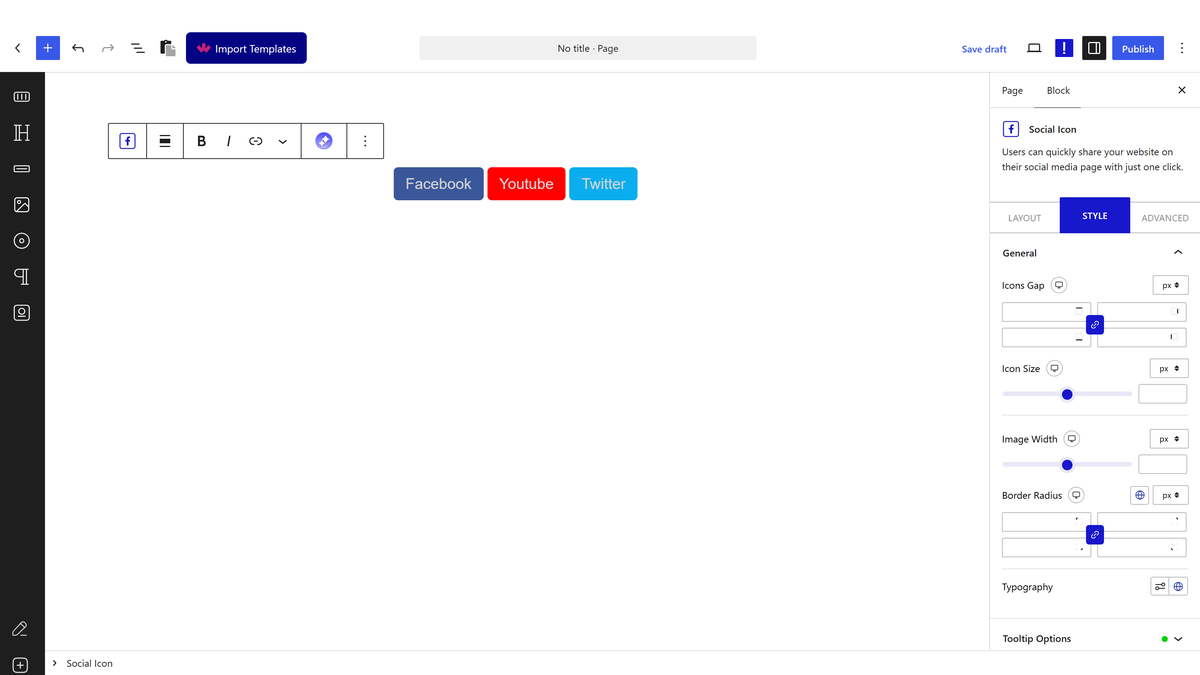
- Set size, spacing and alignment, then publish and test each link.

How It Behaves
The block renders a list of linked icons, each one pointing at the profile URL you give it. These are profile links — they are not share buttons.
- Three networks are there out of the box — measured on a default block: Facebook, Youtube and Twitter, each rendered as a link.
- The style changes the layout, not just the colours. Measured on the same three icons: the default style rendered 68 pixels tall and style 3 rendered 120.
- The hover effect is applied as a class — measured, it does not change the block’s size, so switching effects will not reflow your layout.
- Each icon is its own link, so you can point them at different networks, or at the same network’s different pages.
- Measured with Nexter Blocks Pro deactivated: this block renders identically. It is a free block.
Limitations
- These link to your profiles; they do not share the page. For share buttons use the Social Sharing block, which builds each network’s share URL from the current page.
- Every icon needs its URL set individually — an entry with no URL is still rendered and still looks clickable.
- Icons alone are not labelled for screen readers. Give each link a label so the destination is announced.
- The block does not check that a URL is a valid profile — a typo simply leads nowhere.
Troubleshooting
An icon goes nowhere when clicked
That entry has no URL, or has a typo. Each icon takes its own link; check them one at a time.
I want share buttons, not profile links
This is the wrong block — it links to your profiles. Use the Social Sharing block, which builds a share link for the page it sits on.
The row is too tall after changing the style
Styles differ in height. Measured on three icons: the default rendered 68 pixels and style 3 rendered 120. Pick another style or reduce the icon size.
The icons are not centred
Set the alignment on the block rather than on the container around it.
