












A heading is not just large text — the tag you give it tells search engines and screen readers how the page is organised.
The Heading block keeps that control in one place: the text, its tag, an anchor to link to, and an optional link on the heading itself.
Before You Start
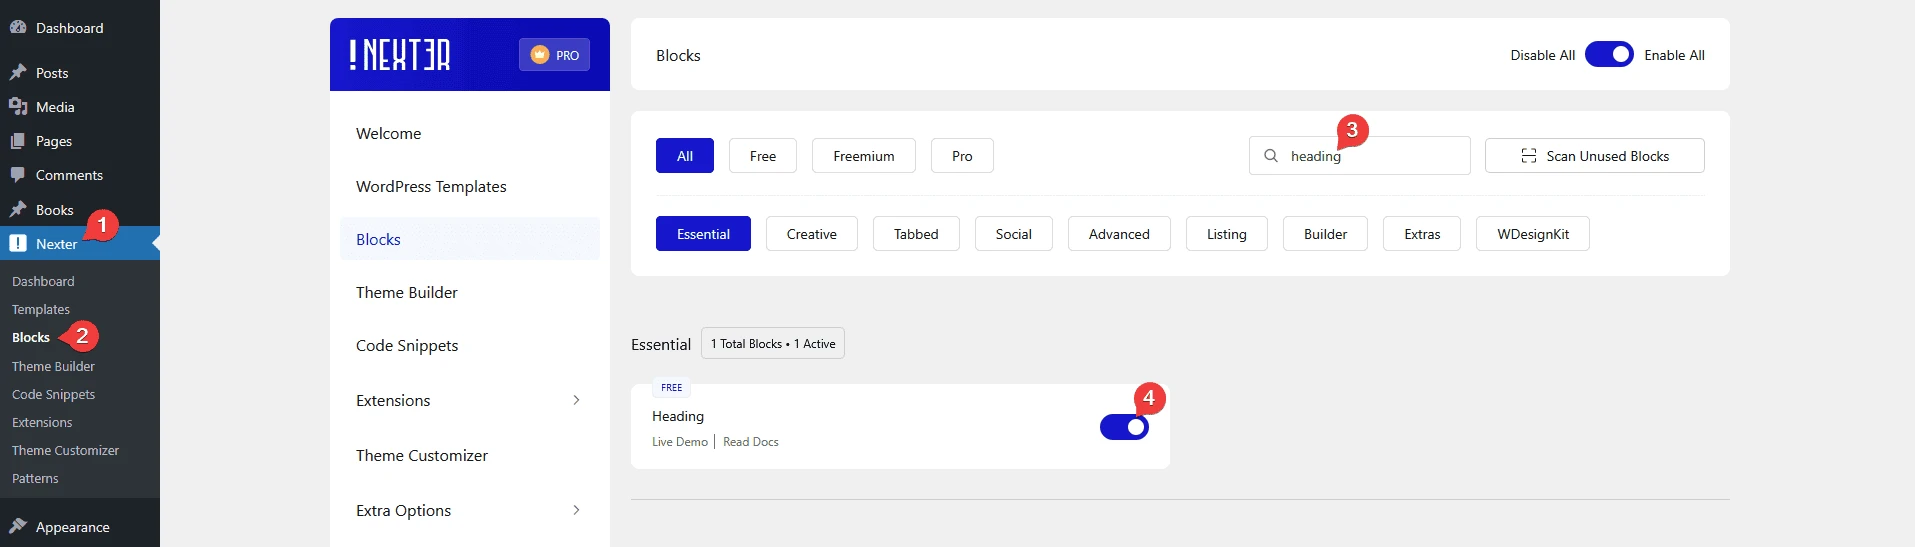
- Edition: Free — works in Nexter Blocks (free) and with Nexter Blocks Pro.
- Block to enable: Heading, switched on under Nexter > Blocks in your WordPress dashboard.
Video Tutorial
Steps
- Add the Heading block to your page.
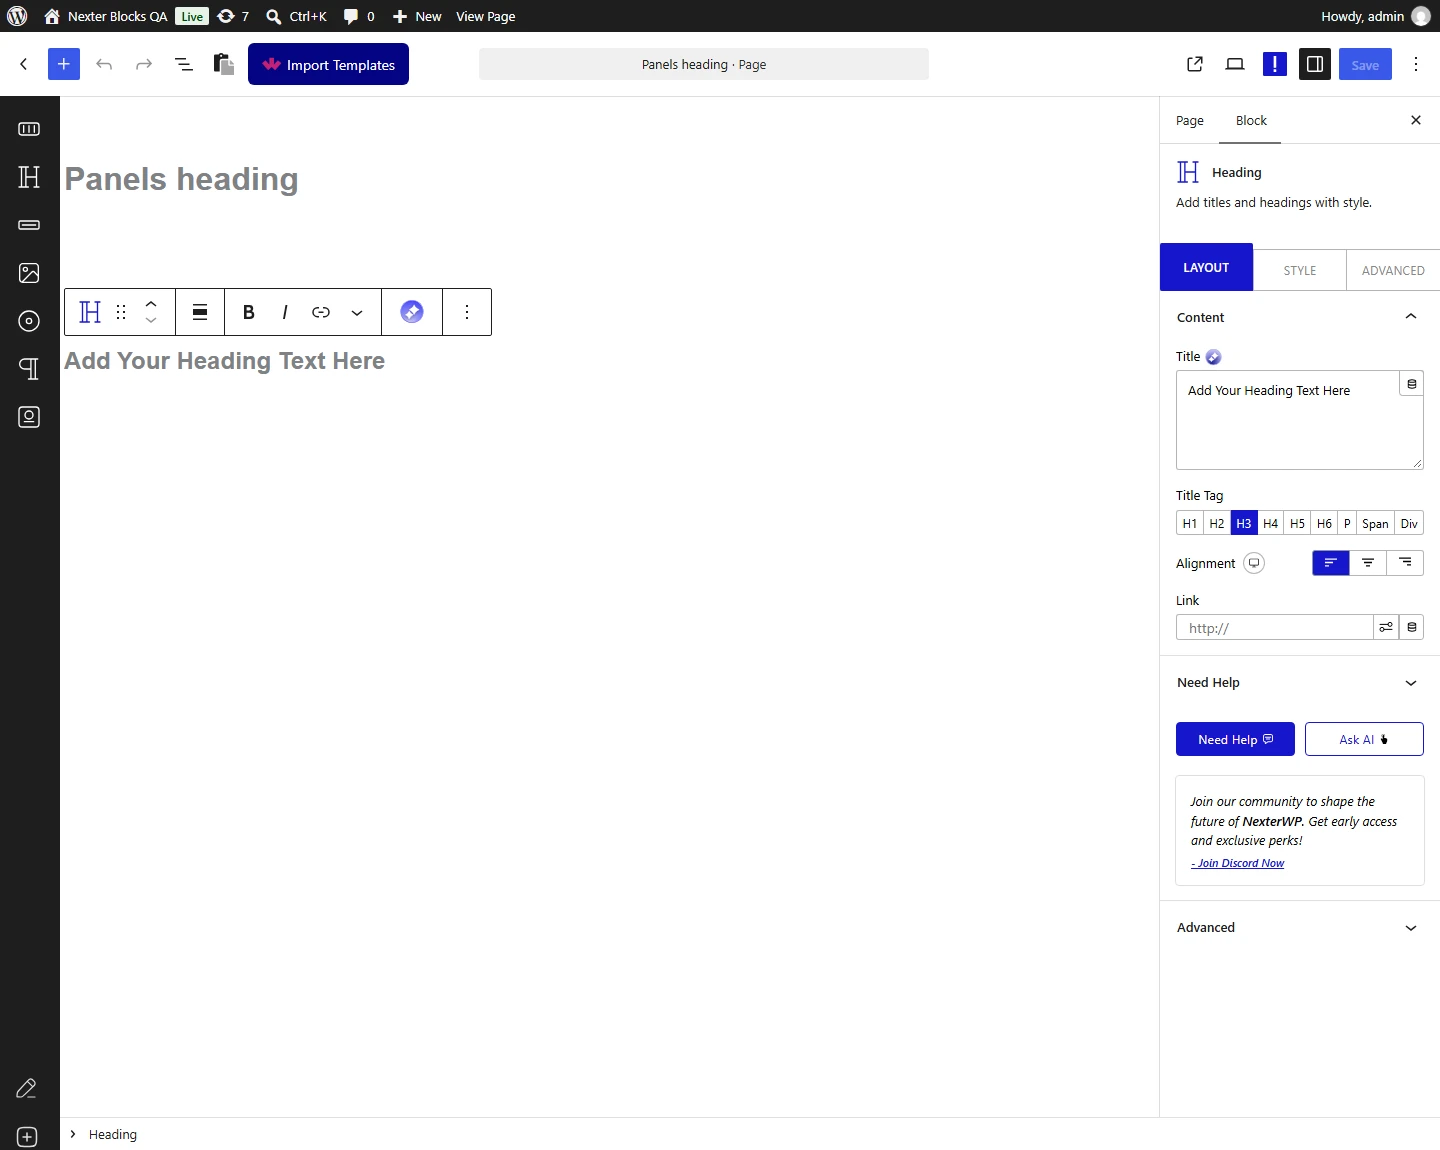
- Type your heading text.
- Choose the HTML tag — H1 to H6.
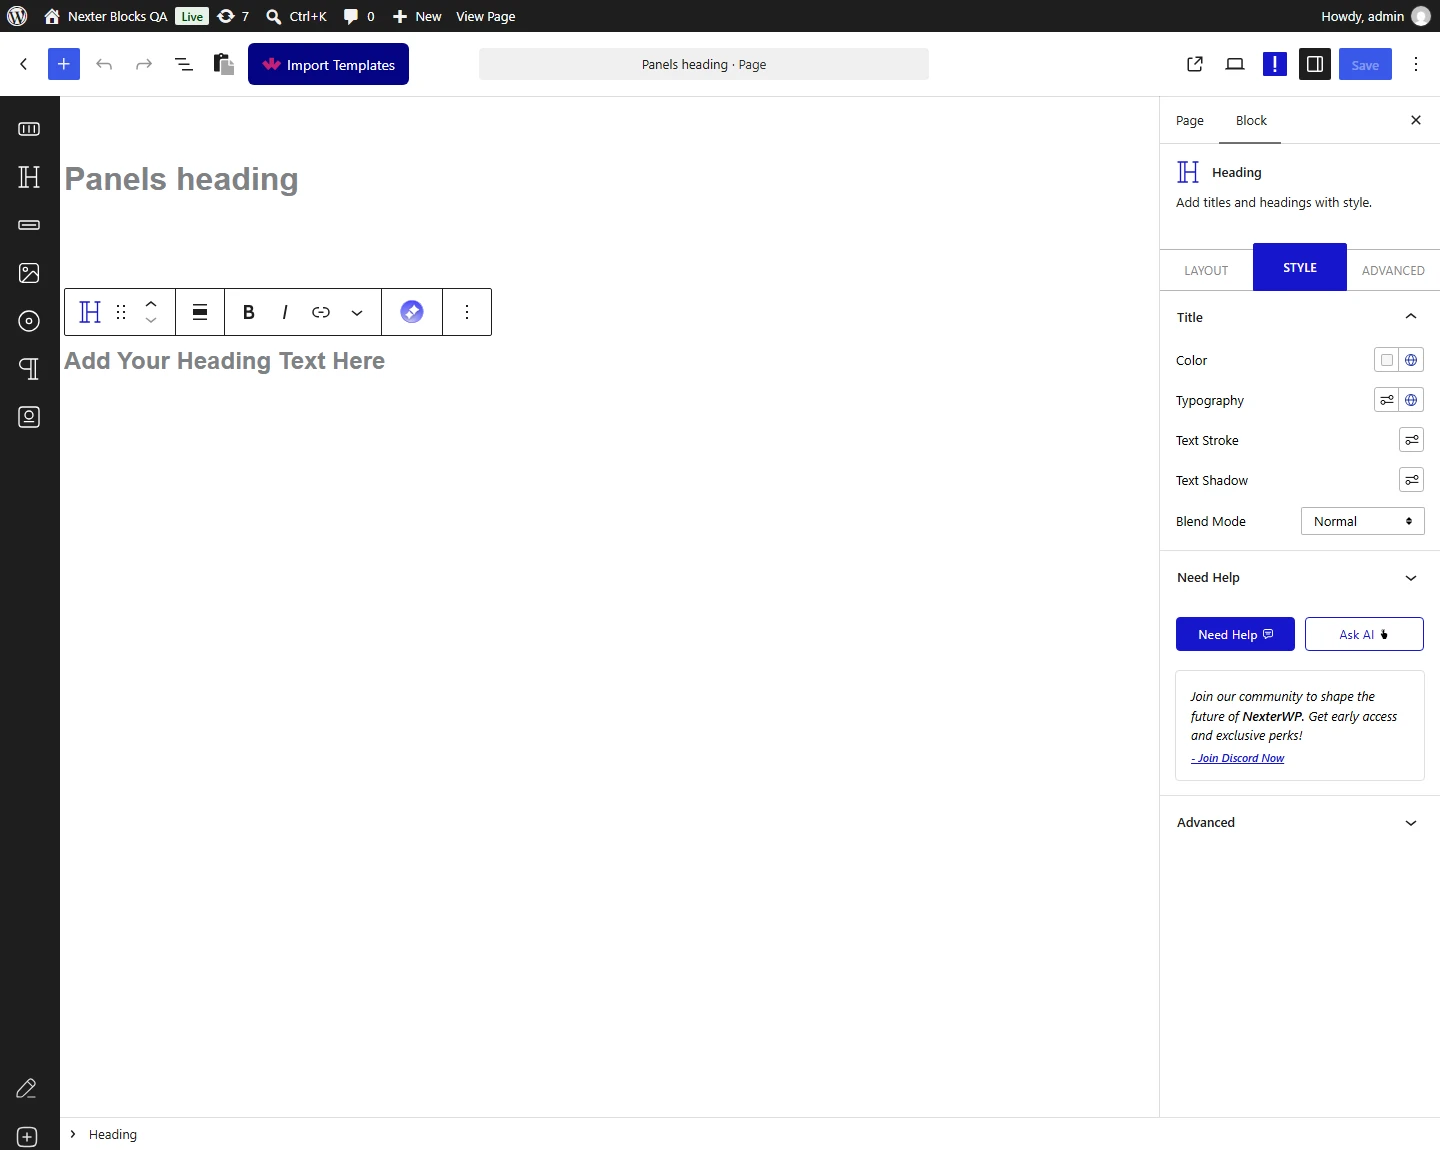
- Set the alignment, colour and typography.
- Add an Anchor under Advanced if you want to link to this heading.
How It Behaves
The Heading block renders a single heading element with the tag you choose, so it fits the page’s outline rather than just looking the right size.
- The tag is real, not cosmetic. Measured on published pages: H1 rendered
<h1>, H6 rendered<h6>, and the default is<h3>. - The Anchor becomes the element’s id — measured, an anchor of
my-idrenderedid="my-id", so#my-idlinks to it. - A link wraps the whole heading. Measured: the heading element is placed inside the link, and open in new tab is honoured.
- Measured with Nexter Blocks Pro deactivated: this block renders identically. It is a free block.
Limitations
- One heading per block. For a heading with a sub-title, separator or animation, use the Advanced Heading block instead.
- Keep one H1 per page and step the rest down in order — the block will let you set any tag, including several H1s, which harms the page outline.
- Styling is per block; for site-wide heading styles use your theme or global styles.
Troubleshooting
My heading is the right size but the wrong tag
Size and tag are separate. Set the tag for meaning and use typography for size — measured, the block renders whichever tag you pick regardless of how it looks.
My anchor link does not jump to the heading
Check the Anchor value has no # in it and matches the link exactly. Measured: the anchor is written as the element’s id.
The whole heading is clickable and I did not want that
A link on the block wraps the entire heading. Clear the link field to remove it.
I need a sub-heading underneath
This block holds one heading. Add a paragraph below it, or use the Advanced Heading block which has a sub-title built in.
