




A custom taxonomy is your own way of grouping content — Property Types, Cuisines, Departments — working the way categories and tags already do.
What It Does
Taxonomies give you term archives, filtering and proper queries. That is the difference between a taxonomy and a select field: WordPress can query a taxonomy, and editors can manage its terms themselves.
Before You Start
- Nexter Extension is installed and active.
- Content Fields is enabled under Nexter → Content Fields.
- You have a field group, or are about to create one.
Create a Taxonomy
- Go to Nexter → Content Fields and open the Taxonomies tab.
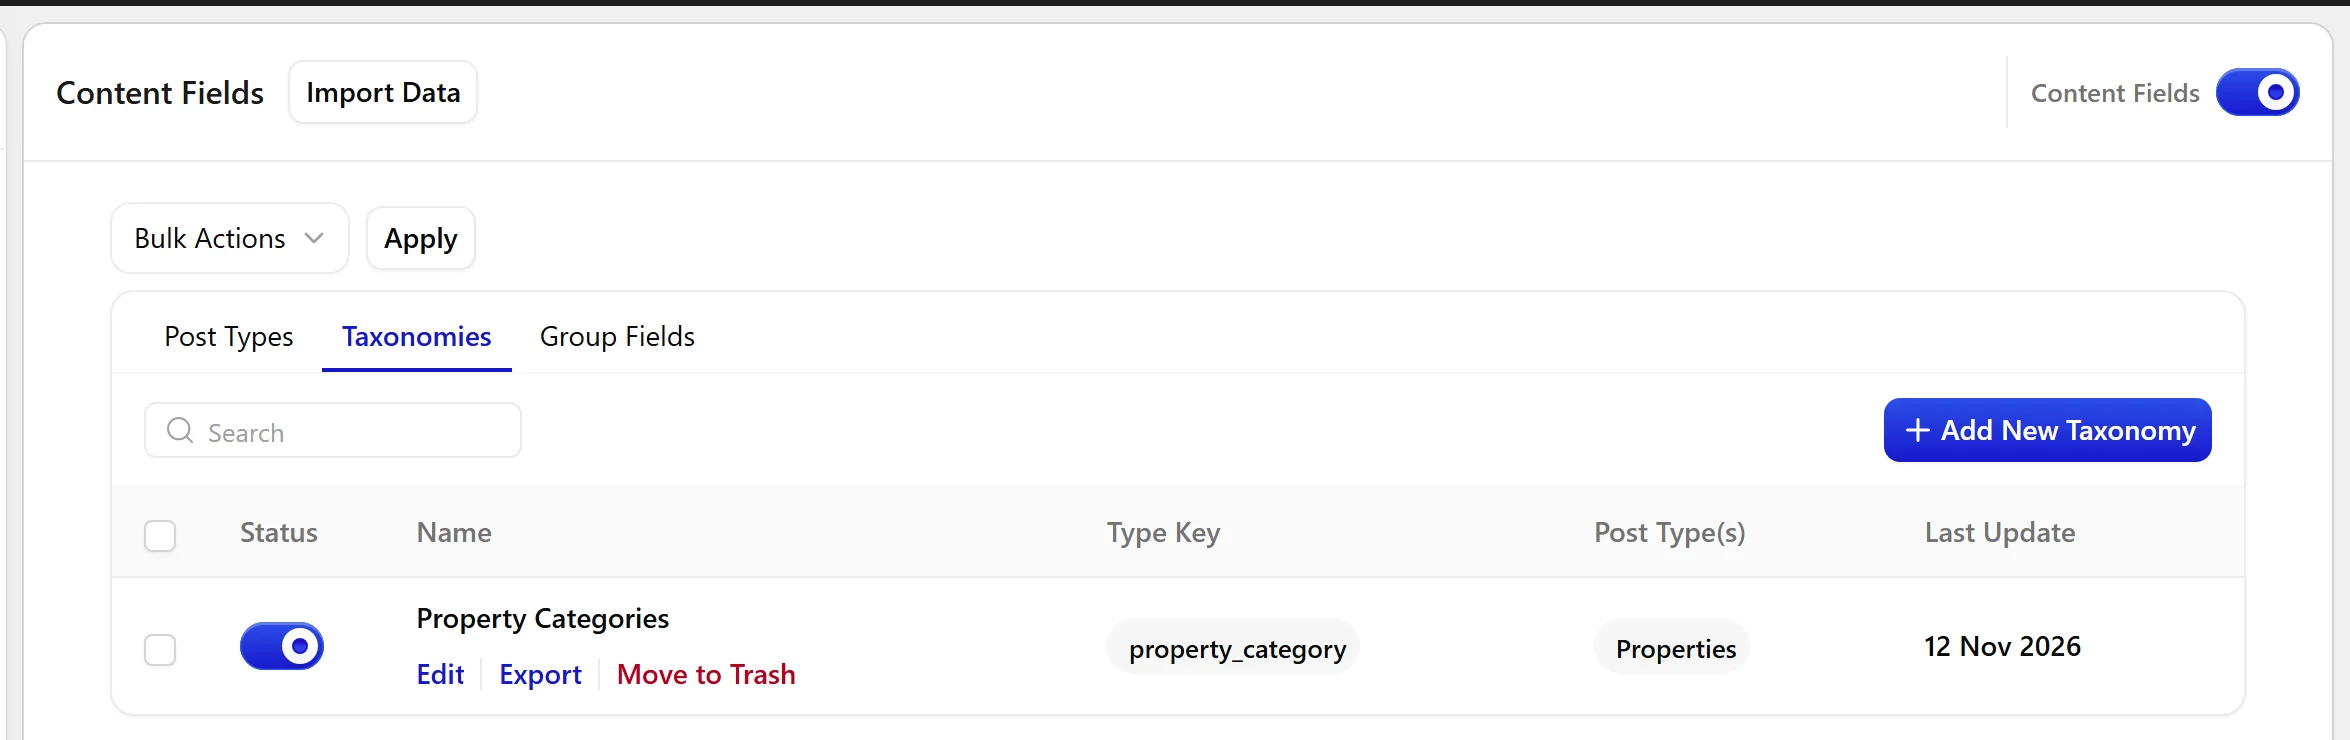
- Add a new taxonomy and enter its plural and singular labels.
- Set the taxonomy key. As with post types, treat this as permanent.
- Choose which post types it applies to.
- Decide whether it is hierarchical — like categories, with parents — or flat, like tags.
- Decide whether it is shown in REST, which it must be to appear in the block editor.
- Save, then open a post of that type and look for the new box.
When to Use It
- Property Types on a listings site.
- Cuisine and Course on a recipe site.
- Department on a team directory.
Limitations
- A taxonomy that is not shown in REST will not appear in the block editor, even though it exists.
- Hierarchical or flat is a presentation and query choice; switching later does not reorganise terms already assigned.
- The key is effectively permanent — term relationships are stored against it.
Troubleshooting
The taxonomy box is missing in the block editor
Turn on Show in REST. The block editor reads taxonomies through the REST API and ignores any that are not exposed.
Term archive pages 404
Save Settings → Permalinks once to flush rewrite rules.
