




Posts and pages do not fit everything. A custom post type gives properties, recipes or team members their own place in the admin, with their own list screen and their own fields.
What It Does
Content Fields registers the post type for you. No register_post_type() call, no theme edits — and because the definition is stored by Nexter, it survives a theme change.
Before You Start
- Nexter Extension is installed and active.
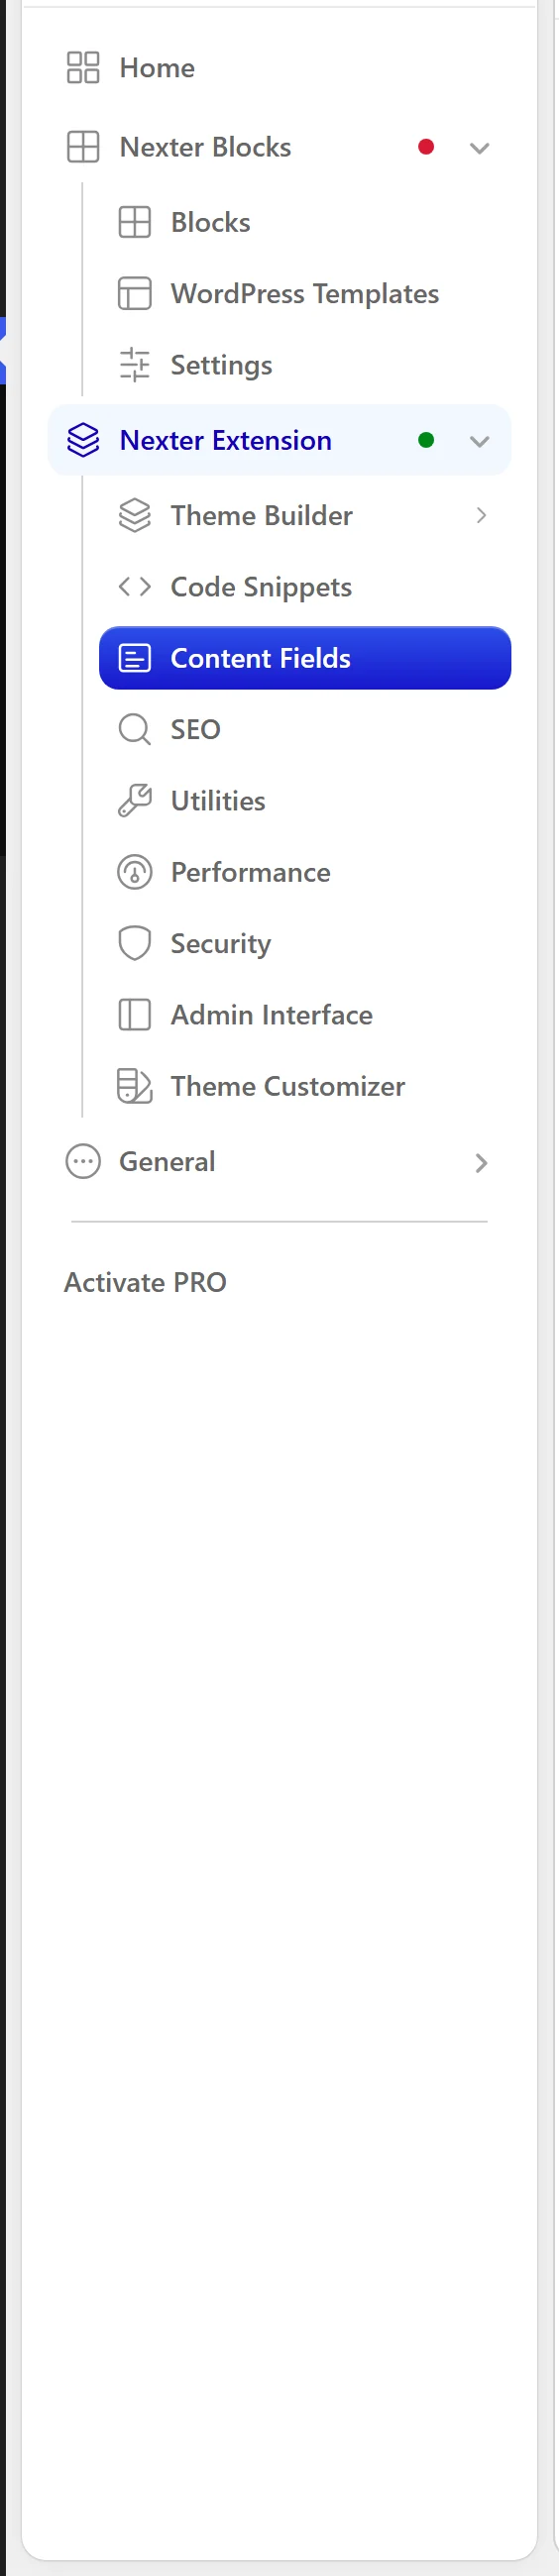
- Content Fields is enabled under Nexter → Content Fields.
- You have a field group, or are about to create one.
Create a Post Type
- Go to Nexter → Content Fields and open the Post Types tab.
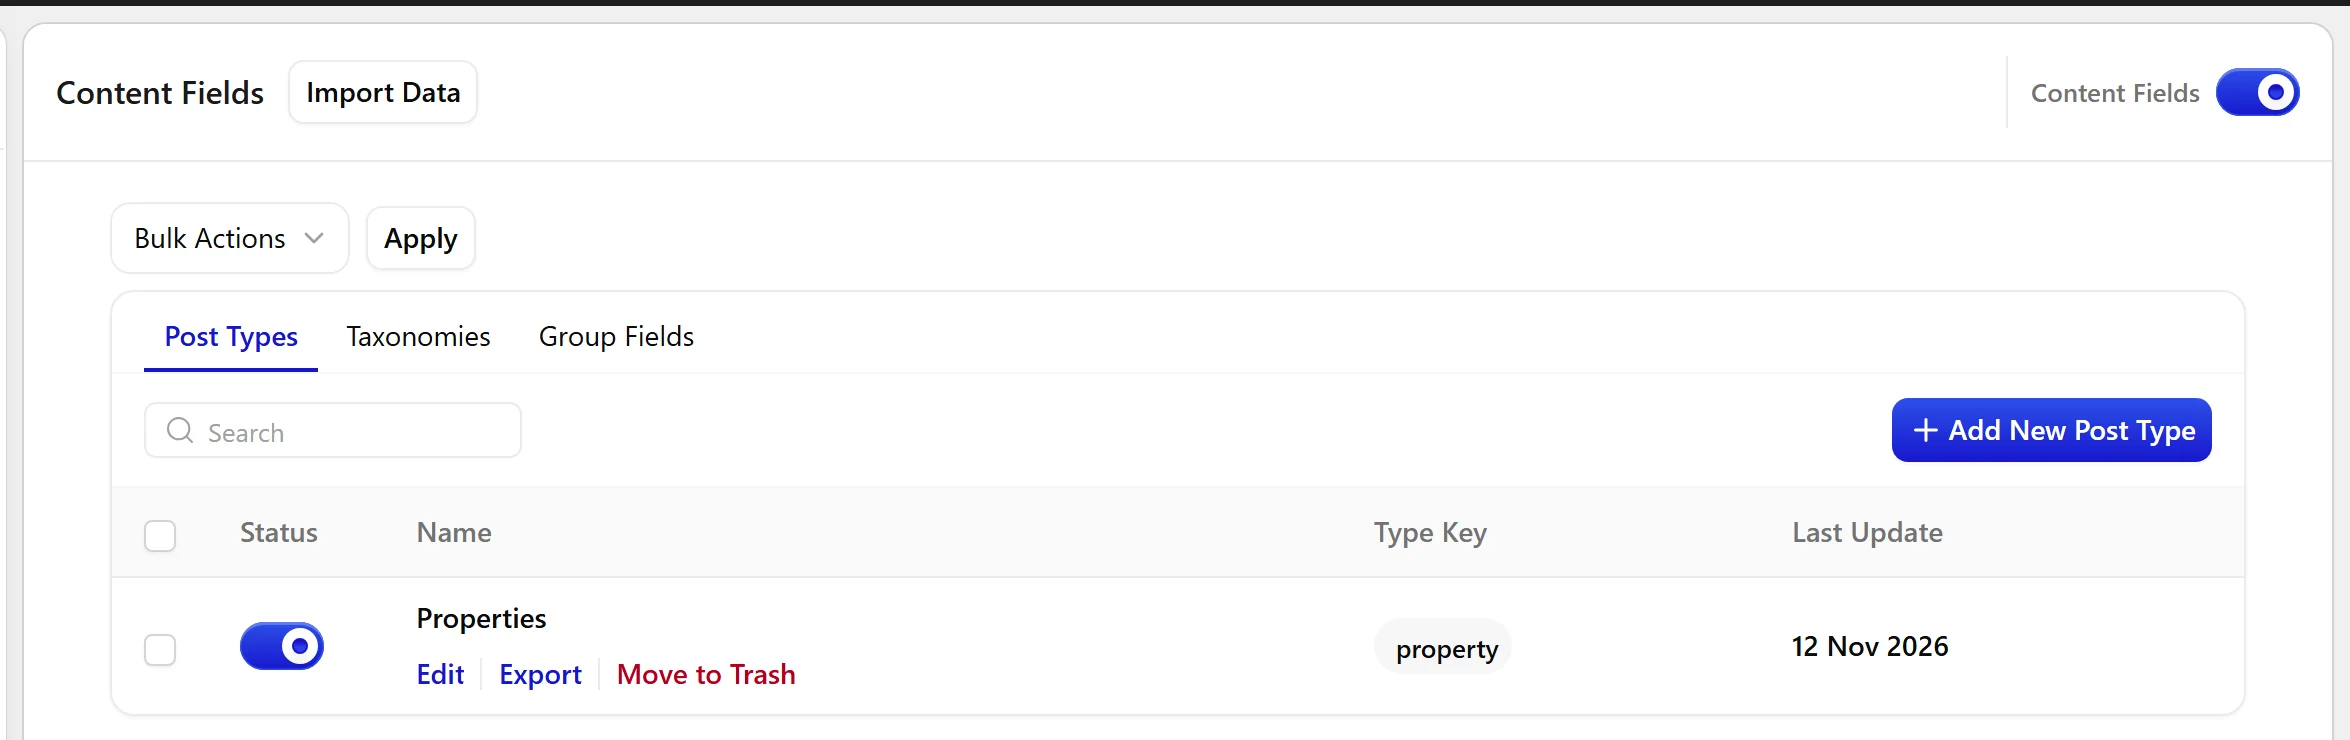
- Click Add New Post Type.
- Enter the plural and singular labels — for example Properties and Property.
- Set the post type key. This is permanent in practice: changing it later orphans every post already created under the old key.
- Choose which editor features it supports — title, editor, thumbnail, excerpt and so on.
- Decide whether it is public, has an archive, and is shown in REST.
- Save, then look for the new menu item in the admin sidebar.
When to Use It
- Property or product listings.
- Recipes, events, case studies.
- Any repeating content that is not a blog post.
Limitations
- The post type key is effectively permanent. Posts are stored against it, so renaming it hides them.
- A key must be 20 characters or fewer and cannot collide with a WordPress reserved name such as
post,pageorattachment. - Turning off public hides the type from the front end entirely, including its archive.
Troubleshooting
The archive URL 404s
Rewrite rules need flushing after a post type changes. Open Settings → Permalinks and save once — you do not need to change anything.
The menu item did not appear
Reload the admin. If it is still missing, check the type is set to public and that the key does not clash with an existing post type.
