












A section heading is rarely just a heading. There is usually a small label above it, a line of explanation below, sometimes a rule between the two — and each of those is normally a separate block to align and maintain.
The Advanced Heading puts all of them in one block, with nine ready-made arrangements.
Before You Start
- Edition: Free — works in Nexter Blocks (free) and with Nexter Blocks Pro.
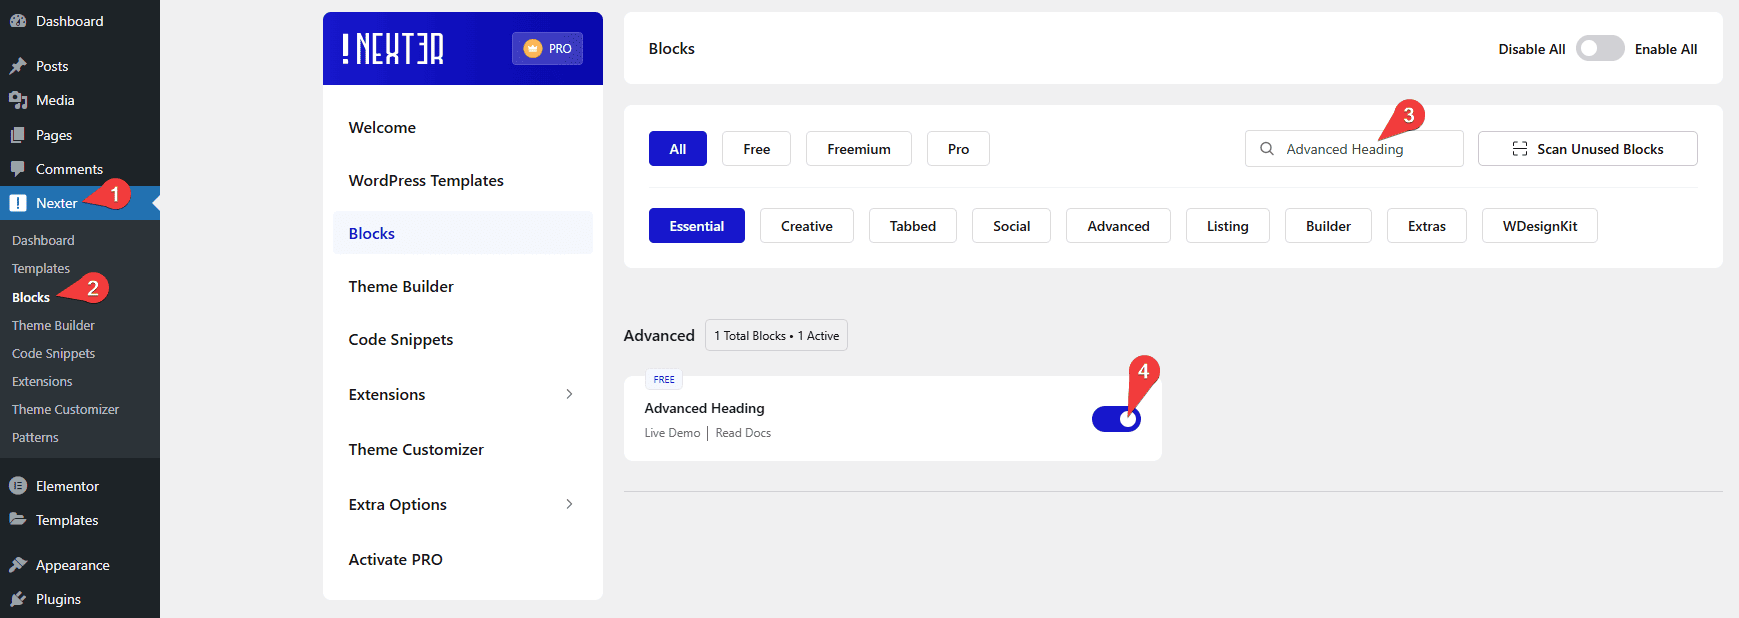
- Block to enable: Advanced Heading, switched on under Nexter > Blocks in your WordPress dashboard.
Video Tutorial

Steps
- Add the Advanced Heading block to your page.
- Type your Title, and choose its heading tag — H1 to H6.

- Add a Sub Title if you want one, and choose whether it sits above or below the title.
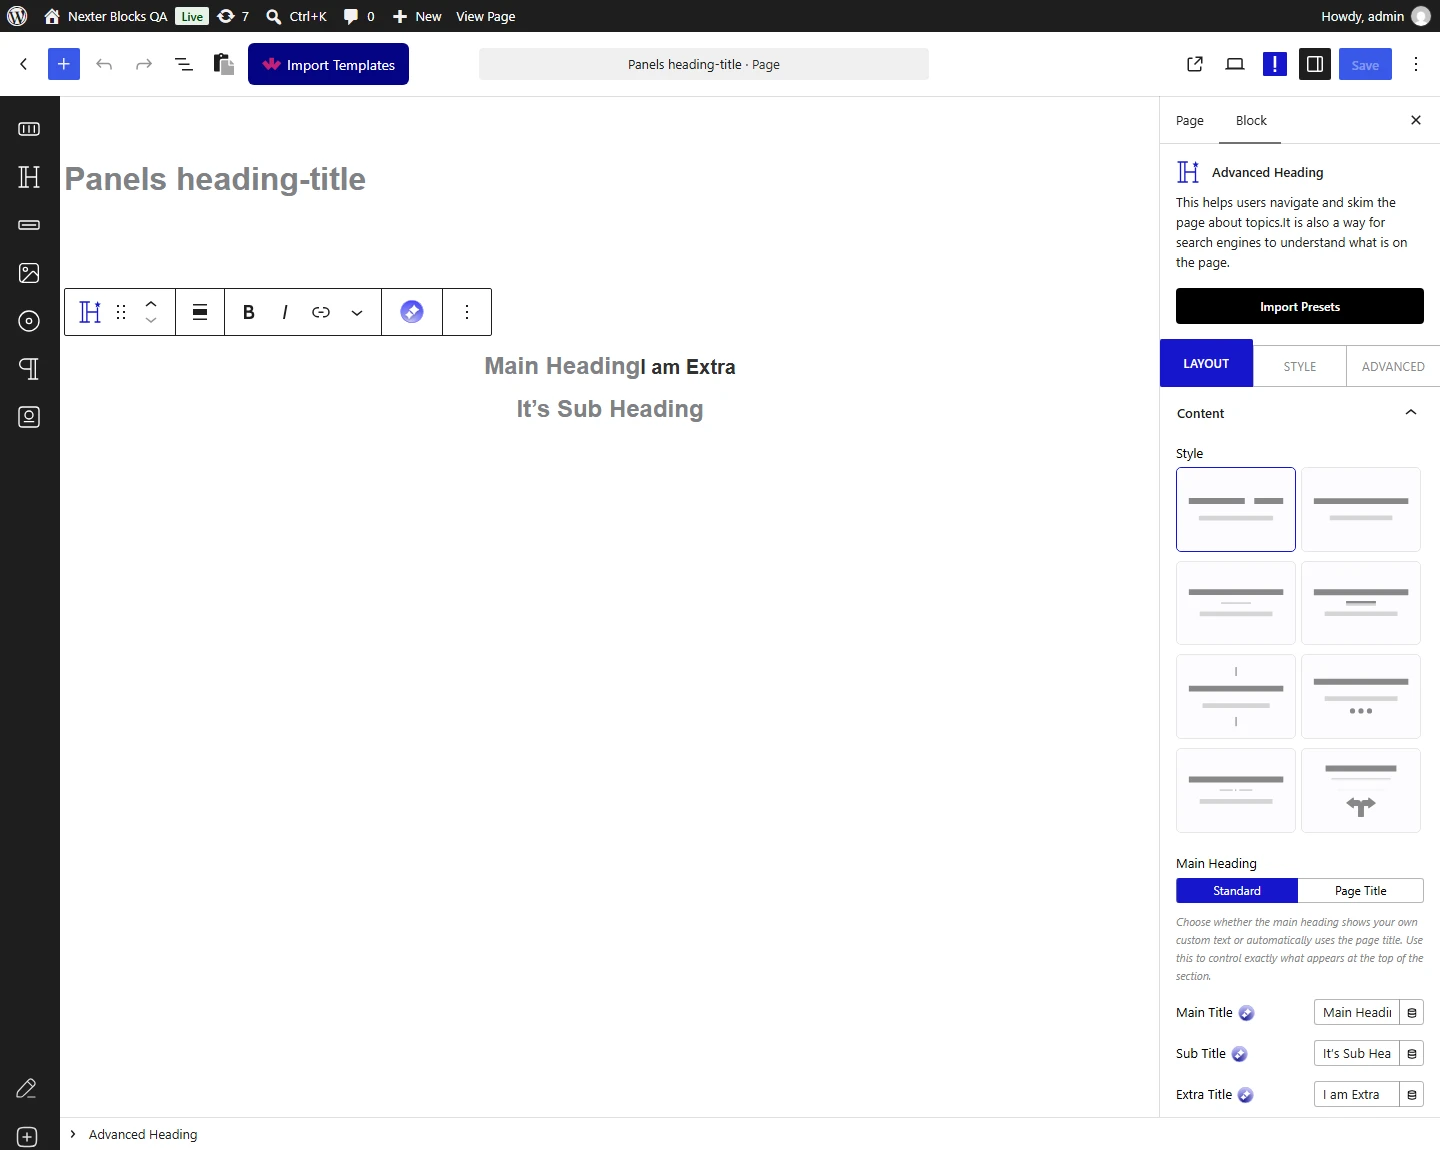
- Pick a Style. Styles 3 and 8 add a separator, style 5 adds vertical rules, and style 9 is the animated one.
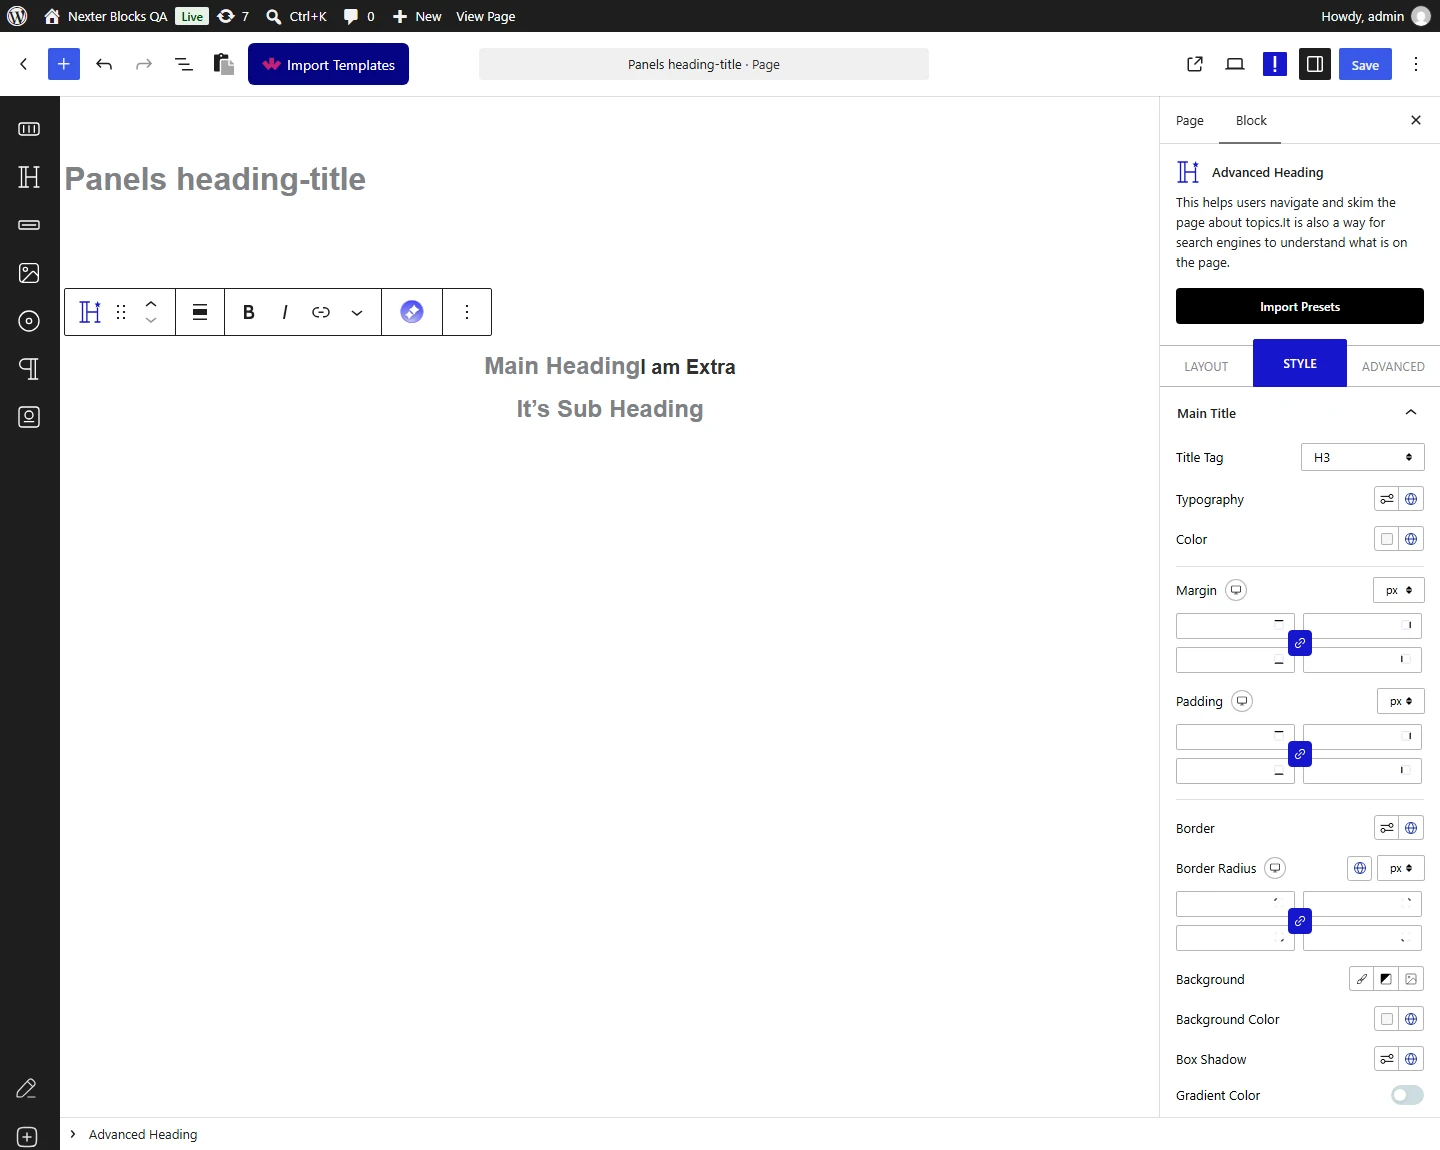
- Style the text and publish.
The character limit counts bytes, not characters, so it is unsafe for non-English titles. Measured with the limit set to 8: an English title was cut to 8 characters correctly, an accented title was cut to only 5, and a Hindi title came out with a broken character on the page. Use Word rather than Character for any title that is not plain English — measured, word mode left the same Hindi title completely intact. This is reported to the development team.
How It Behaves
The Advanced Heading block is a heading with the parts a designed heading usually needs — a title, a sub-title, a small extra label, a separator and a link — in one block, with nine styles to arrange them.
- The heading tags are yours to choose. Measured: setting the title to H1 and the sub-title to H2 rendered exactly those tags — so keep one H1 per page and step the rest down in order.
- The sub-title can sit above or below. Measured in both positions; the order in the page changes, not just the appearance.
- The Extra Title is style 1 only. Measured: the same text rendered inside the heading in style 1 and was not rendered at all in style 3.
- Separators belong to particular styles — measured, style 3 renders the image separator, style 8 the dot separator, and style 5 two vertical rules.
- Heading Type can pull the page’s own title. Measured: setting it to Page replaced the typed title with the name of the page the block sits on — useful in a template, where one block then titles every page correctly.
- A link wraps the whole heading, and open-in-new-tab is honoured — measured.
- The Anchor becomes the block’s id, so you can link to the heading from elsewhere on the page.
Style 9 shows the title only. Measured with a sub-title and an extra title both filled in: neither appeared anywhere on the page. If you need a sub-title, use one of the other styles.
Limitations
- The character limit counts bytes, not characters, so it is unsafe for non-English titles. Measured with the limit set to 8: an English title was cut to 8 characters correctly, an accented title was cut to only 5, and a Hindi title came out with a broken character on the page. Use Word rather than Character for any title that is not plain English — measured, word mode left the same Hindi title completely intact. This is reported to the development team.
- Style 9 shows the title only. Measured with a sub-title and an extra title both filled in: neither appeared anywhere on the page. If you need a sub-title, use one of the other styles.
- The Extra Title is style 1 only. Measured: the same text rendered inside the heading in style 1 and was not rendered at all in style 3.
- This is not the Heading Animation block. They are different blocks — see the Heading Animation guide for the one that cycles through several phrases.
- Measured with Nexter Blocks Pro deactivated: the block renders identically. It is a free block.
Troubleshooting
My heading is cut off in the wrong place
The character limit counts bytes, not characters, so it is unsafe for non-English titles. Measured with the limit set to 8: an English title was cut to 8 characters correctly, an accented title was cut to only 5, and a Hindi title came out with a broken character on the page. Use Word rather than Character for any title that is not plain English — measured, word mode left the same Hindi title completely intact. This is reported to the development team.
My sub-title disappeared
You are probably on style 9. Measured: it renders the title only, and drops both the sub-title and the extra title without warning.
The Extra Title is not showing
The Extra Title is style 1 only. Measured: the same text rendered inside the heading in style 1 and was not rendered at all in style 3.
The separator is missing
Separators are style-specific. Measured: style 3 has the image separator and style 8 the dot separator; the other styles render none.
The heading shows the page name instead of my text
Heading Type is set to Page. Measured, that replaces the typed title with the current page’s title. Set it back to Default.
