---
title: "How to Add a WordPress Timeline?"
url: https://nexterwp.com/docs/add-a-wordpress-timeline/
date: 2024-12-04
modified: 2026-08-18
author: "Aditya Sharma"
description: "Using the timeline style lets you present a chronological sequence of events in a visually appealing and organized way. This format makes it easier for users to follow along with..."
image: https://nexterwp.com/wp-content/uploads/2024/12/How-to-Add-a-WordPress-Timeline_-1024x519.jpg
word_count: 884
---

# How to Add a WordPress Timeline?

## Key Takeaways

- Nexter Blocks requires the default WordPress Block editor, the Nexter Blocks plugin, and the PRO version to use the Timeline block.
- Nexter → Blocks lets a user search for Timeline and activate the block before adding it to a page.
- Timeline block offers two preset styles, a button option, and WordPress Pattern support.
- Start Pin and End Pin support None, Icon, Image, and Text options for building a timeline with custom pin content.

Using the timeline style lets you present a chronological sequence of events in a visually appealing and organized way. This format makes it easier for users to follow along with the progression of events, enhancing clarity and engagement on your website.

With the Timeline block from Nexter Blocks, you can easily show events in a timeline in your WordPress website.

[LIVE BLOCK LINK](https://nexterwp.com/nexter-blocks/blocks/wordpress-timeline/)

## Required Setup

- Make sure the default WordPress Block editor is active. 

- You need to have the [Nexter Blocks](https://wordpress.org/plugins/the-plus-addons-for-block-editor/) plugin installed and activated.

- This is a Premium block, and you need the [PRO version of Nexter Blocks](https://nexterwp.com/pricing/?utm_source=tpag&utm_medium=docs&utm_campaign=text).

- Make sure the Timeline block is activated, to verify this visit Nexter → Blocks → and Search for Timeline and activate.

## Learn via Video Tutorial

https://www.youtube.com/watch?v=YKpxOZqyF10

## How to activate the Timeline Block?

Go to 

- **Nexter **→ **Blocks **

- **Search **the block nameand**turn on the toggle**.

![](https://nexterwp.com/wp-content/uploads/2024/12/timeline-activation-new.png)

## Key Features

- **Two Preset **- You can select from two preset styles.

- **Button** - You can easily [add a button in the timeline](https://nexterwp.com/docs/add-a-button-in-wordpress-timeline/).

- **WordPress Pattern** - You can use a WordPress Pattern in the timeline.

## How to Use the Timeline Block?

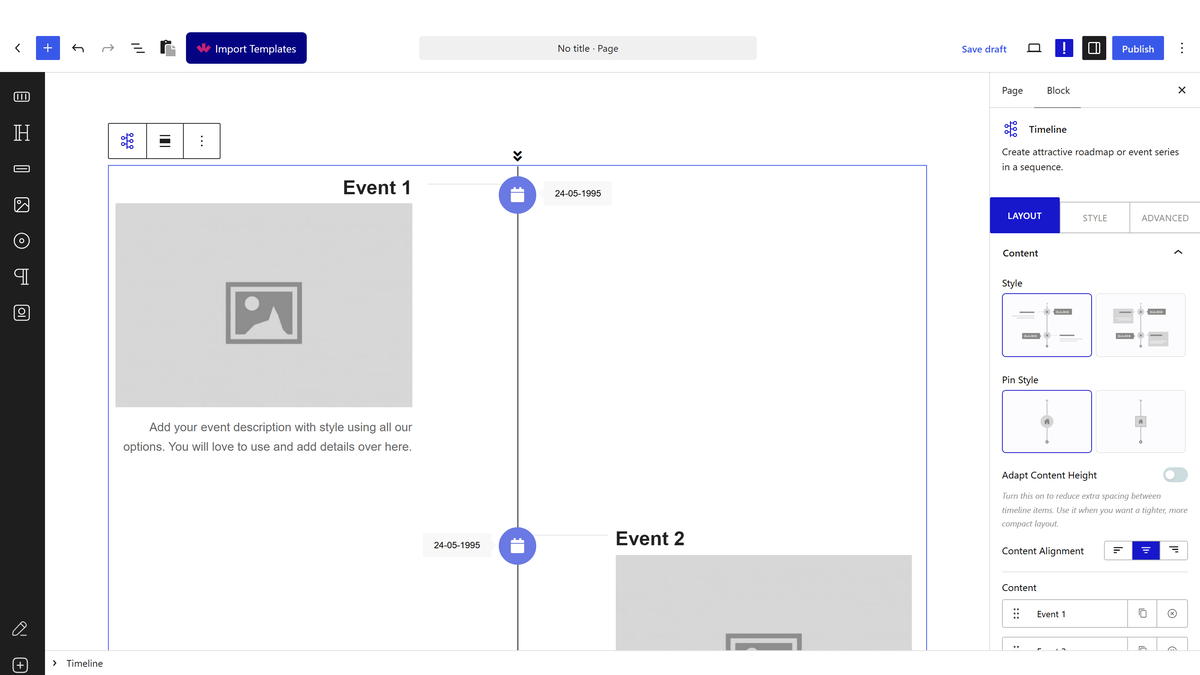
Add the Timeline block to the page.

### Content

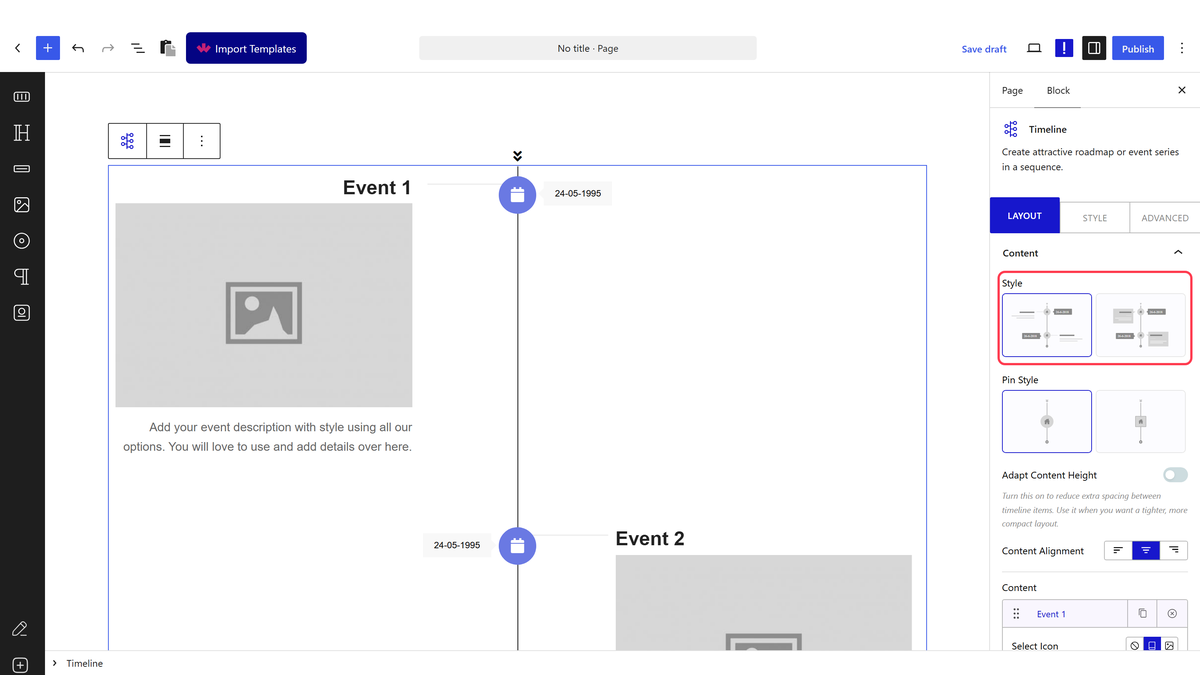
From the **Style** section, you have to select a predefined style.

![](https://nexterwp.com/wp-content/uploads/2024/12/timeline-content.gif)

Then, from the **Pin Style** section, you can select a predefined style for the pins.

By enabling the **Adapt Content Height** toggle, you can make the timeline items spacing more compact.

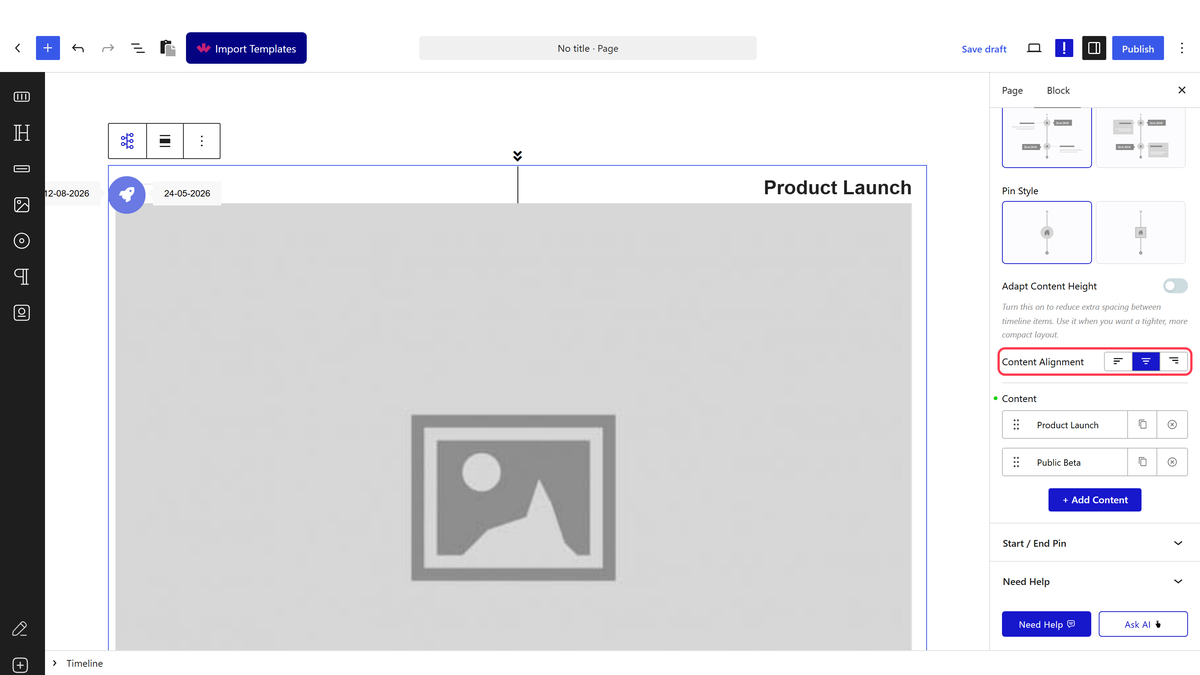
From the **Content Alignment** section, you can align the timeline items.

Then from the **Content** section, here you’ll have to add the timeline content. You’ll find two repeater items by default, open one item - 

From the **Select Icon** section, you can add an icon or image to the timeline pin. Here you’ll find three options - 

- **None** - This won’t add any icon or image to the pin.

- **Icon** - With this option, you can add an icon to the pin.

- **Image** - With this option, you can add an image to the pin.

Select the option as per your requirements, let’s select Icon here. 

> *Note: Based on the selected option you’ll find different options to add the icon or image.*

From the **Icon Font** dropdown, you can select the icon library.

Then, from the **Icons** section, you have to select the icon.

In the **Pin Title** field, you can add the pin title.

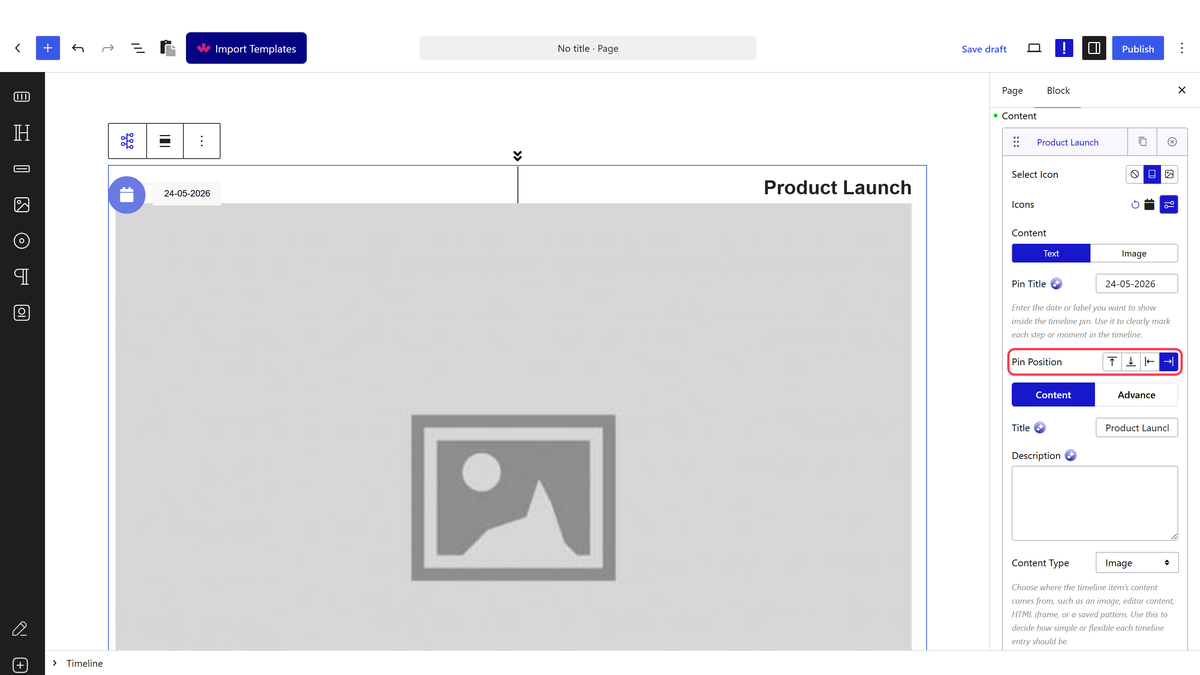
From the **Pin Position** dropdown, you can set the pin position.

You can add the title for the timeline item in the **Title** field under the **Content** tab.

Then, in the **Description** section, you can add the timeline item description.

From the **Content Type** dropdown, you can select different content types for the timeline item. Here you’ll find four options - 

- **Image** - To add an image after the title of the timeline item.

- **Iframe/HTML** - To [add an iFrame or HTML content after the title of the timeline item](https://nexterwp.com/docs/add-iframe-content-in-wordpress-timeline/).

- **Editor** - With this option, you can add content directly from the editor.

- **Pattern** - To [use a WordPress Pattern in the timeline item](https://nexterwp.com/docs/use-a-wordpress-pattern-in-a-timeline/).

Select the option as per your requirements, let’s select Image here.

In the **Featured Image** section, you have to add the image.

From the **Image Size **dropdown, you can select the image size.

You can add a link to the timeline item from the **Custom URL** field. 

From the **Display Button** toggle, you can [add a button to the timeline item](https://nexterwp.com/docs/add-a-button-in-wordpress-timeline/).

Then, from the **Advanced** tab, you can align the timeline item content from the **Alignment** section.

From the **Section Alignment** section, you can change the timeline item position to left or right in the timeline.

Then, from the **Top Offset Space** section, you can add top spacing to the timeline item for responsive devices. 

Following this process, you can edit the other item.

You can click the **+ Add Content** button to add more timeline items.

### Start / End Pin

From the **Select Icon** section, under the **Start Pin** tab, you can add a starting pin in the timeline. Here you’ll find four options - 

- **None** - This won’t add any starting pin.

- **Icon** - With this option, you can add an icon as the starting pin.

- **Image** - With this option, you can add an image as the starting pin.

- **Text** - With this option, you can add text as the starting pin.

![](https://nexterwp.com/wp-content/uploads/2024/12/timeline-start-end-pin.png)

Select the option as per your requirements, based on your selection you’ll find different options to add the content.

Similarly, from the **End Pin** tab, you can add an end pin in the timeline.

## How to Style the Timeline Block?

To style the Timeline block, you’ll find all the options in the Style tab. 

**Loop Pin **- From here, you can style the timeline pin title and pin icon.

![](https://nexterwp.com/wp-content/uploads/2024/12/timeline-style.png)

**Title **- From here, you manage the timeline title typography, color and border for normal and hover states.

**Content **- From here, you can manage the title content typography and color.

**Button Options** - From here, you can style timeline buttons.

**Pin Start/End **- From here, you can manage the timeline divider color, start and end pin icon size and color.

**Extra Options** - From here, you can manage the gap between the timeline items and the divider.

Advanced options remain common for all our blocks, you can explore all it options from here.

[View Advanced tab tutorial.](https://nexterwp.com/docs/add-advanced-tab-in-wordpress/)

## Frequently Asked Questions

**Q: Why is the Timeline block not showing in WordPress?**
A: The Timeline block only appears when the default WordPress Block editor is active and the Nexter Blocks plugin is installed and activated. It is also a Premium block, so the PRO version of Nexter Blocks is required. If it still does not show up, the block itself may simply be turned off in Nexter → Blocks, where you search for Timeline and activate it.

**Q: What do I need before adding a WordPress timeline with Nexter Blocks?**
A: Nexter Blocks needs three things in place first: the default WordPress Block editor, the Nexter Blocks plugin, and the PRO version because Timeline is a Premium block. That setup matters because the block will not be available until it is activated inside Nexter → Blocks. For a quick reference, the live block page is here: [LIVE BLOCK LINK](https://nexterwp.com/nexter-blocks/blocks/wordpress-timeline/).

**Q: Can I add buttons, images, or WordPress Patterns inside a timeline item?**
A: The Timeline block supports all three. The Content Type dropdown includes Image, Iframe/HTML, Editor, and Pattern, so you can place an image after the title, add iFrame or HTML content, write directly in the editor, or use a WordPress Pattern. It also has a Display Button toggle and links to docs for [add a button in the timeline](https://nexterwp.com/docs/add-a-button-in-wordpress-timeline/) and [use a WordPress Pattern in the timeline item](https://nexterwp.com/docs/use-a-wordpress-pattern-in-a-timeline/).

**Q: What is the best way to make a timeline easier to read on a page?**
A: A cleaner timeline usually comes from reducing visual clutter. The Adapt Content Height toggle makes item spacing more compact, while Content Alignment controls how items line up across the timeline. The Advanced tab also lets you change Section Alignment to left or right and adjust Top Offset Space for responsive devices. Those settings matter because uneven spacing can make long timelines feel harder to scan.

**Q: How do start and end pins work in a WordPress timeline?**
A: Start Pin and End Pin let you define where the timeline begins and ends visually. Under Start Pin, Nexter Blocks gives four choices: None, Icon, Image, or Text. End Pin works similarly from its own tab. That gives you more control than using only item pins, especially when you want the first and last points of the sequence to stand out.

**Q: What styling options are available for the Timeline block?**
A: The Style tab handles most of the visual work for Nexter Blocks Timeline. Loop Pin controls the pin title and pin icon, Title covers typography, color, and border states for normal and hover, Content manages content typography and color, Button Options styles timeline buttons, and Pin Start/End controls divider color plus start and end pin icon size and color. Extra Options also lets you adjust spacing between items and the divider.