












Last month I was rebuilding a client’s site in Nexter and needed a proper “Case Studies” section, not another blog category. Every attempt to force it into a regular post meant duct-taping a custom taxonomy onto the Posts screen, and it never looked right in the admin menu. WordPress does not give you a way to add a new content type out of the box. If you build sites for long enough, you will eventually need one, so here is exactly how to create a custom post type, add real fields to it, and make it look native in Nexter without writing a line of code.
What a Custom Post Type Actually Is (and Why WordPress Doesn’t Give You One by Default)
WordPress ships with five built-in post types: Post, Page, Attachment, Revision, and Nav Menu Item. A custom post type is a new type you register yourself, things like “Case Study,” “Testimonial,” “Team Member,” or “Property Listing.” Once registered, it gets its own admin menu item, its own URL structure, and its own archive page, and it stays completely separate from your blog feed.
WordPress core does have a function for this, register_post_type(), but it has to be called from a plugin or your theme’s functions.php file, with a fairly long list of arguments (labels, supports, rewrite rules, REST visibility) that you have to get right or the type quietly misbehaves. That is the entire reason a plugin like CPT UI exists: it wraps that function in a settings screen so you never touch code.
The reason this matters in practice is that a category or a tag on the Posts screen is not the same thing as a real post type, even though it can feel similar at first. A category filters existing blog posts. A custom post type is its own content model: a “Testimonial” entry does not show up in your blog archive, does not compete with your posts for the homepage feed, and can carry a completely different set of fields (a star rating, a client name, a company logo) that a regular post has no clean way to store. Sites that skip this step usually end up with a “Testimonials” category full of short blog posts that look out of place next to real articles, which is the exact problem a custom post type solves.
Creating the Custom Post Type With CPT UI (No Code)
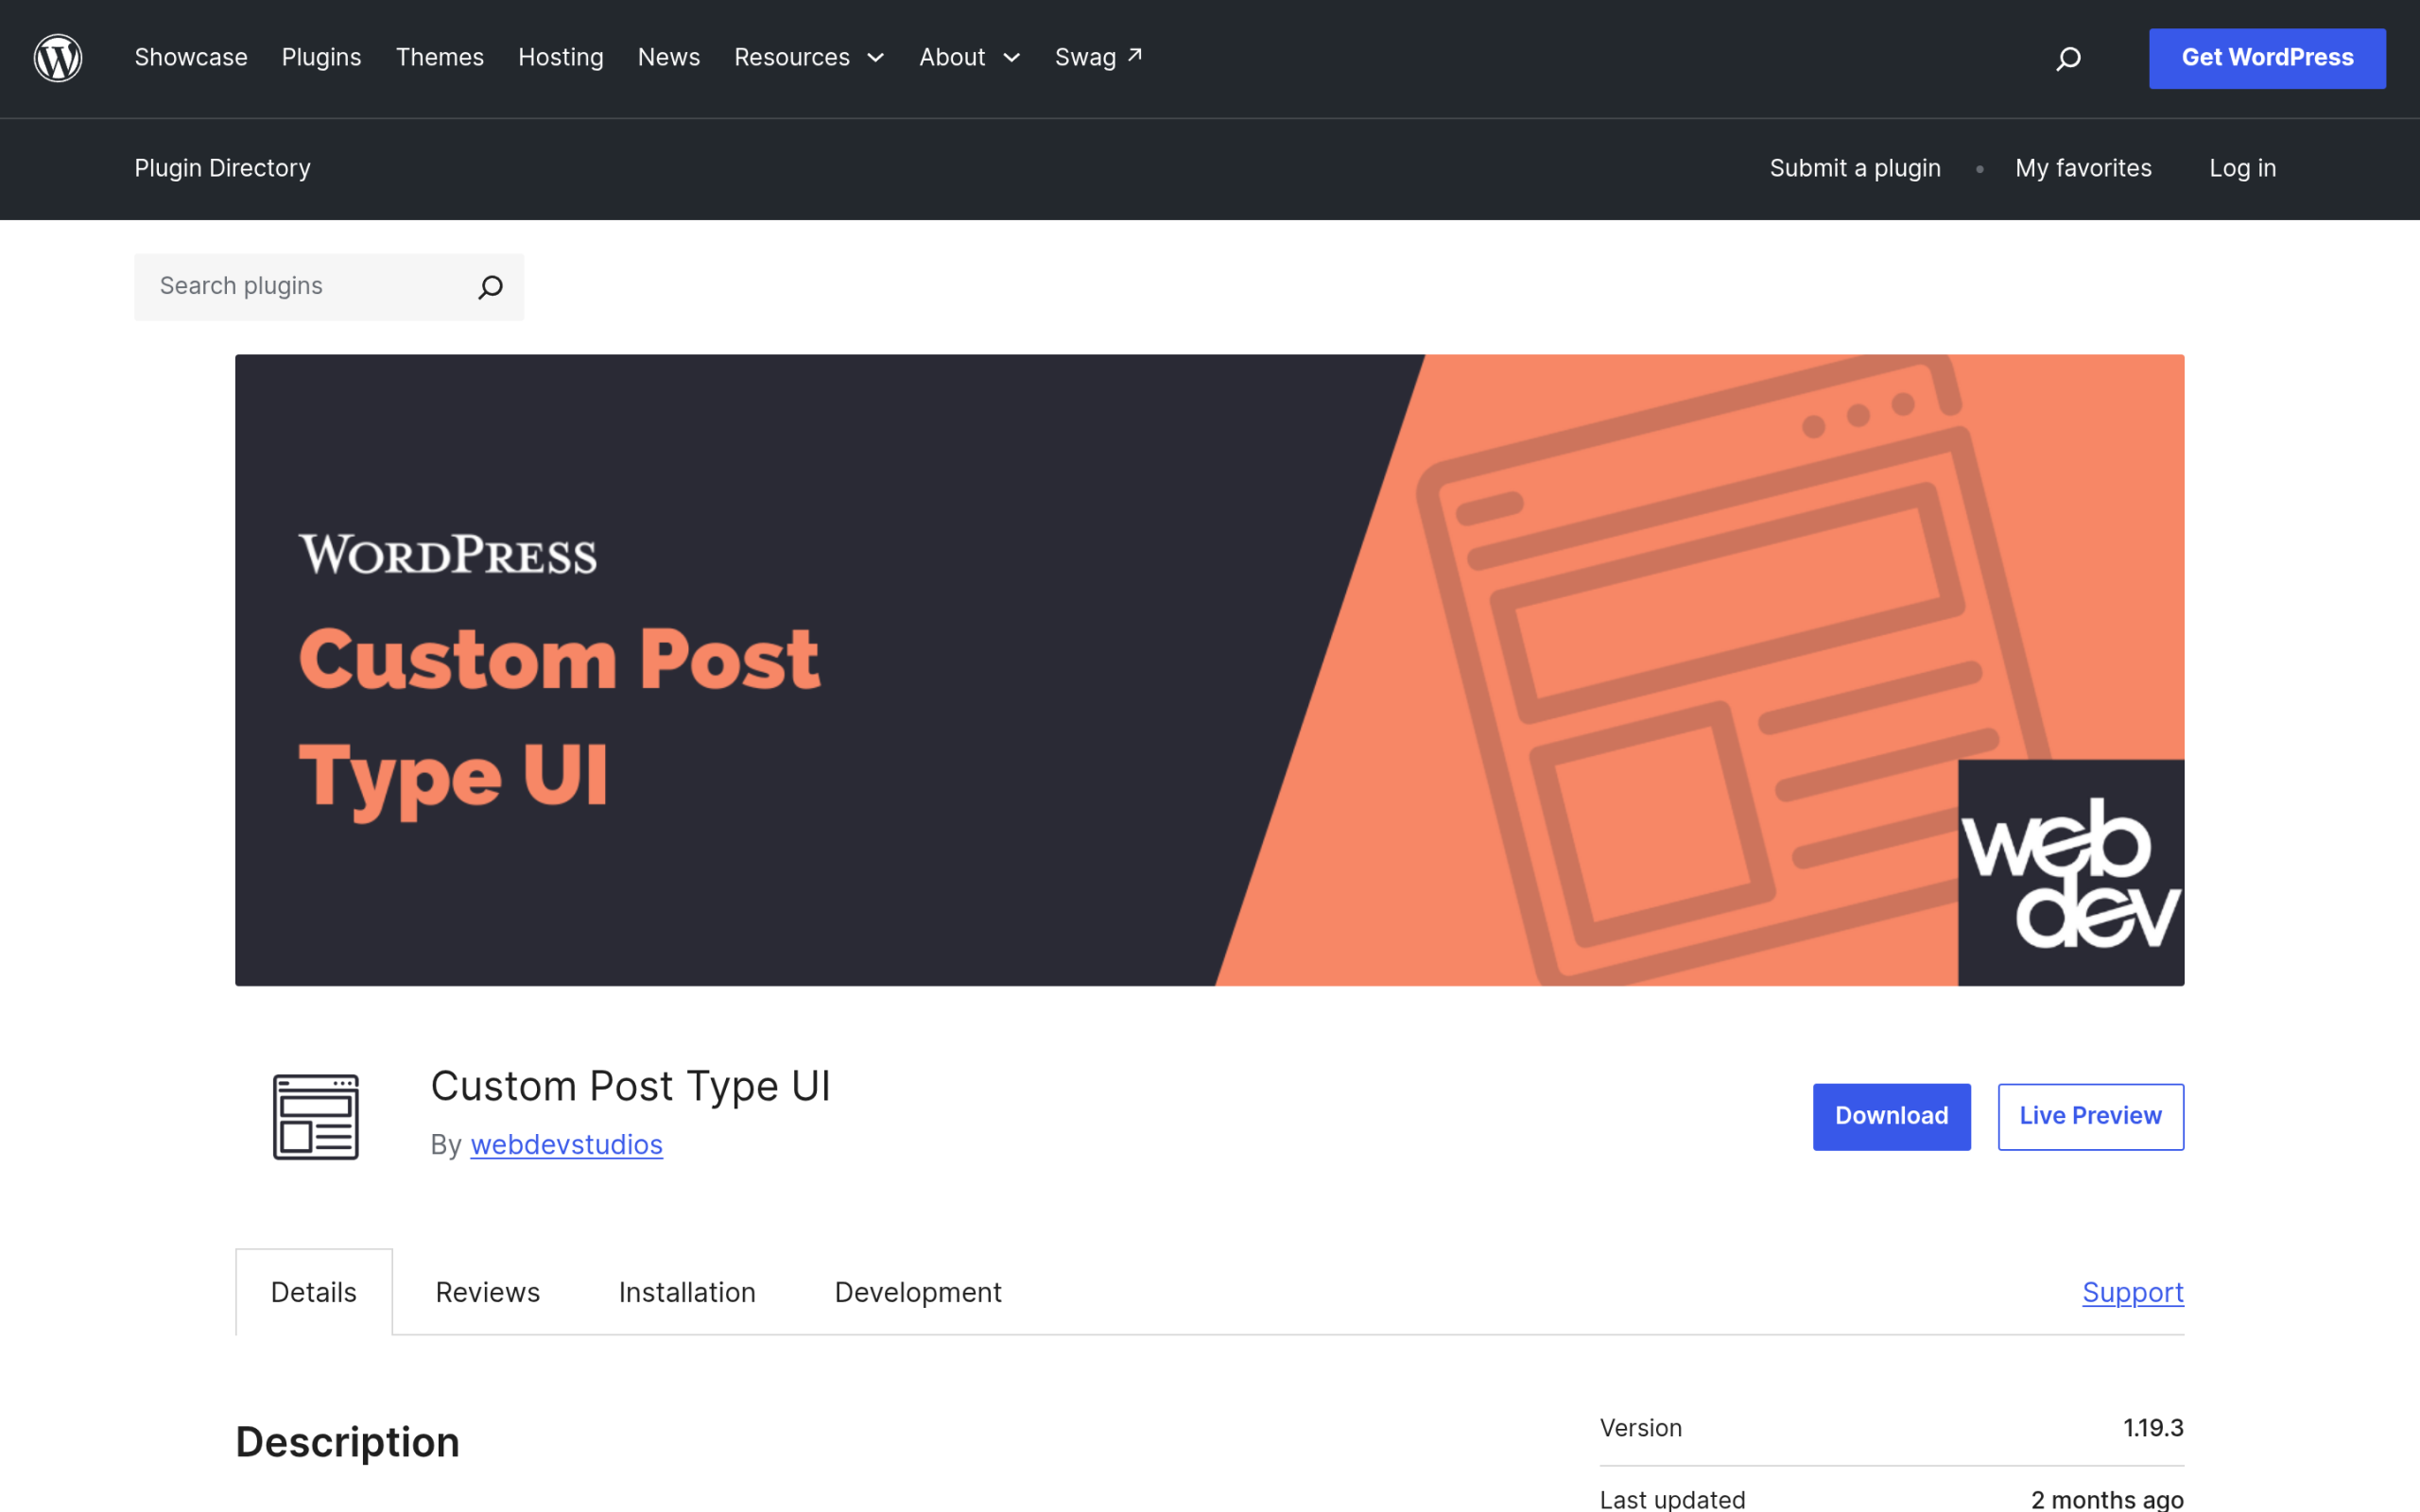
Custom Post Type UI is free, has more than 1 million active installations, and does exactly one job well: it registers post types and taxonomies through a form instead of code.
- Install the plugin. Plugins > Add New, search “Custom Post Type UI,” install and activate.
- Open CPT UI > Add/Edit Post Types. Give it a post type slug (lowercase, no spaces, for example
case_study) and a singular and plural label. - Set the “Supports” options. Turn on Title, Editor, Featured Image, Excerpt, and Custom Fields for a typical content type. Leave off Comments and Trackbacks unless you actually want them.
- Turn on “Show in REST API.” This is the setting most people skip, and it is the one that lets the block editor and any headless or API-driven part of your site actually see the new type.
- Save. Your new post type appears as its own item in the WordPress admin sidebar immediately, with its own Add New screen.
At this point you have a working content type with its own admin screen and its own archive URL, but no way to store anything beyond a title, a body, and a featured image. For most real use cases, like a case study with a client name, a result percentage, and a logo, you need custom fields.
Adding a Custom Taxonomy to Go With It
Most custom post types need a way to filter or group entries, the same way blog posts use categories. CPT UI registers custom taxonomies through the same screen it uses for post types, under Add/Edit Taxonomies. If your new type is “Property Listing,” a matching taxonomy might be “Property Type” (house, apartment, commercial) or “Location.” Attach the taxonomy to your custom post type in the same settings screen, and it appears as a normal filterable sidebar in the admin list, plus an archive URL for each term, exactly the way post categories work today.
Skip this step if your content type genuinely does not need grouping, a “Team Member” type usually does not, but for anything you expect to filter or browse by type (properties, case studies, portfolio pieces), building the taxonomy at the same time as the post type saves a migration later.
Adding Custom Fields to Your New Post Type
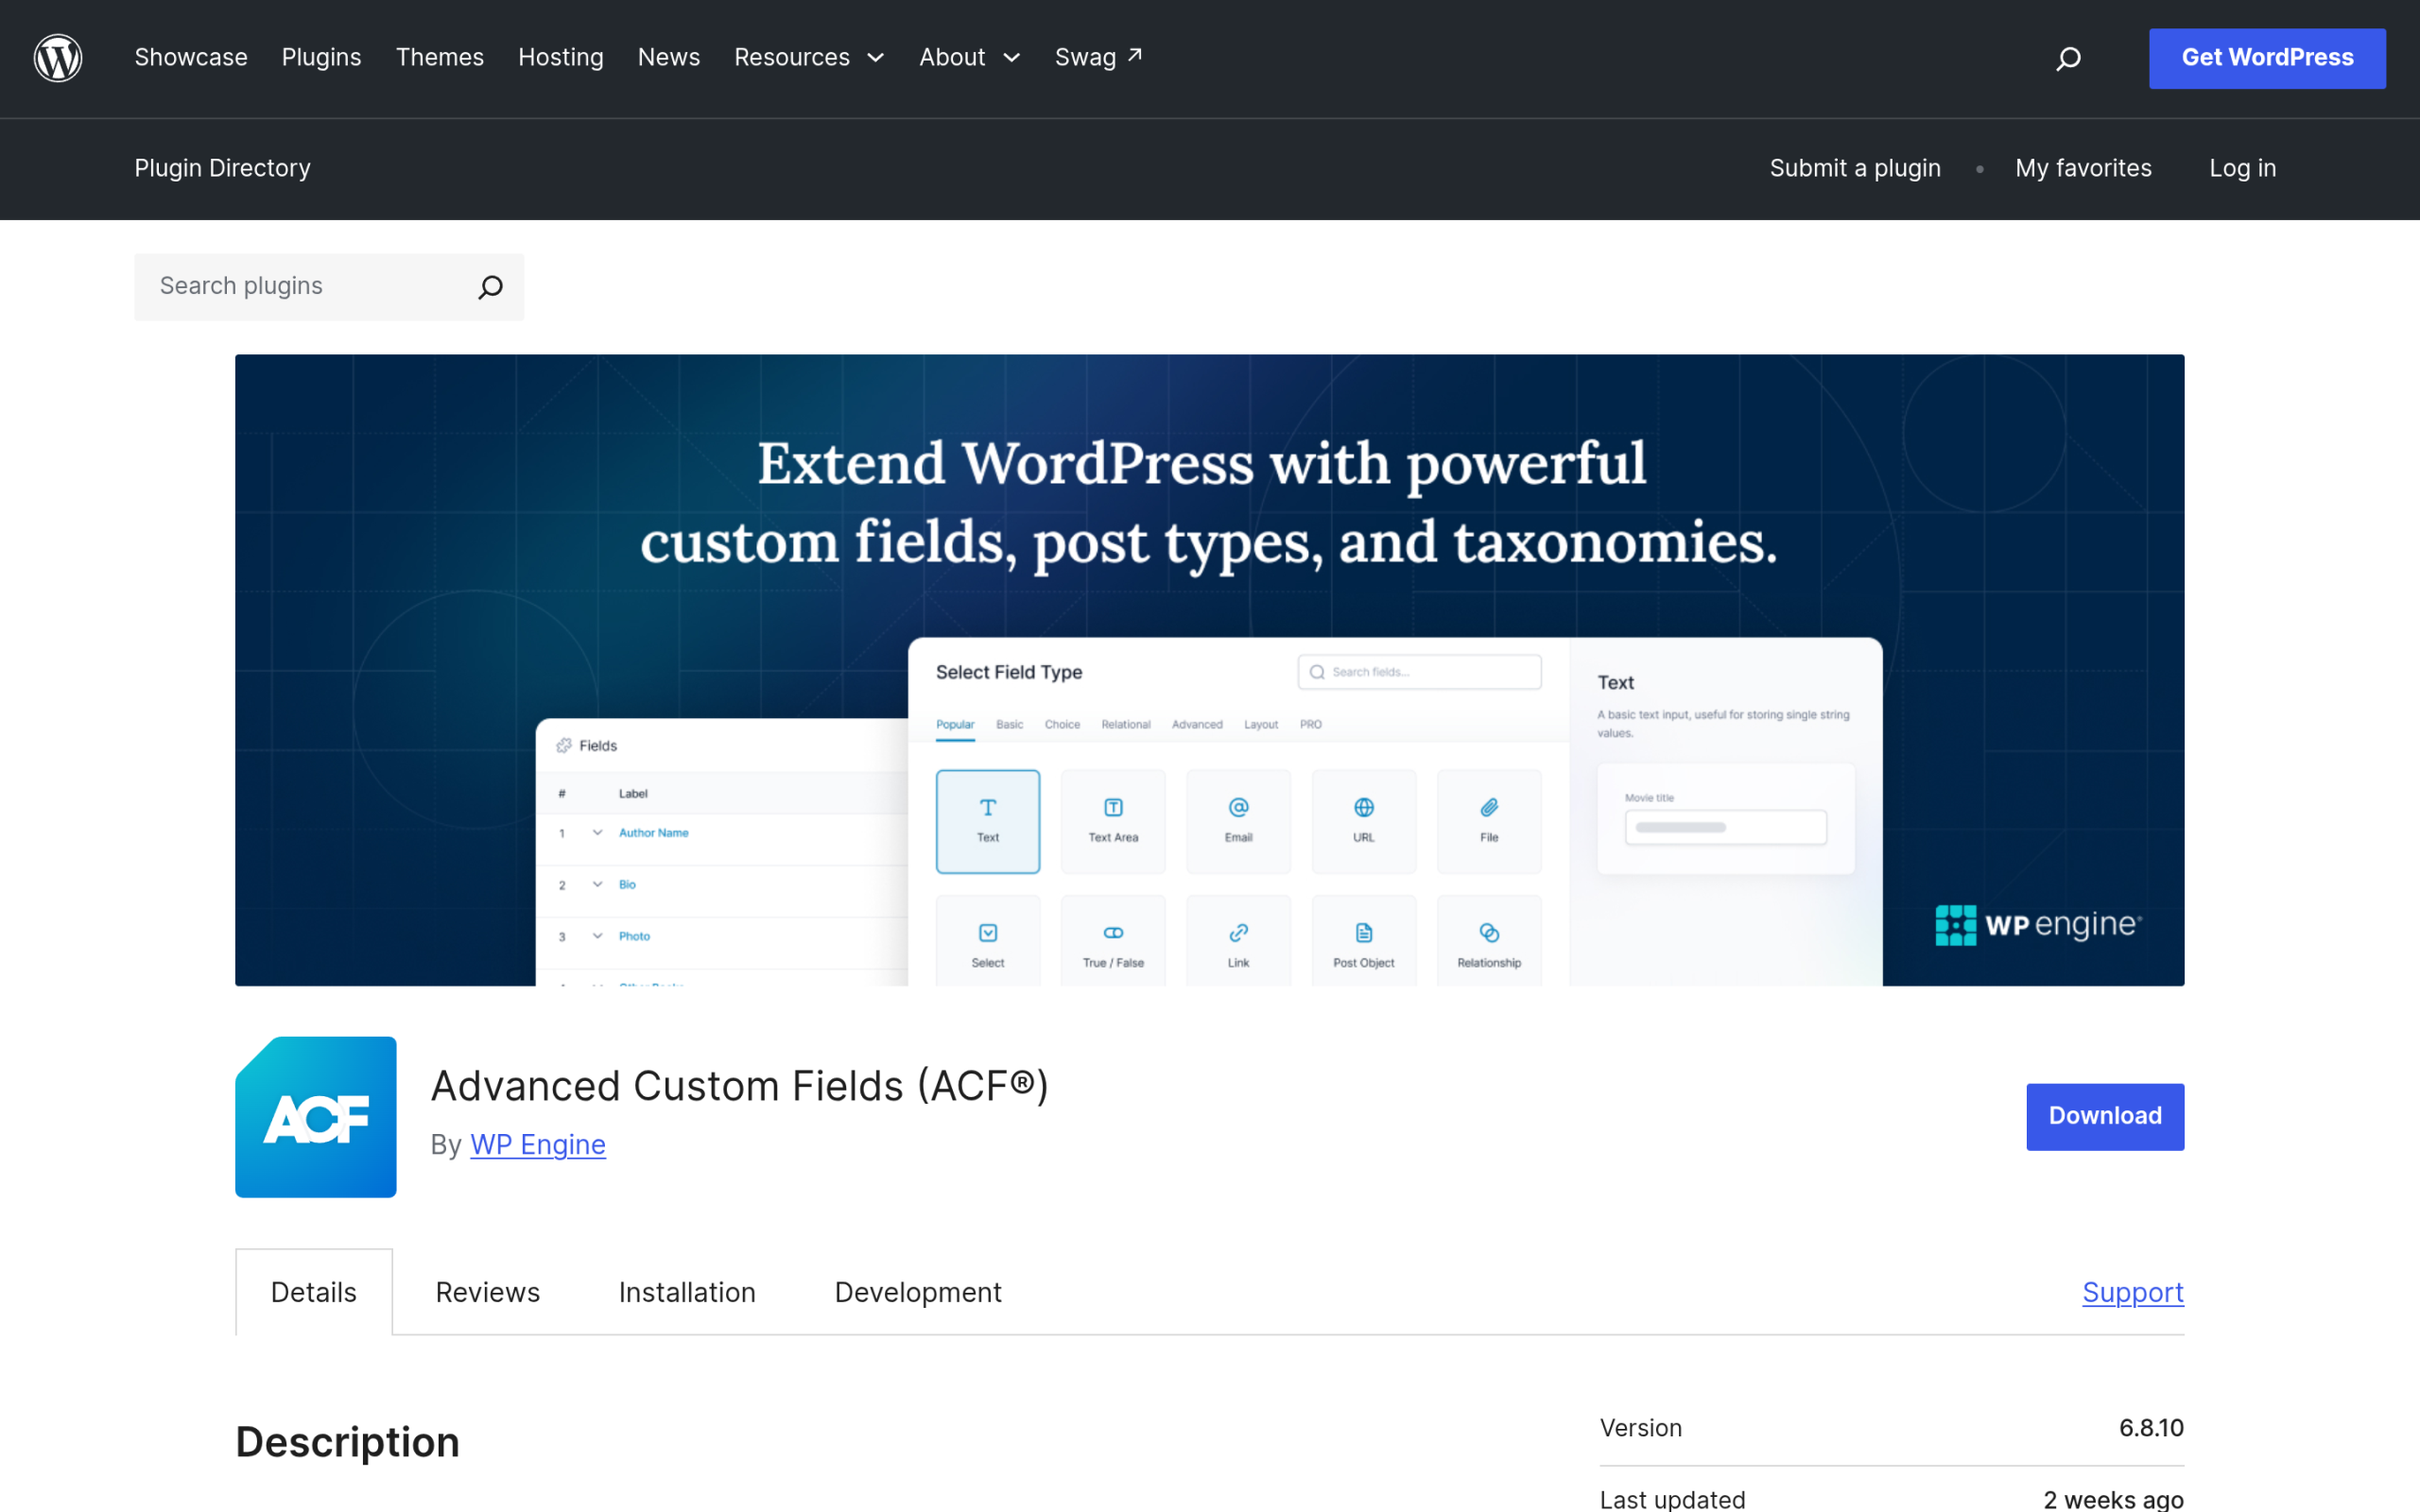
Advanced Custom Fields (ACF) is the standard here, with more than 2 million active installations and a free version that covers the vast majority of what most sites need.
- Install ACF the same way, through Plugins > Add New.
- Create a new field group under Custom Fields > Field Groups > Add New.
- Set the location rule to “Post Type is equal to” your new custom post type, so the fields only show up when you are editing that type.
- Add your fields. The free version covers text, number, image, URL, true/false, select, and date picker fields, which is enough for most listings, testimonials, and case studies. Repeater fields (a group of fields you can duplicate, useful for something like a list of project deliverables) require ACF Pro.
If you are already using Nexter Blocks on the front end, its Repeater block reads directly from ACF (and JetEngine) fields, which is the fastest way to turn those custom field values into an actual designed layout instead of a plain list. Also read: Nexter Blocks Repeater: How to Build Dynamic Layouts with ACF and JetEngine for the full walkthrough.
Styling and Displaying Your Custom Post Type With Nexter
Nexter Theme is a full block theme, which matters here because it means your new post type is not stuck with WordPress’s bare default archive and single layouts. You can build dedicated templates for it the same way you would for regular Posts.
- Go to Appearance > Editor > Templates > Add New. WordPress will list your custom post type as a template option once it is registered with “Show in REST” turned on, so you can add a Single and an Archive template specifically for it.
- Design the template with the site editor’s block tools, pulling in your custom fields as post meta blocks where core supports it, or building the layout around a Nexter Blocks container for full styling control.
- List entries anywhere else on the site, a homepage section or a landing page, with the core Query Loop block. Set its Post Type parameter to your new custom post type and it will pull entries in automatically, sorted however you choose.
This is also the point where it helps to see the pattern applied to a real site. Also read: How to Build a Real Estate Listing Page with the Nexter Theme, which walks through the same archive-plus-single-template approach for a property listing type.
CPT UI + ACF vs. an All-in-One Plugin: When to Use Which
Nexter Extension does not register custom post types itself, so it is worth being clear about what stack actually makes sense for your site instead of assuming one plugin does everything.
| Approach | Best for | Trade-off |
|---|---|---|
| CPT UI + ACF (both free) | Most sites: a handful of custom types with straightforward fields | Two plugins instead of one, but each does its job well and both are free |
| JetEngine or Pods (all-in-one) | Sites that need post types, fields, and dynamic front-end templates from a single plugin | More features than most sites use, and the paid tiers cost more than the CPT UI + ACF combo |
| Just using Nexter Blocks sections | Content that does not actually need to be its own post type, like a testimonials block on a single page | Does not scale past a handful of entries, and there is no dedicated admin list to manage them |
If you only need a handful of custom types with simple fields, CPT UI and the free version of ACF is the leaner, free stack, and it is what most Nexter sites end up using. Reach for JetEngine or Pods only if you are building something more complex, like a directory or booking system, where you genuinely need dynamic front-end templating built into the same plugin.
Common Custom Post Type Mistakes to Avoid
- Forgetting to flush permalinks. If your new archive page 404s right after creating the post type, go to Settings > Permalinks and click Save (no changes needed), which forces WordPress to rebuild its rewrite rules.
- Reusing an existing page slug. If your CPT slug matches an existing page, WordPress will quietly append a number to one of the URLs. Pick a slug you are not already using anywhere on the site.
- Turning on supports you do not need. Comments and trackbacks on a data-style post type like a testimonial or property listing just adds clutter to the admin screen.
- Leaving “Show in REST” off. Without it, the type will not appear in the block editor’s template list or be available to the Query Loop block the way you would expect.
- Skipping the taxonomy step and bolting one on later. Adding a taxonomy after you already have fifty entries means going back and tagging every single one by hand. Decide upfront whether you need one.
- Deactivating CPT UI after the type is “done.” The post type only exists while the plugin (or the code it generated) is active. Deactivate it and every entry you created becomes invisible on the front end until you reactivate it or move the registration into custom code.
Frequently Asked Questions
Do I need a plugin to create a custom post type in WordPress?
Not strictly. WordPress core supports registering a post type with the register_post_type() function, but that has to live in a plugin or your theme’s functions file. A plugin like CPT UI does the same thing through a settings screen, which is faster and safer if you are not comfortable editing PHP.
Is CPT UI free?
Yes. Custom Post Type UI is entirely free on WordPress.org, with more than 1 million active installations, and it covers everything needed to register a post type and a matching custom taxonomy.
Can I add a custom post type without ACF?
Yes. CPT UI on its own gives you the new post type with a title, editor, and featured image. You only need ACF (or another custom fields plugin) once you want to store structured data beyond that, like a price, a rating, or a client name.
Will a custom post type slow down my site?
Registering a post type itself has no meaningful performance cost. Any slowdown comes from how many entries you have and how the template querying them is built, the same as it would for regular posts or pages.
Can Nexter Theme style a custom post type the same as regular posts?
Yes. Because Nexter Theme is a full block theme, the WordPress Site Editor lets you build dedicated Archive and Single templates for any registered post type, custom or built-in, using the same block tools and Nexter Blocks elements you would use for a regular post.
Do I need a custom taxonomy for my custom post type?
Only if you plan to filter or group entries, the way blog categories group posts. A type like “Team Member” usually does not need one, while a type like “Property Listing” or “Portfolio Item” almost always benefits from a taxonomy such as property type or project category.
Suggested Reading
- Nexter Extension for Client Sites: A White-Label WordPress Setup Guide
- How to Build a Business Website with Nexter Theme in Under an Hour
- Nexter Abilities Explained: The WordPress Abilities API Inside Nexter Blocks
