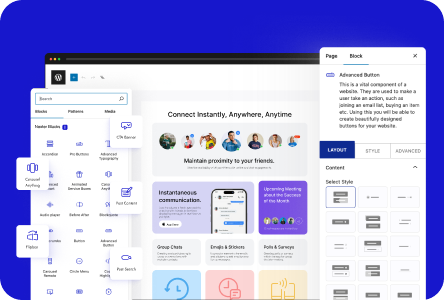
Nexter Theme Builder is a powerful tool that allows you to create custom site templates and replace the default templates provided by the theme. This tool enables users to design and customize different parts of their website, such as headers, footers, blog layouts, and more. With Nexter Theme Builder, users have complete control over the layout and design of their website without having to write a single line of code.
Required Setup
- Make sure to install & activate one of the supported themes.
- You need to have Nexter Extension plugin installed and activated.
Supported Themes
The Nexter Theme Builder supports all WordPress themes.
The Nexter Theme Builder is also compatible with Elementor and Bricks Builder.
What is Nexter Theme Builder?
The Nexter Theme Builder is a powerful module of the Nexter extension plugin that empowers users to create custom templates for various parts of their website, such as header, footer, single page template, archive template, and more. It offers the flexibility of using either the WordPress block builder or Elementor to create custom templates.
You can use Nexter Blocks or The Plus Addons for Elementor to enhance your theme building experience even further.
With the Nexter Theme Builder, you have the flexibility to customize almost every aspect of your WordPress website, giving you the ability to create a unique and personalized online presence that reflects your brand and vision.
How to Create a Template in the Nexter Theme Builder?
To create a template in Nexter Theme Builder, follow the steps –
1. From the Dashboard, go to Nexter Extension > Theme Builder > Add New Template.
2. In the popup, you have to select the template type from the Select Template dropdown. You’ll find the following options –
Sections – With the Sections option, you can create templates for different sections of your website. Here you’ll find four options –
- Header – For creating a header template.
- Footer – For creating a footer template.
- Breadcrumb – For creating a template for breadcrumb.
- Hooks – For adding content through hooks and actions.
Pages – From Pages, you can create templates for different pages. Here you’ll find three options –
- 404 Page – For creating a 404 page not found page template.
- Singular – For creating different single page templates like pages, posts etc.
- Archives – For creating different archive page templates like search, author etc.
With each option, you’ll get relevant settings for the template. Let’s select Breadcrumb for example.
3. After that, in the Name of Template field you have to add the template name.
4. Then click on the Next button.
5. On the next screen, you have to set the appropriate display conditions and then click on the Create button.
6. Then it will open the WordPress editor, where you can use the WordPress blocks or Elementor to create the actual layout and content of the template.
7. Once done, publish the template.
Nexter Theme Builder Options
From the Nexter Theme Builder page, you can filter templates by type from the template tabs.
You can click on the Edit button under the Conditions column to easily change the display condition of a template.
From the Status toggle, you can enable or disable a template easily.
Note: To use a template, make sure the template status is enabled.
Then in the Shortcode column, you can find the shortcode of a template that you can use to add the template anywhere on the site via a shortcode.
Import and Export Templates
The Nexter Theme Builder offers a convenient feature that allows you to export and import templates easily from one website to another. This can save time and streamline your website building process.
To export a template, go to Nexter Extension > Theme Builder, hover over the template you want to export and click on Export Template and the template will be downloaded in an XML file format.
Now to import a template, go to Nexter Extension > Theme Builder, and click on the Import Templates button. Click on Browse and upload the template file, then click on Import Now. The template will be imported with all its settings.
Note: While importing templates into the Nexter Theme Builder, it is important to ensure that all the relevant plugins and widgets or blocks that are used in the template are active.


