One important aspect of creating a successful website is having a well-designed logo that represents your brand and sets you apart from competitors.
With the Site Logo block from the Nexter Blocks, you can easily add your site logo to your WordPress website.
Required Setup
- Make sure the default WordPress Block editor is active.
- You need to have the Nexter Blocks plugin installed and activated.
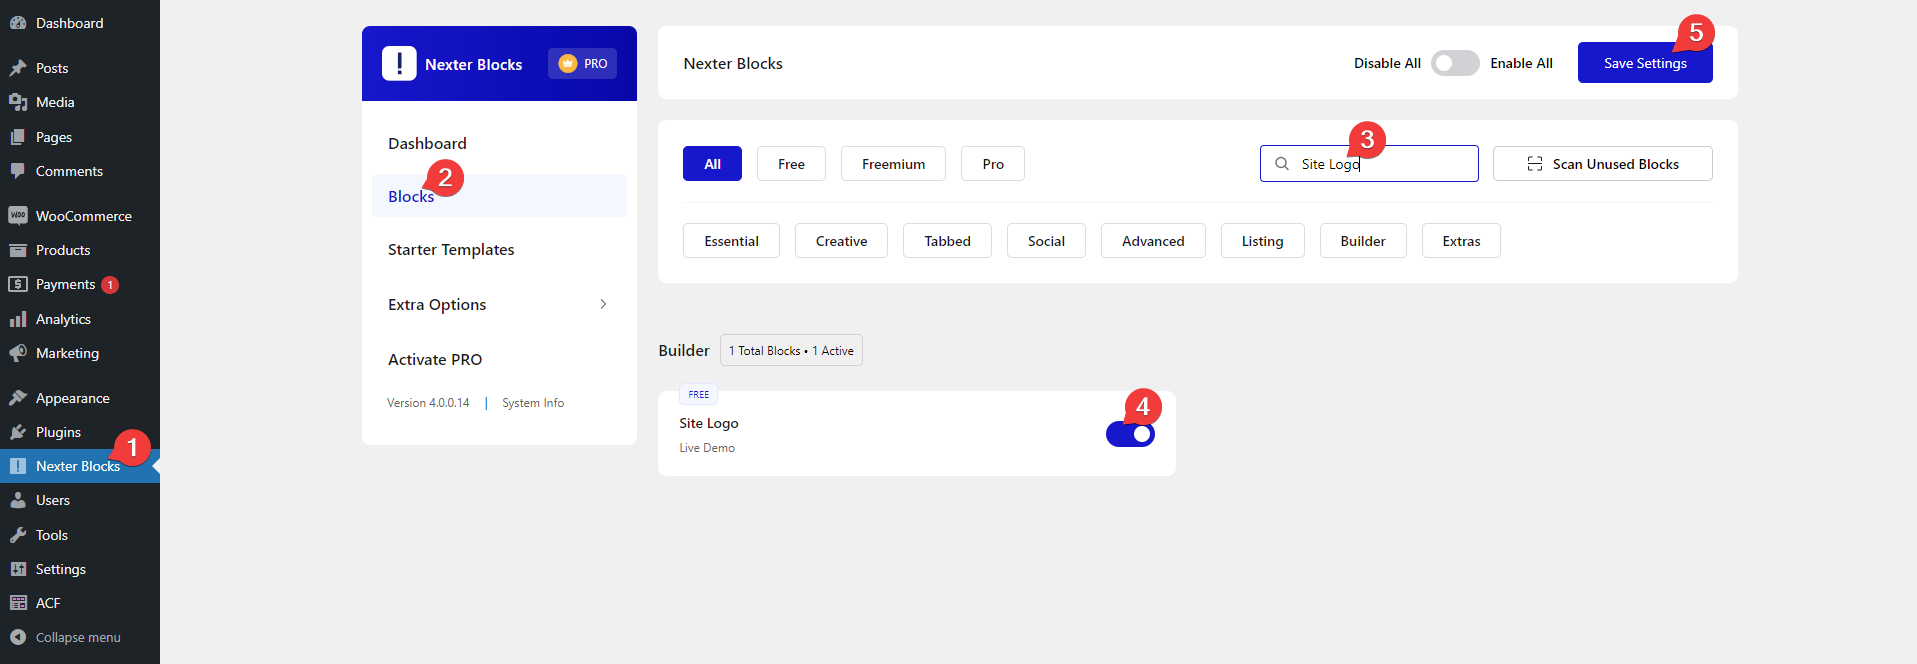
- Make sure the Site Logo block is activated, to verify this visit Nexter Blocks → Blocks → and Search for Site Logo and activate.
Learn via Video Tutorial
How to activate the Site Logo Block?
Go to
- Nexter Blocks → Blocks
- Search the block name and turn on the toggle then click Save Settings.
Key Features
- Change Logo on Hover – You can easily change the logo on hover.
- Change Logo on Sticky Header – You can easily change the logo on a sticky header.
- Custom URL – You can easily add a custom URL to your site logo.
- Accessibility – You can easily add aria label to your site logo.
- Schema – You can easily add Google Schema to your logo.
How to Use the Site Logo Block in WordPress?
Typically, the site logo is added in the site header and occasionally in the footer. To achieve this, so to add the Site Logo block into either the header or footer template of your website.
Note: To create the template, you can use the free Nexter Builder.
Site Logo
From the Logo Normal/Dual section, you have to select the logo type. Here, you’ll find two options –
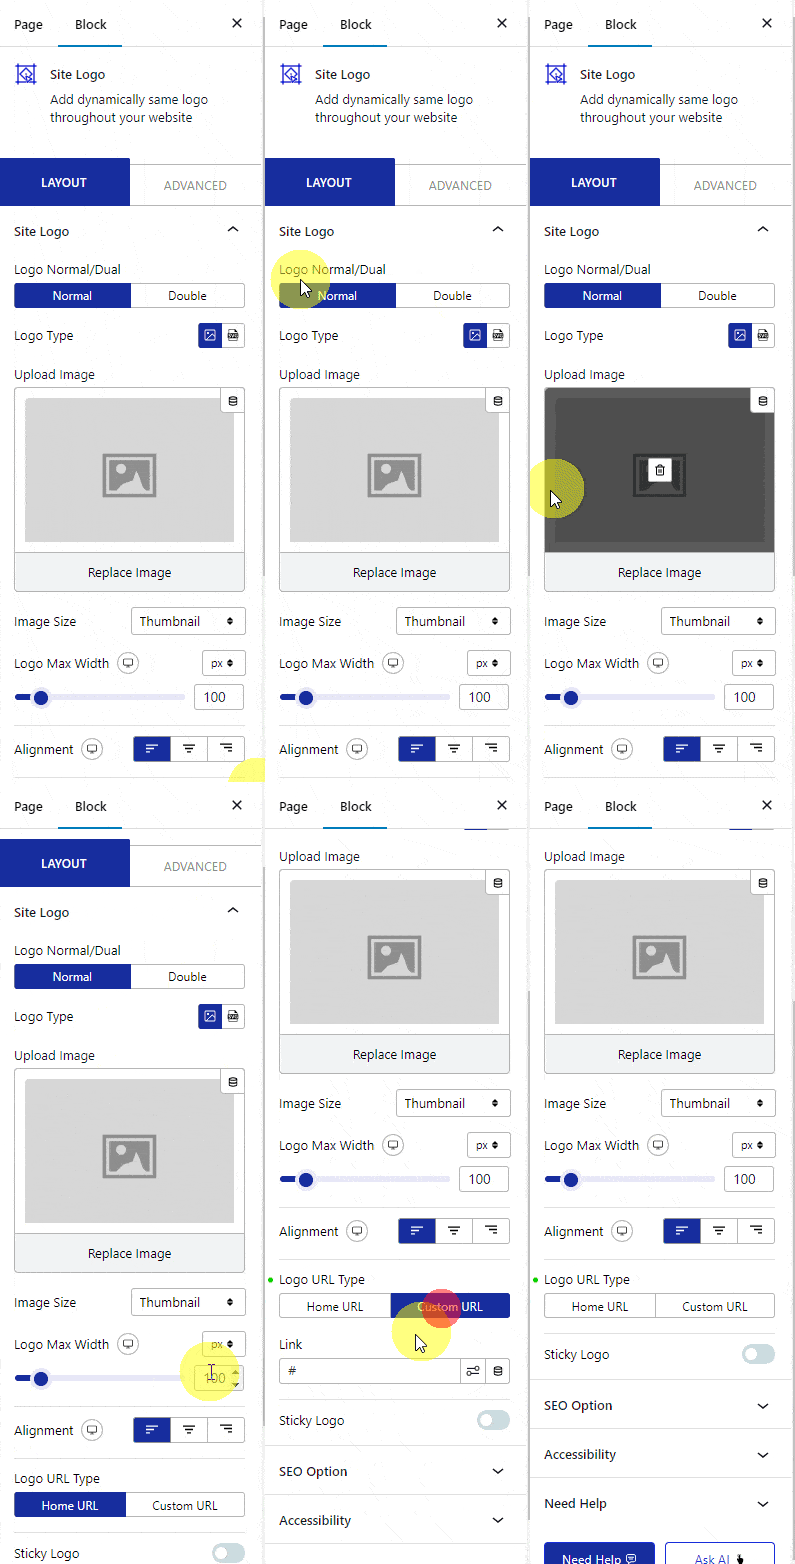
- Normal – For adding a single image as a logo.
- Double – With this option, you can change the logo on hover.
Select the option as per your requirements, options will vary based on your selection.
Let’s select Normal here.
Then, from the Logo Type section, you can select any image type or SVG as logo.
When the Image is selected, you can set the image size from the Image Size dropdown.
You can set the maximum width of the logo image for different devices from the Logo Max Width section.
You can align the logo from the Alignment section for different devices.
From the Logo Url Type section, you can set the URL of the logo. Here, you’ll find two options –
- Home URL – This will set the link to the default home page.
- Custom Link – With this option, you can set a custom link to the logo.
From the Sticky Logo toggle, you can change the logo on a sticky header.
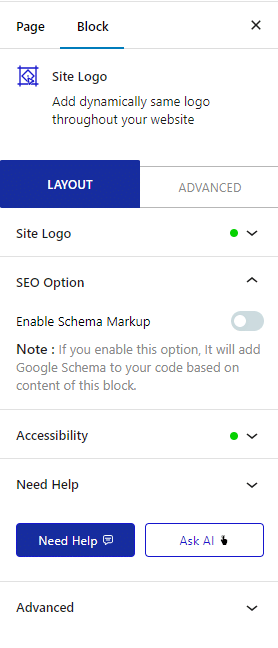
SEO Option
From the Enable Schema Markup toggle, you can make your logo SEO friendly by adding Google Schema to it.
Accessibility
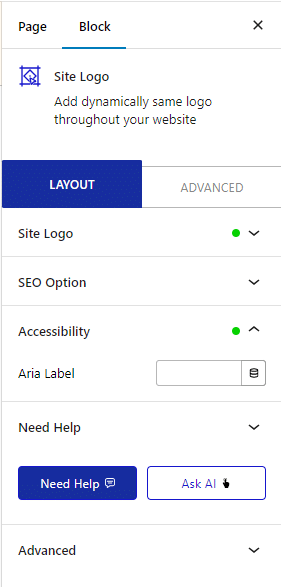
In the Aria Label field, you can add an Aria label to the logo to improve accessibility for users with disabilities.
.
You’ll see some additional styling options for inner containers in the Style tab.
Advanced options remain common for all our blocks, you can explore all its options from here.
