












I built a client’s “Contact Us” page last month and reached for a form plugin out of habit, then stopped myself halfway through the install. The site already ran Nexter Blocks Pro for the rest of the layout, and it turns out the Form Builder block plus the Google Map block cover a normal contact page completely: fields, spam protection, a working map, and delivery to my inbox, without adding a second plugin’s CSS and JS to every page load.
This is the build I ended up shipping, block by block, including the two things most contact-page tutorials skip: what actually breaks when the notification email does not arrive, and how the map and form blocks are meant to sit together on one page rather than as two separate widgets.
Why Build the Contact Page With Blocks Instead of a Plugin
WordPress now runs 40.7% of all websites, according to W3Techs’ live usage tracking, and the majority of those sites are running at least one page-building plugin already. Every additional plugin is more CSS, more JavaScript, and one more thing that can conflict with a theme update. If your site already runs Nexter Blocks Pro, the Form Builder and Google Map blocks give you a full contact page without adding that second dependency.
There is a real performance argument here too, not just a tidiness one. In a widely cited internal study, the BBC found it lost an additional 10% of users for every additional second its site took to load. A contact page is often a visitor’s last step before they reach out, so it is a bad place to add unnecessary weight. That said, a dedicated form plugin still makes sense if you need something the block does not do yet, like Stripe payments or multi-page conditional logic. For a standard “name, email, message, map” contact page, the blocks below are the faster build.
Setting Up the Nexter Blocks Form Builder Block
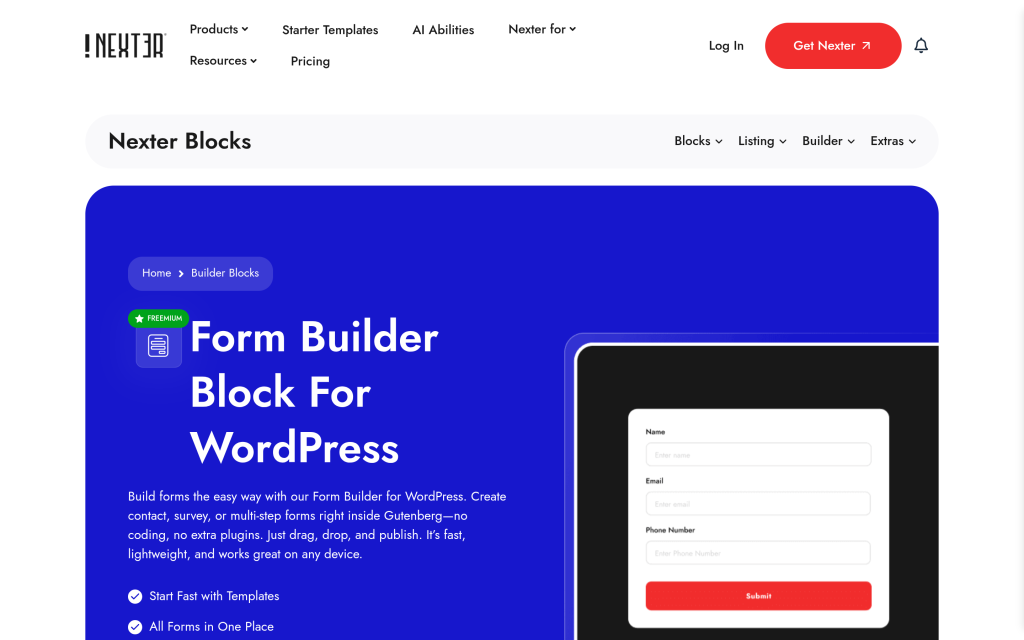
The Form Builder is part of Nexter Blocks Pro, built on top of the free Nexter Blocks collection. Here is the setup:
- Open the page you want as your contact page, add a new block, and search for Form Builder.
- Drop the block into the layout. It arrives with a default Name, Email, and Message set already added.
- Open the block’s right-hand settings panel and set the notification email address, meaning the inbox that should receive every submission.
- Set a confirmation message visitors see once they submit, so nobody is left wondering whether it worked.
Also Read: How to Create a Contact Form in WordPress (With and Without a Plugin) if you want the wider comparison of every method before committing to this one.
Adding and Configuring Fields
The Form Builder block supports Name, Email Address, Phone Number, Message, Dropdown, Radio Button, Checkbox, Numeric Input, a date picker, a time picker, Website URL, Hidden Fields, an “Agree to Terms” checkbox, and a Security Code field for spam. For a standard contact page, keep it to Name, Email, and Message; every extra field lowers how many visitors finish the form, which the data further down backs up with real numbers.
Two settings matter more than they look:
- Mark required fields. Name, email, and message should all be required so an incomplete submission cannot go through.
- Turn on the Security Code field. This is the block’s built-in spam filter. It is a lightweight visual challenge, not a full CAPTCHA, but it stops the large majority of automated bot submissions on its own.
Adding the Google Map Block Next to the Form
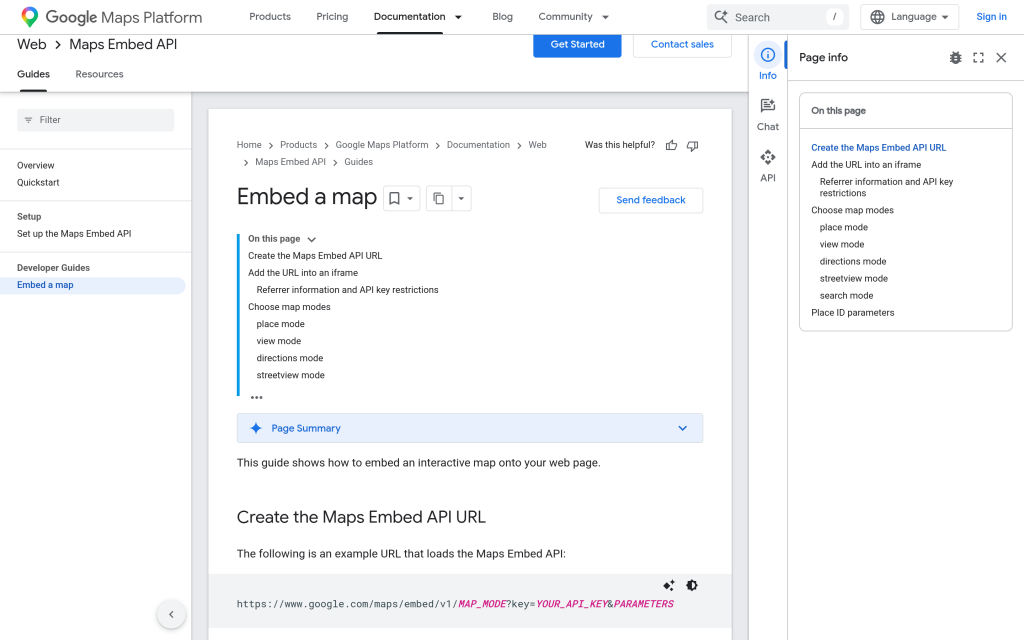
The Google Map block is a separate block from the Form Builder, and the two do not share data. The map is purely a location display. Here is how to set it up next to your form:
- Add the Google Map block below or beside the Form Builder block, depending on your layout.
- Enter your business address, or paste latitude and longitude coordinates directly if the address search does not find your exact building.
- Set the zoom level. Street-level detail usually needs a zoom setting in the higher range; a wider area view needs a lower one.
- Add a marker label if you want the pin to show your business name on hover.
A common point of confusion: the map block needs no connection to your Form Builder block’s notification settings. They are independent blocks placed on the same page, one showing a location and the other collecting and sending a submission. Nothing in the map’s configuration affects where form submissions go.
Styling the Form to Match Your Site
Because the Form Builder is a native block, it inherits your Nexter Theme‘s global colors and typography automatically, so a freshly added form does not look like a bolted-on widget. From there, the block’s own Style tab lets you adjust field spacing, border radius, button color, and label placement independently of the rest of your page, the same block-by-block styling pattern Nexter uses across its other dynamic blocks.
Also Read: How to Build a Full WooCommerce Product Page Using Nexter Blocks (Step by Step) for another example of styling several independent blocks into one cohesive page.
Connecting Submissions to Your Inbox: Notifications and SMTP
The single most common contact form complaint is not a broken form. It is a form that submits without any errors but never actually emails anyone. By default, WordPress sends mail through the server’s PHP mail function, which spam filters distrust, so notifications land in spam or vanish before you ever see them.
The fix is authenticated SMTP instead of default PHP mail. Nexter Extension includes an SMTP Email Setup utility built for exactly this, alongside Captcha Spam Protection with Google reCAPTCHA if you want a stronger filter than the Security Code field alone. Nexter Extension is a paid add-on with a 30-day money-back guarantee; a dedicated single-purpose SMTP plugin will do the same specific job if you would rather not add Nexter Extension for this alone. Whichever route you take, send yourself a real test submission from an outside email address before you trust the form with actual leads.
Full Assembly: A Working Contact Page in Order
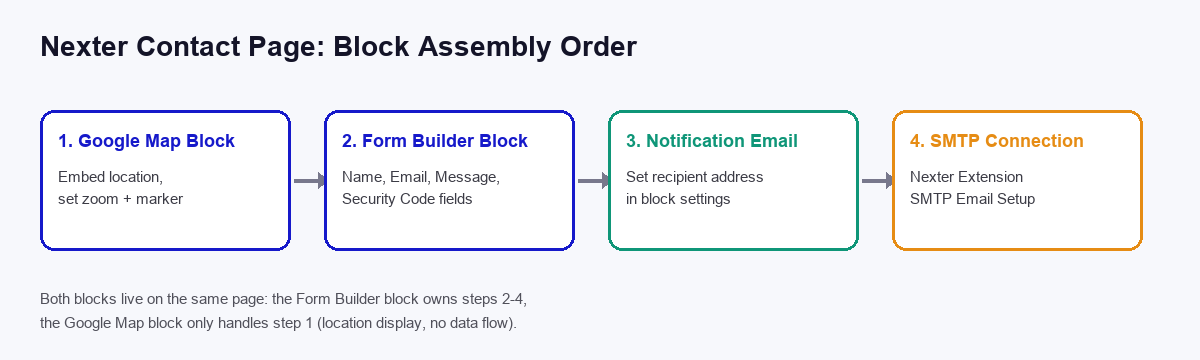
Putting the whole page together, in the order that causes the fewest problems later:
- Add the Google Map block first if it sits above the form in your layout, so you can see the finished height before placing the form beneath it.
- Add the Form Builder block with Name, Email, and Message fields, all marked required.
- Turn on the Security Code field.
- Set the notification email address in the Form Builder’s settings.
- Confirm SMTP is connected, either through Nexter Extension’s SMTP Email Setup or a dedicated SMTP plugin.
- Style both blocks to match your site using each block’s own Style tab.
- Publish the page, then send a real test submission from a different email address than the one receiving notifications.
That last step matters more than it sounds. A page that looks finished in the editor and a page that actually delivers a message to your inbox are two different things, and the only way to know you have the second one is to test it live.
Contact Form Best Practices Backed by Real Data
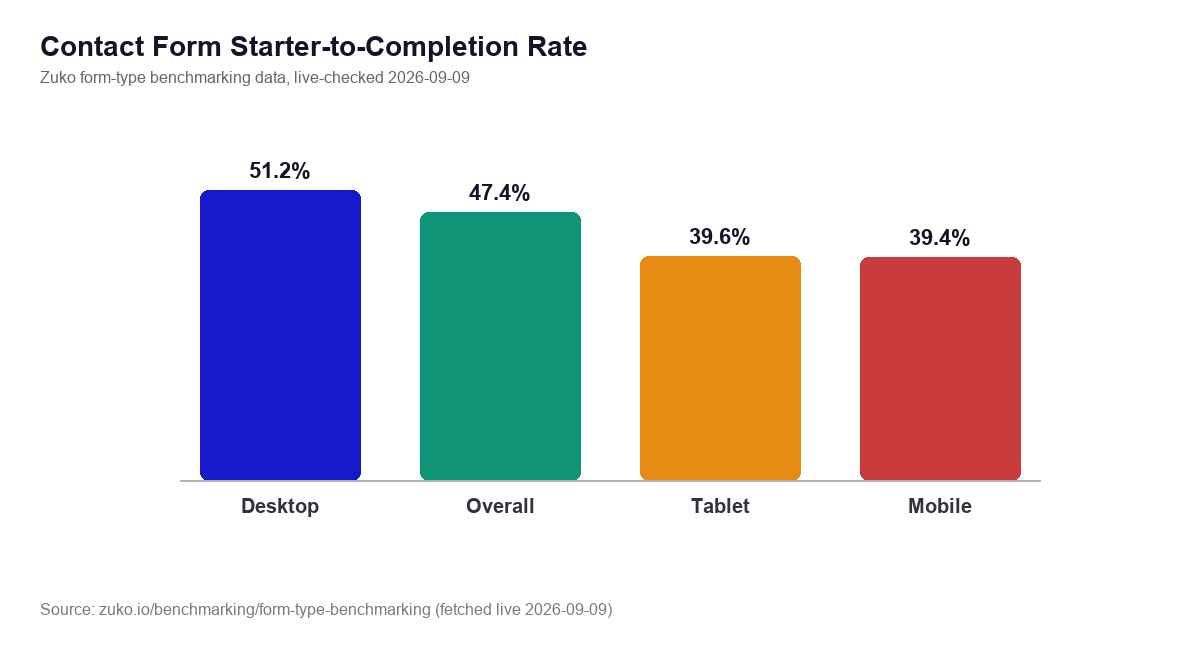
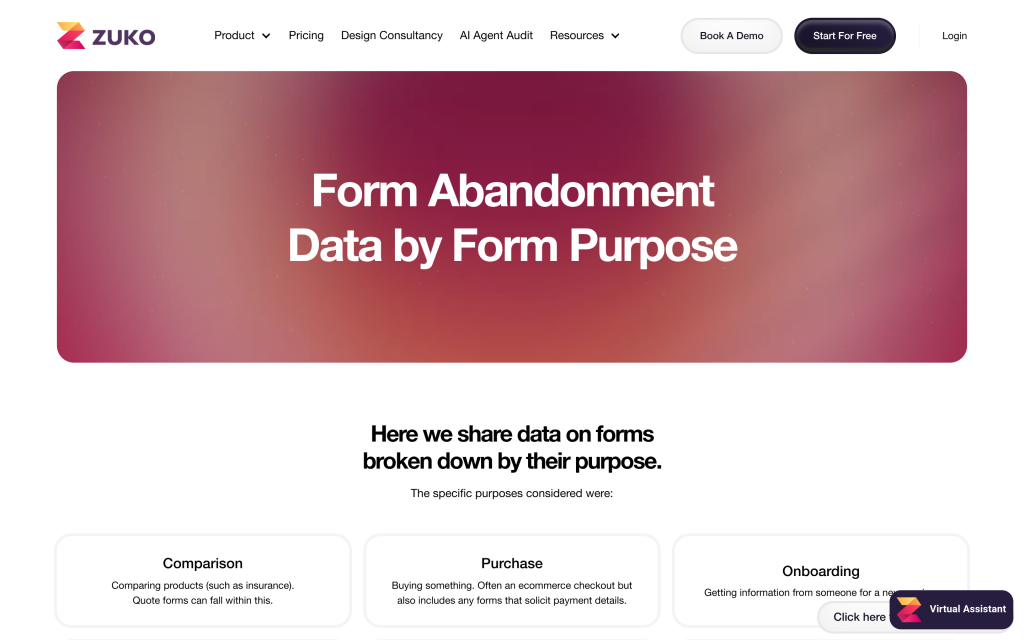
Zuko’s form-type benchmarking data, pulled live while building this guide, puts the overall contact form starter-to-completion rate at 47.4%, meaning more than half of everyone who starts filling in a contact form abandons it before sending. The device split is the more useful number for planning your own page: desktop completion sits at 51.2%, while mobile trails at 39.4% and tablet at 39.6%. If most of your traffic is mobile, that gap is the argument for keeping the form to three fields and testing it on a real phone before you consider the page finished.
A short checklist that follows directly from that data:
- Keep it to three fields. Name, email, and message cover a general contact page. Every field past that is a documented drop in completion.
- Test on mobile specifically, not just at a narrow desktop browser width. The completion gap above is real device behavior, not a rendering issue you can eyeball on desktop.
- Turn on spam protection before launch, not after the first bot flood. The Security Code field is the baseline; reCAPTCHA through Nexter Extension is the upgrade.
- Confirm the submission with an on-page thank-you message so visitors are not left guessing whether it sent.
- Send yourself a real test after any change to the form or its SMTP connection, not just after the initial build.
Frequently Asked Questions
Can the Google Map block and Form Builder block sit on the same page without conflicting?
Yes. They are independent blocks with no shared settings or data. You can place them anywhere on the same page, in either order, and each one only handles its own job: the map shows a location, and the form collects and sends a submission.
Why is my Nexter contact form not sending email notifications?
Almost always because the site is relying on the server’s default PHP mail, which spam filters commonly block or bury. Connecting an authenticated SMTP service, such as the SMTP Email Setup in Nexter Extension or a dedicated SMTP plugin, resolves it in most cases. Confirm with a real test send before assuming the form itself is broken.
Is the Form Builder block available on the free version of Nexter Blocks?
No. The Form Builder block is part of Nexter Blocks Pro. The base Nexter Blocks collection is free on WordPress.org, but this block sits in the Pro tier.
How many fields should a contact form actually have?
Three: name, email, and message. Zuko’s benchmarking data shows completion rates dropping as fields increase, and a general contact page rarely needs more than those three to do its job.
Does the Security Code field fully replace a CAPTCHA?
It stops most automated bot submissions on its own, but it is a lighter-weight challenge than a full CAPTCHA. For a site that draws heavier spam traffic, add Google reCAPTCHA through Nexter Extension’s Captcha Spam Protection on top of the Security Code field.
Suggested Reading
- How to Create a Contact Form in WordPress (With and Without a Plugin)
- How to Build a Full WooCommerce Product Page Using Nexter Blocks (Step by Step)
- Nexter Blocks Repeater: How to Build Dynamic Layouts with ACF and JetEngine
