












An even grid treats every photo as equally important, which is rarely true.
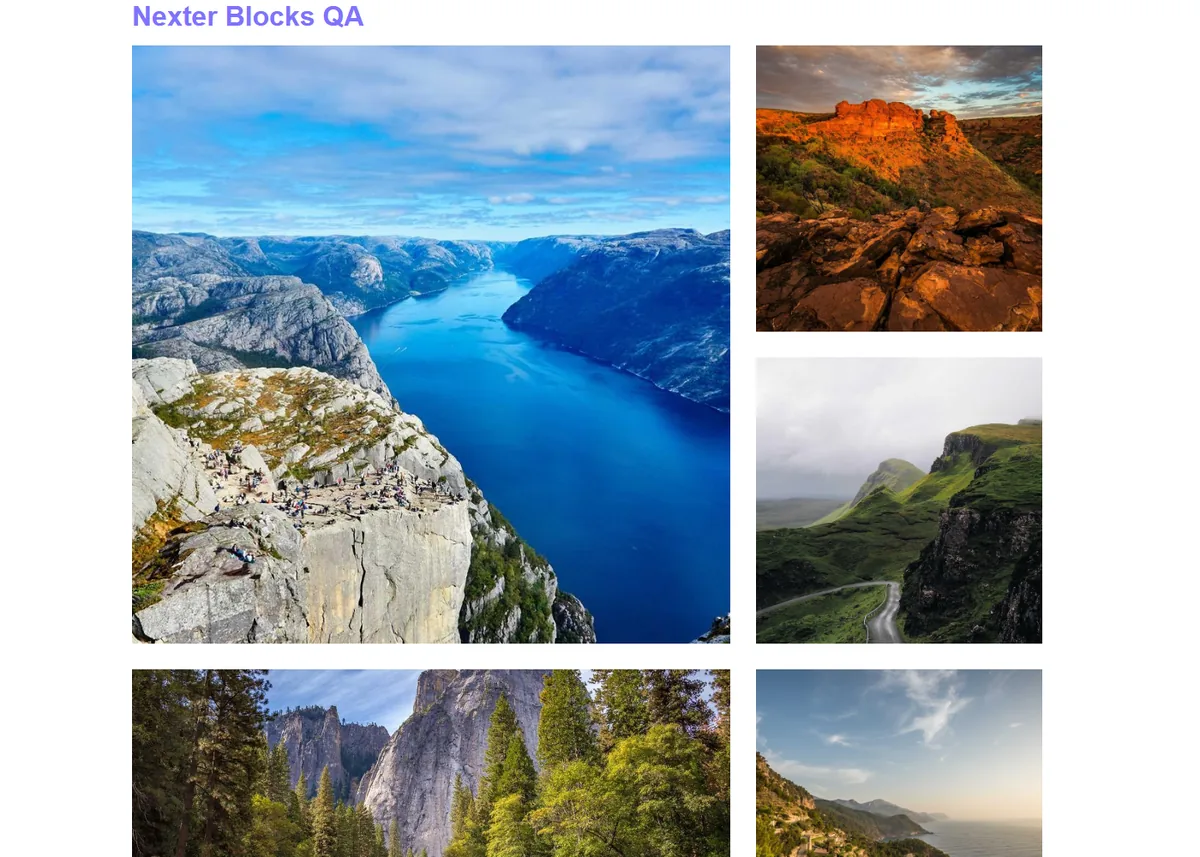
The metro layout in the Media Listing block mixes large and small tiles in a repeating pattern, so your best shots get more room.
For every Media Listing setting in one place, see the Media Listing block guide.
Before You Start
- Edition: Pro — the Media Listing block is part of Nexter Blocks Pro.
- Block to enable: Media Listing, switched on under Nexter > Blocks in your WordPress dashboard.
- Your images uploaded: add them to the Media Library first so you can pick them straight from the block.
Steps
- Add the Media Listing block to your page and click Design from Scratch.
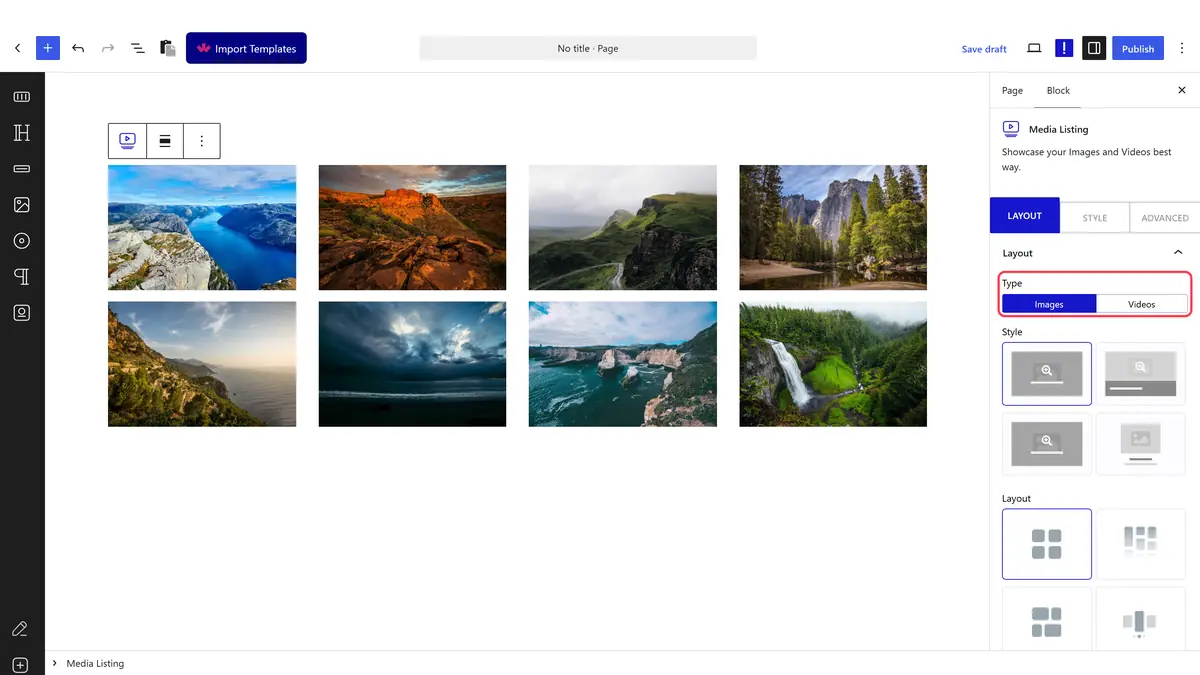
- In the Layout panel, set Type to Images.
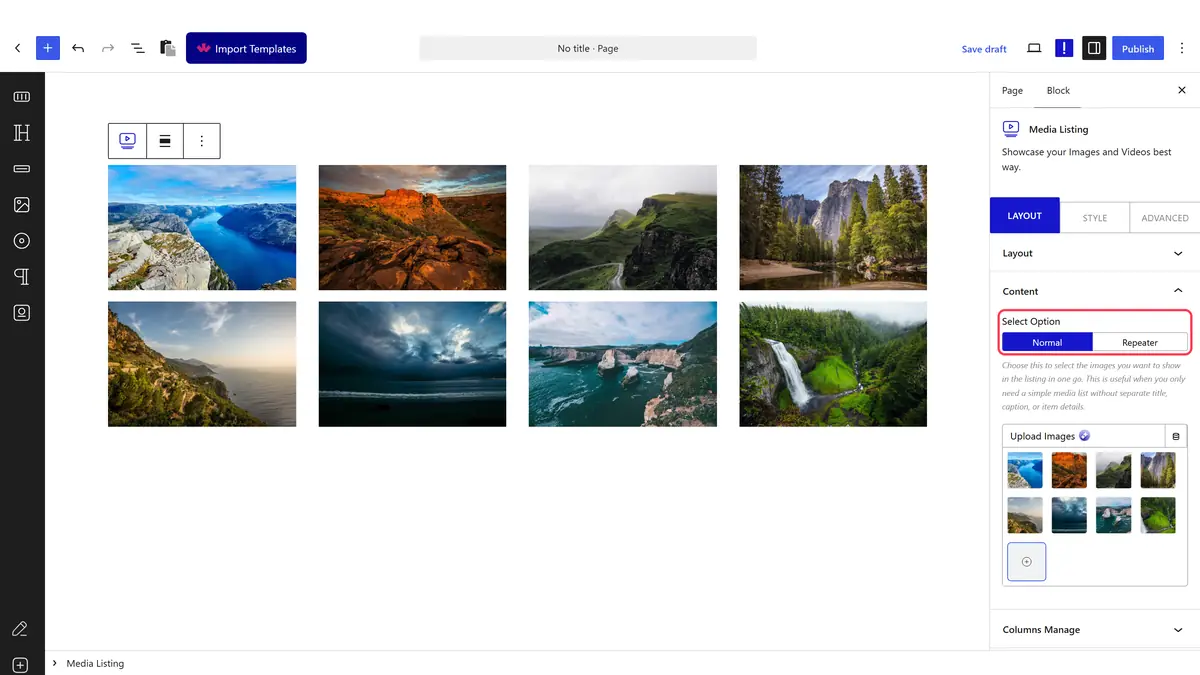
- Open Content and pick your images with Select Option on Normal.
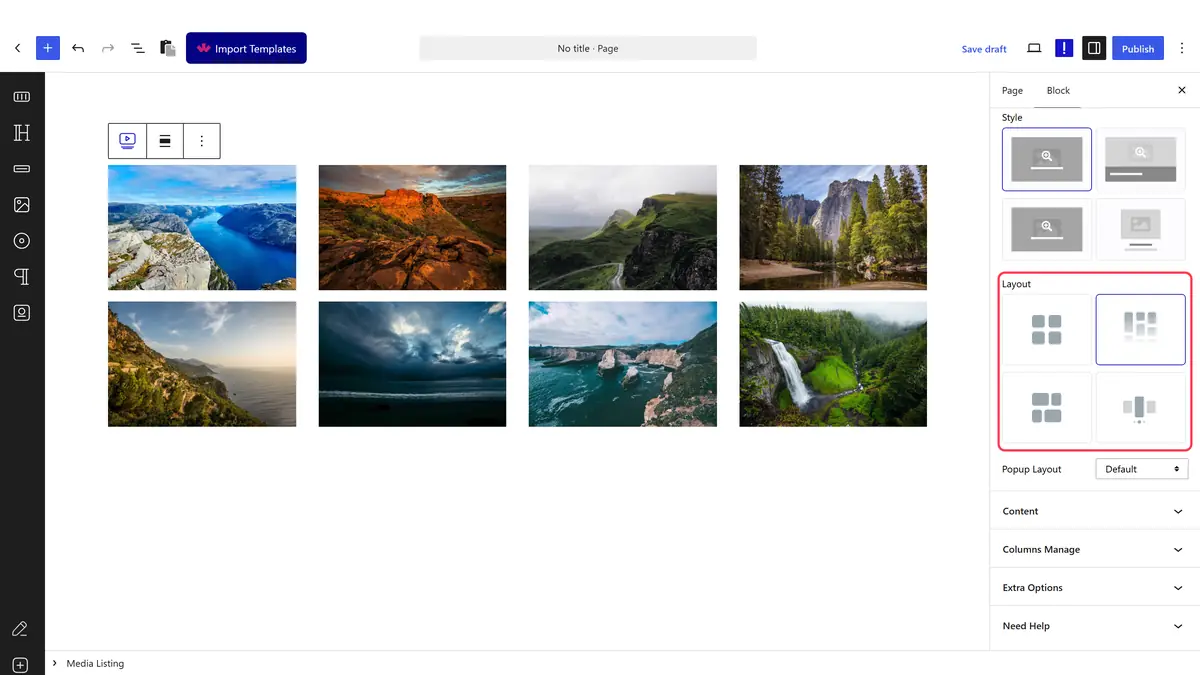
- Still in Layout, set Layout to Metro.
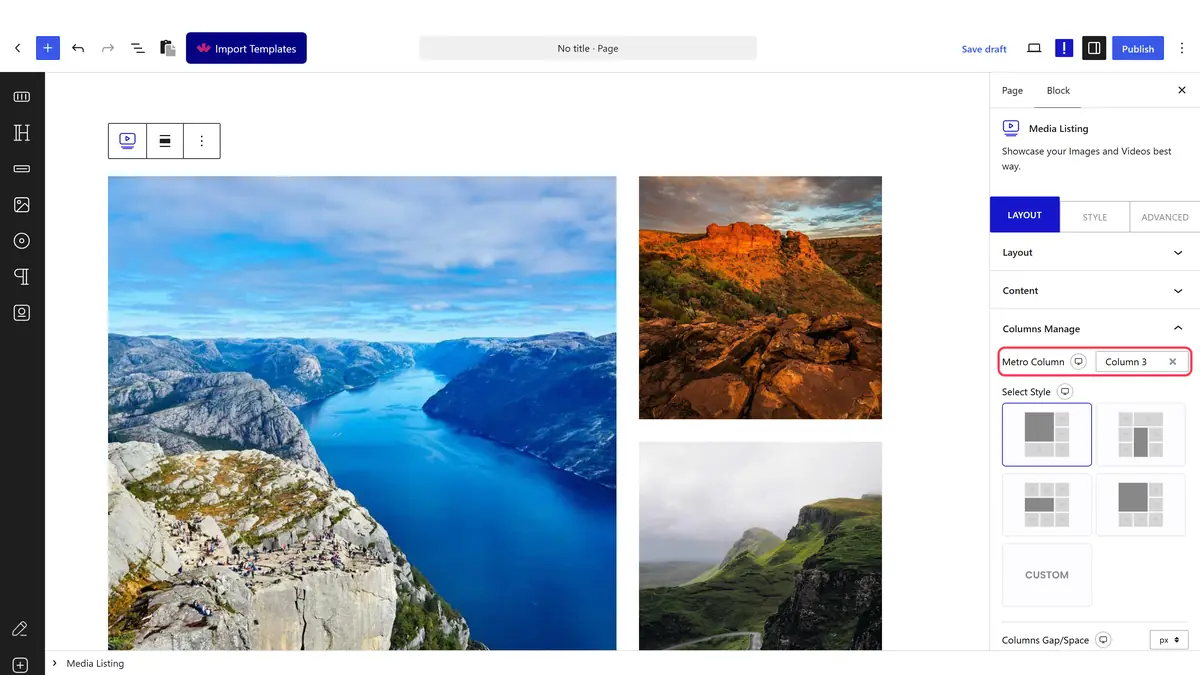
- In Columns Manage, set Metro Column to control how wide the pattern runs.
- Pick a Metro Style for the arrangement, then publish.
How It Behaves
- The built in metro styles repeat a fixed pattern. In a four column gallery the first tile renders at double size and the rest fill in around it.
- The pattern repeats as you add more images, so the arrangement stays consistent down the page.
- Because tiles differ in size, the images are cropped to fill their tile rather than shown whole.
- Clicking a tile opens the lightbox unless Popup Layout is set to No.
Limitations
- Pro only.
- You cannot choose which photo lands in the large tile other than by reordering your images.
- Tiles crop to fill, so photos with the subject near an edge can lose it.
- For a pattern of your own, use the custom metro layout instead.
Troubleshooting
Every tile is the same size
Check that Layout is set to Metro and that Metro Column is high enough for the pattern to have room. With very few columns there is nothing to vary.
The wrong photo is in the big tile
The pattern is fixed, so reorder the images in the Content panel until the one you want falls into that position.
