












A custom cursor across a whole site gets tiring; inside one section it reads as deliberate.
Setting the cursor area to Row limits it to a single Nexter Container.
For every Mouse Cursor setting in one place, see the Mouse Cursor block guide.
Before You Start
- Edition: Pro — the Mouse Cursor block is part of Nexter Blocks Pro.
- Block to enable: Mouse Cursor, switched on under Nexter > Blocks in your WordPress dashboard.
- A Nexter Container around the section you want to change.
Steps
- Add the Mouse Cursor block and click Design from Scratch.
- Set Cursor Area to Row.
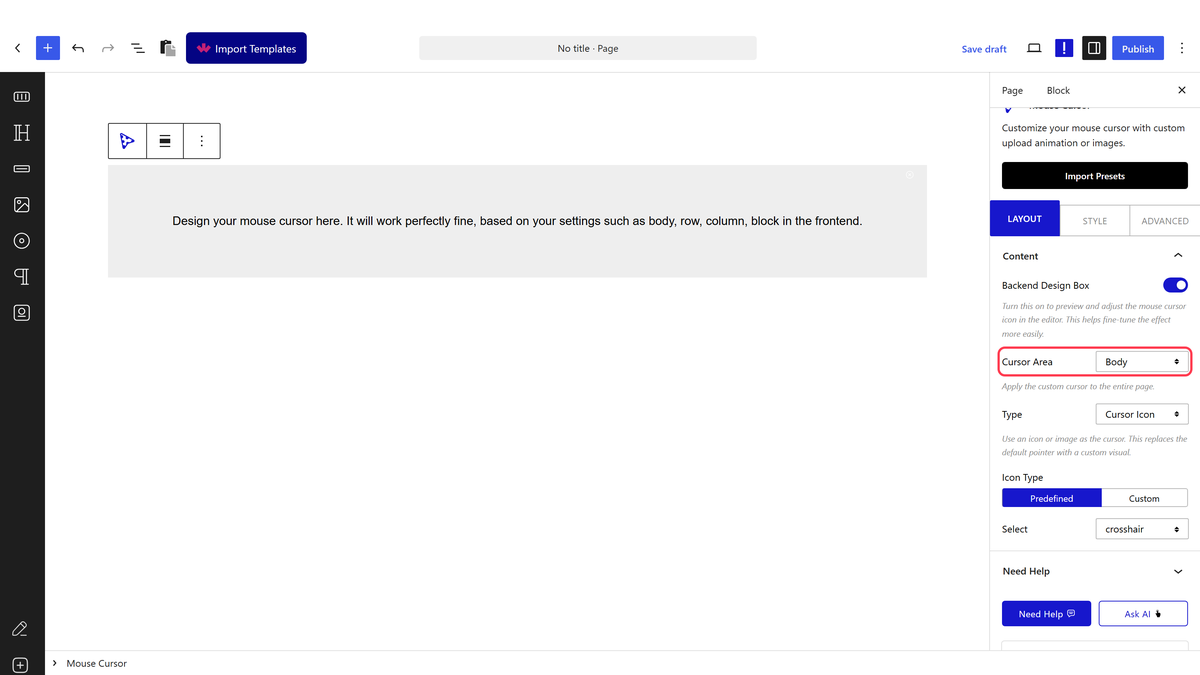
- Put the Mouse Cursor block inside the Nexter Container whose row you want to change.
- Choose a Type and set it up as you would for the whole page.
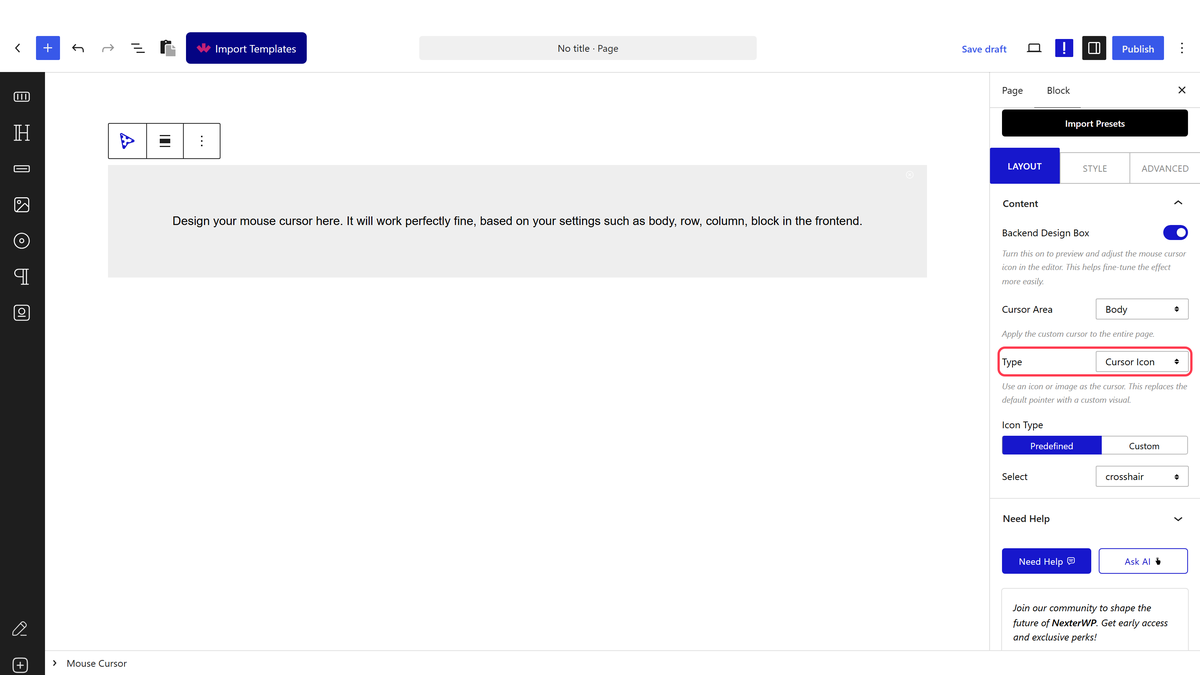
- Publish, then move the mouse in and out of that section.
Where the block sits decides what it affects. For Body it can go anywhere on the page. For Row and Column it must be inside a Nexter Container. For Block it must come immediately after the block you want to change.
How It Behaves
- The cursor changes inside that container and nowhere else. Measured: a paragraph inside the container computed
cursor: grabwhile a paragraph outside it stayedauto. - The block attaches itself to the nearest Nexter Container section around it, so it does not matter where in the container you put it.
- Every Type works here, not just the plain cursor icon.
- Several containers can each have their own cursor, each with its own Mouse Cursor block.
Limitations
- Pro only.
- It must be a Nexter Container. In an ordinary group block or a theme section there is nothing for the block to attach to and nothing happens at all.
- To target one block rather than a whole section, use ” + a(BLOCK_DOC, “the block area”) + “
- Touch screens have no cursor, so phone and tablet visitors see none of this.
Troubleshooting
Nothing changes anywhere
The block is not inside a Nexter Container. A core Group will not do — there is no matching section for the block to find.
The cursor changes on the whole page
Cursor Area is still on Body. Set it to Row.
It changes in a bigger area than I wanted
The block attached to an outer container. Move it into the inner one, or use the column or block area instead.
