


Are your WordPress emails going to spam or not being delivered at all? By default, WordPress uses the PHP mail function to send emails — but many hosting providers don’t support it well. This often leads to important emails (like contact form messages, order confirmations, or password resets) ending up in spam folders or getting blocked completely. If you’re running a business or e-commerce site, this can be a serious issue.
Using Gmail SMTP (Simple Mail Transfer Protocol) is a reliable solution. With the Nexter Extension (Free) plugin, you can easily set up SMTP using Gmail SMTP.
How to Set Up Gmail SMTP with the Nexter Extension

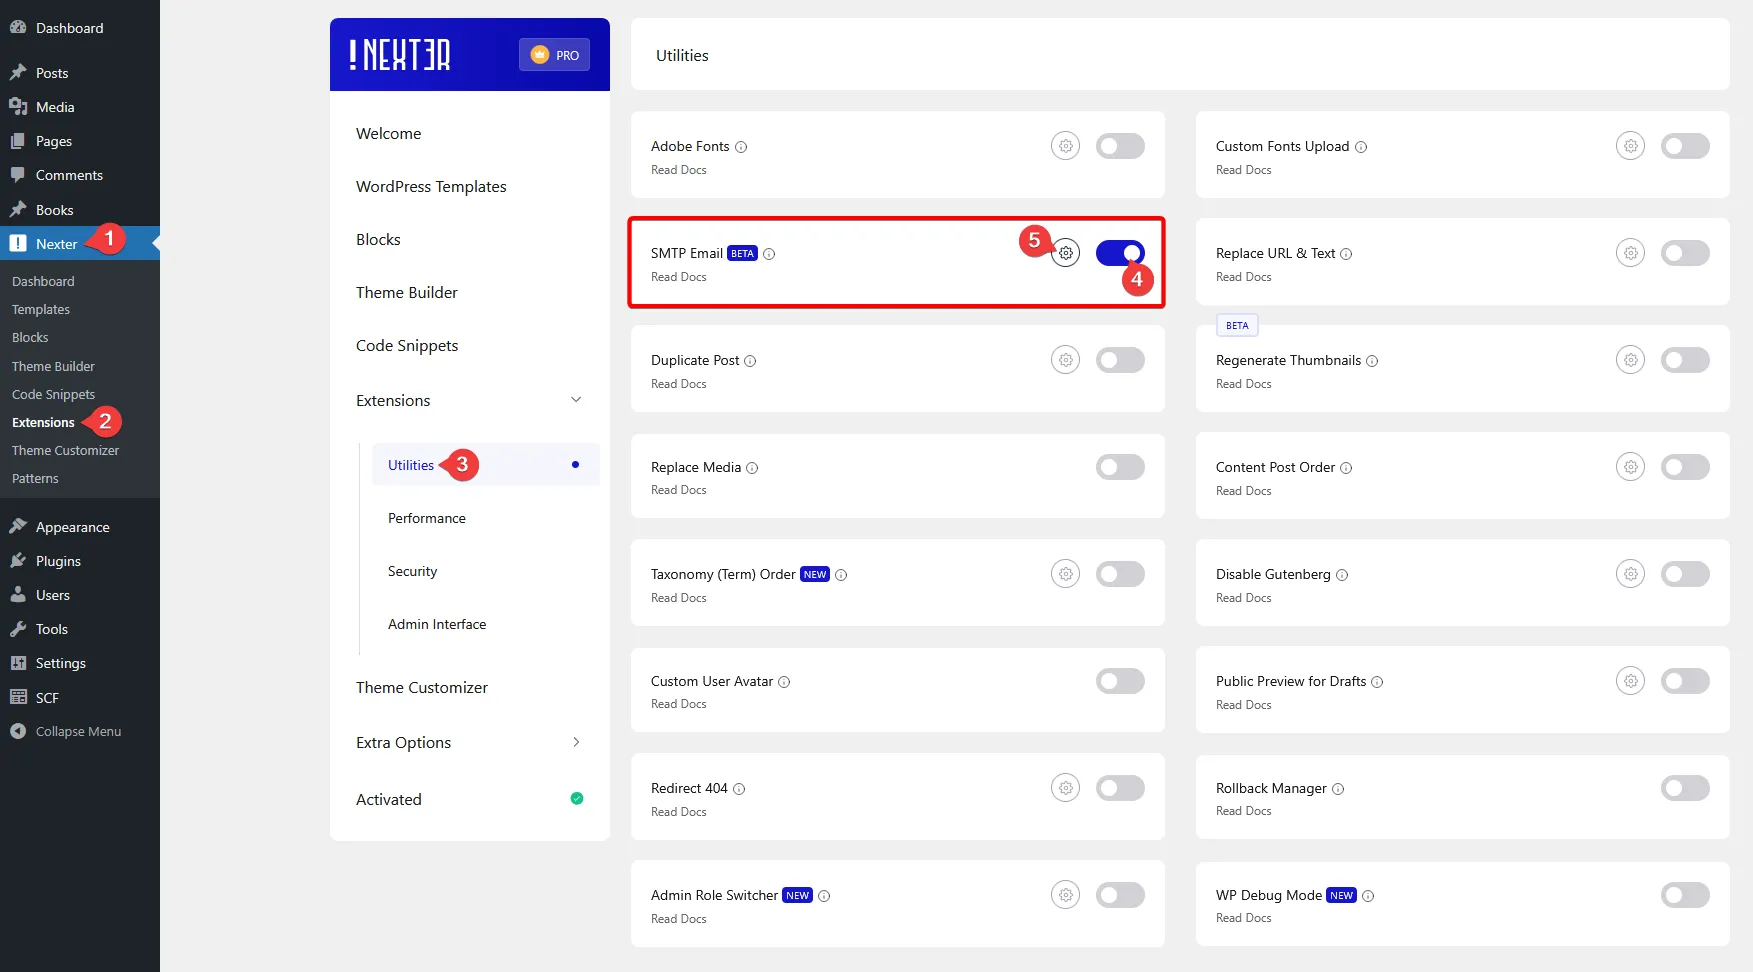
To set up Gmail SMTP with Nexter Extension, from the WordPress Dashboard, go to Nexter > Extensions > Utilities.
Then go to the SMTP Email section, enable the toggle and click on the gear icon (⚙).
It will open the SMTP Email pop-up, then go to the Gmail SMTP tab.
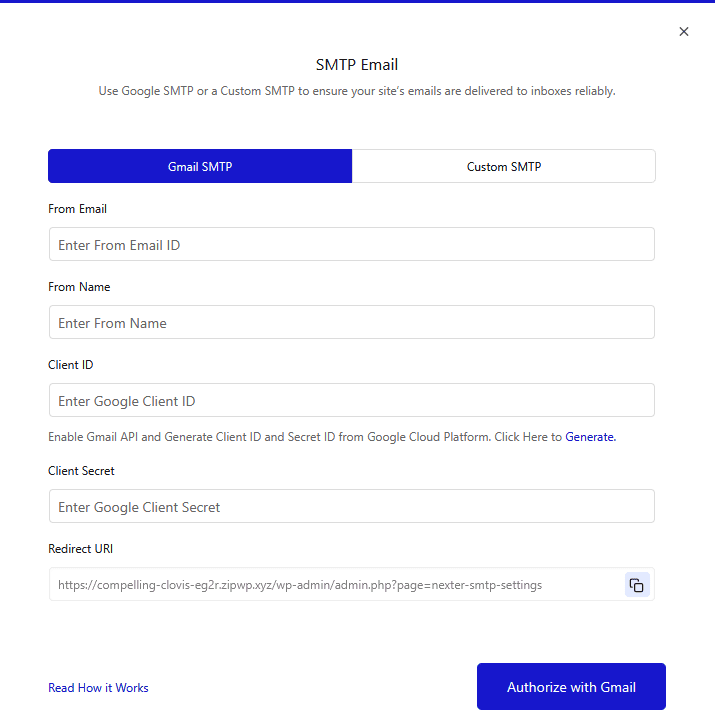
To use Gmail SMTP, you have to generate a client ID and a client secret.
Generate Google Client ID and Client Secret
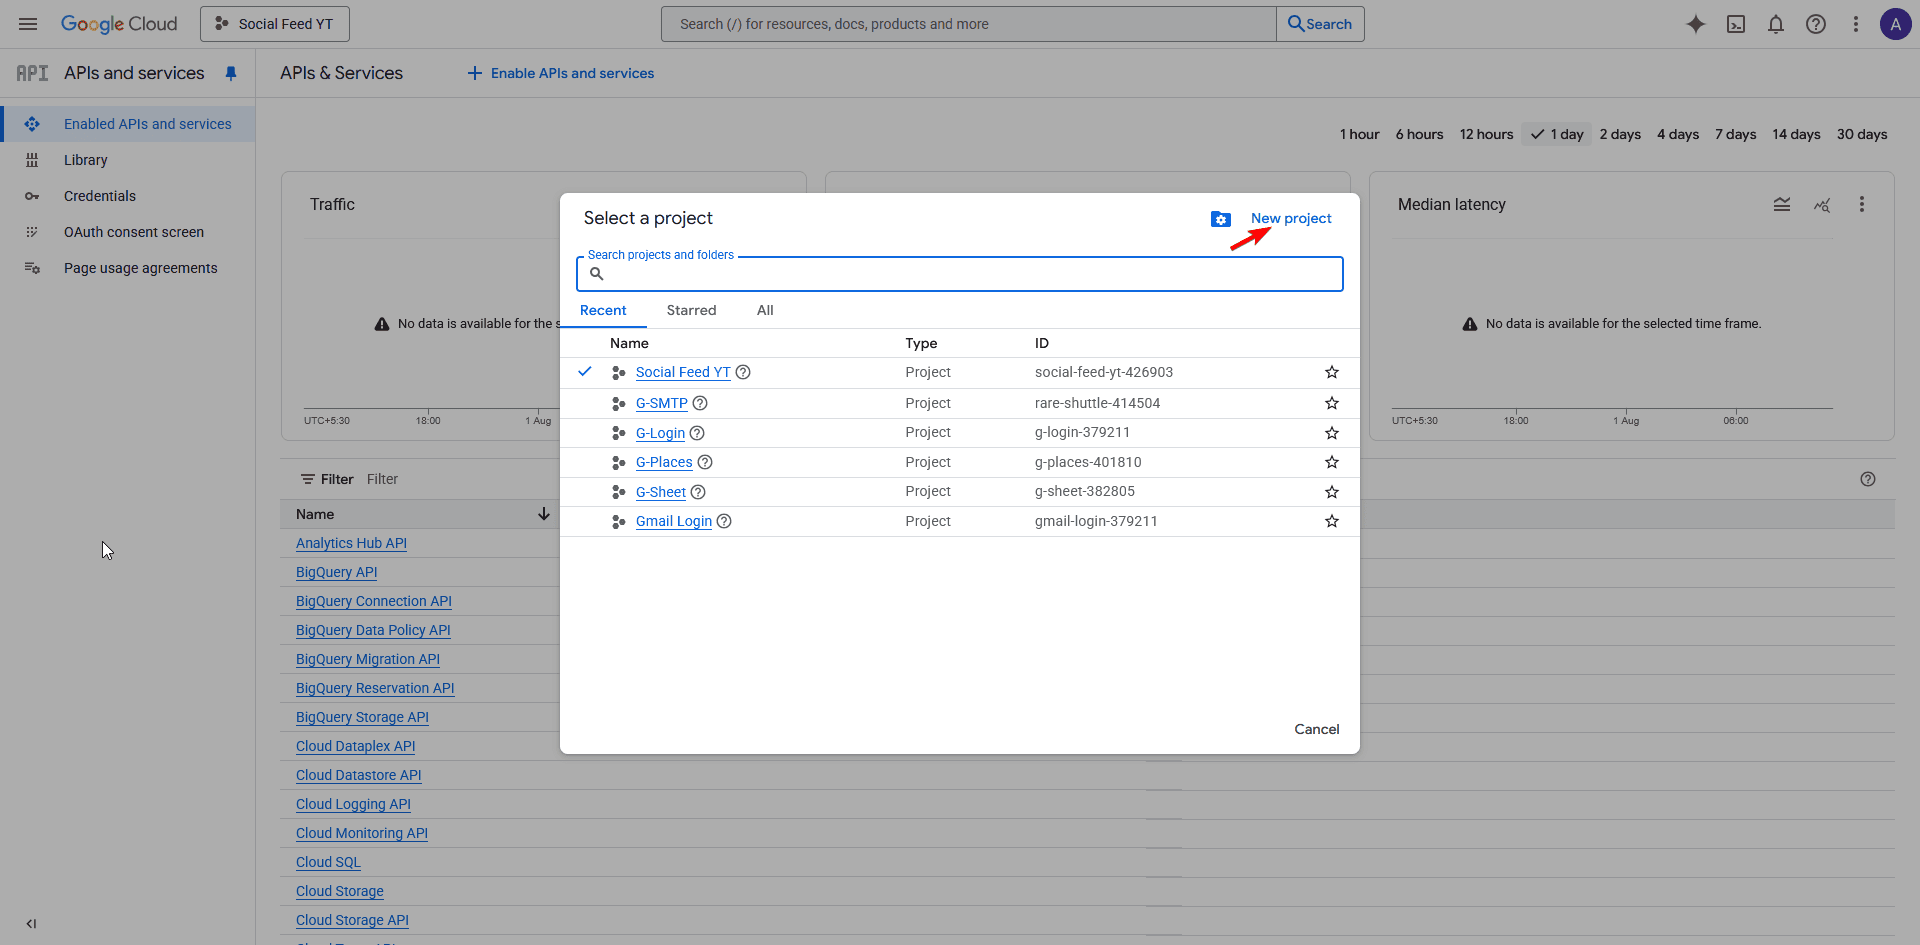
1. For this, you have to log in to your Google account and go to the Google Developers Console.
2. If you don’t have any projects created, then click on the CREATE PROJECT link, but if you already have a project, then click on the current project name. It will open a pop-up, then click on the New Project link there.
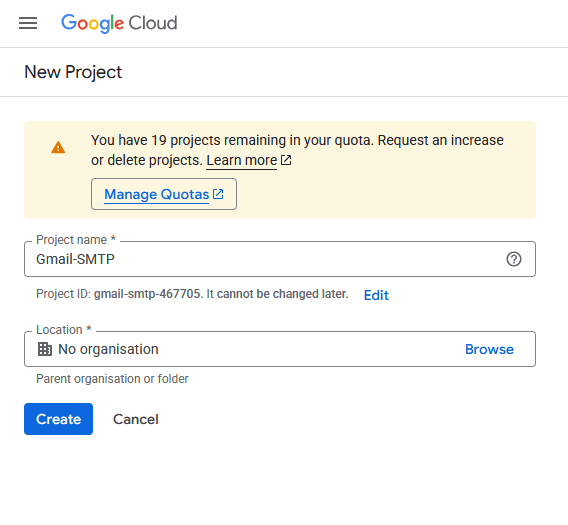
3. On the next screen, add your Project name and click the CREATE button.
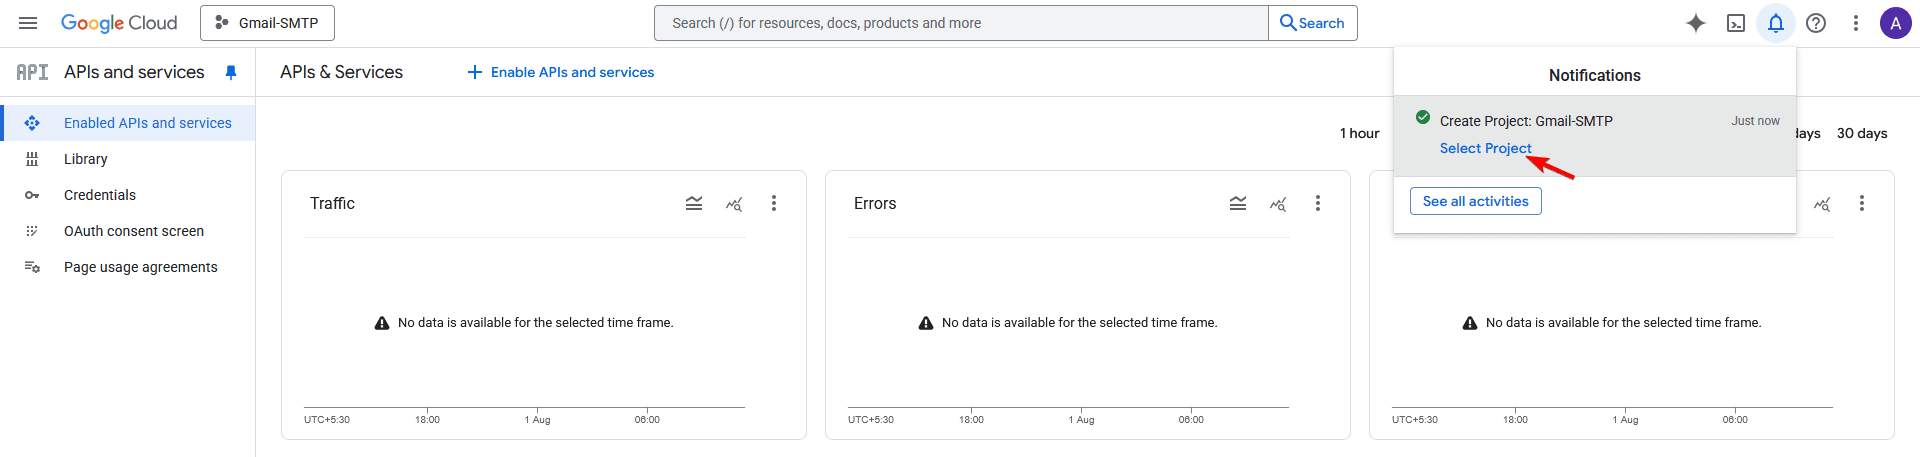
4. Once the project is created, a notification will show; click on the Select Project link there to switch to the new project.
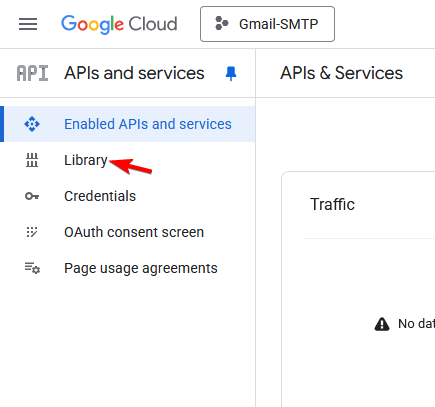
5. Then go to the Library from the left sidebar.
6. Then search for “Gmail API”.
7. From the search result, click on the Gmail API.
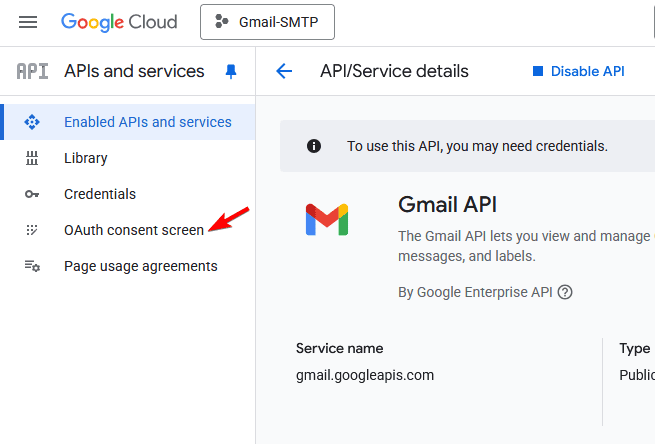
8. On the next page, click the Enable button.
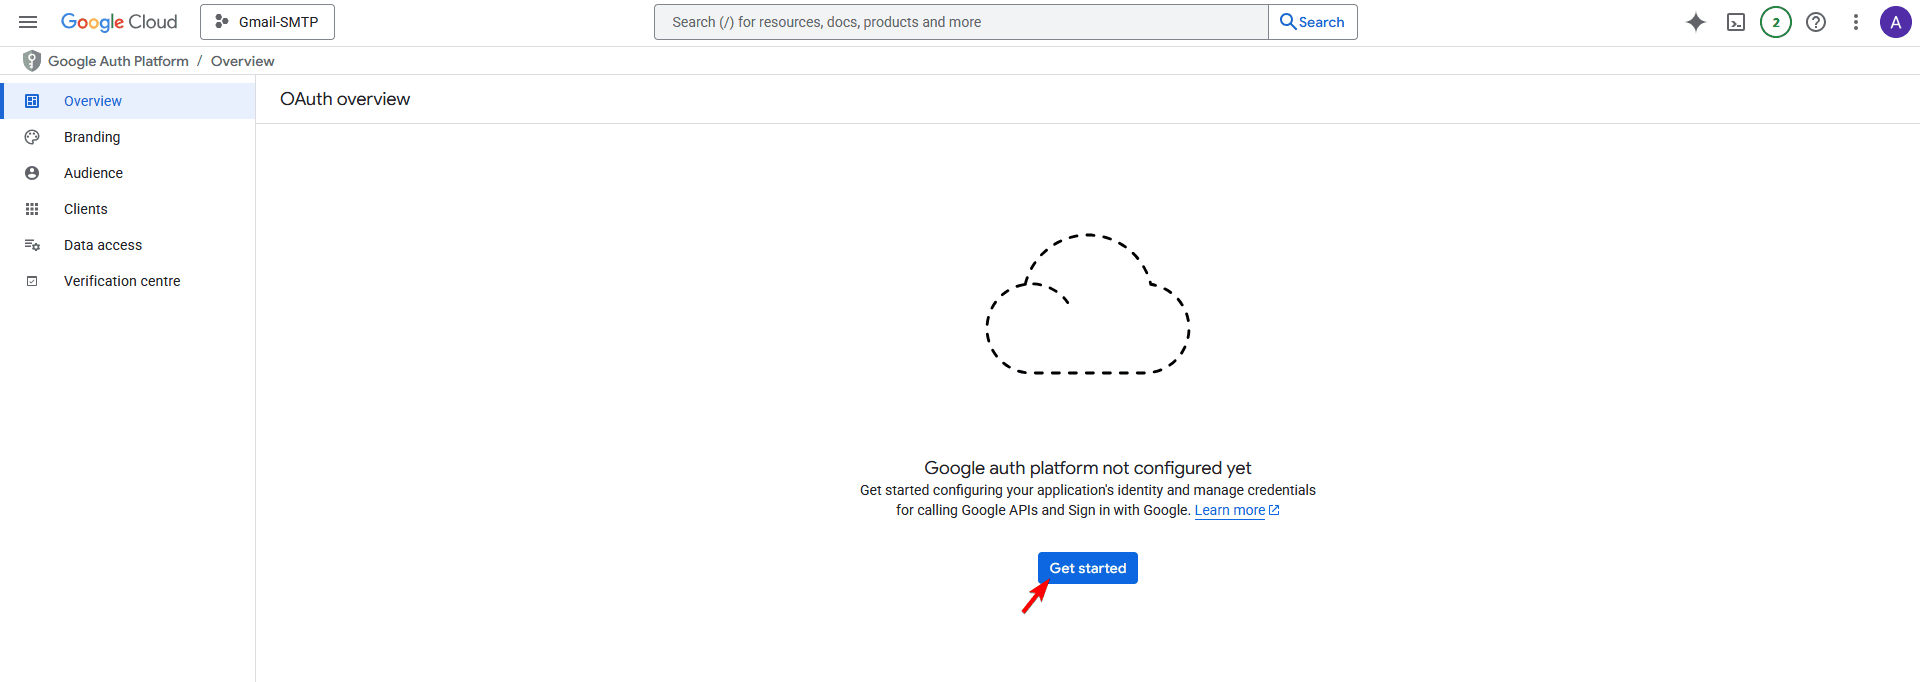
9. After that, click on the OAuth consent screen from the left sidebar.
10 Then click on the Get Started button.
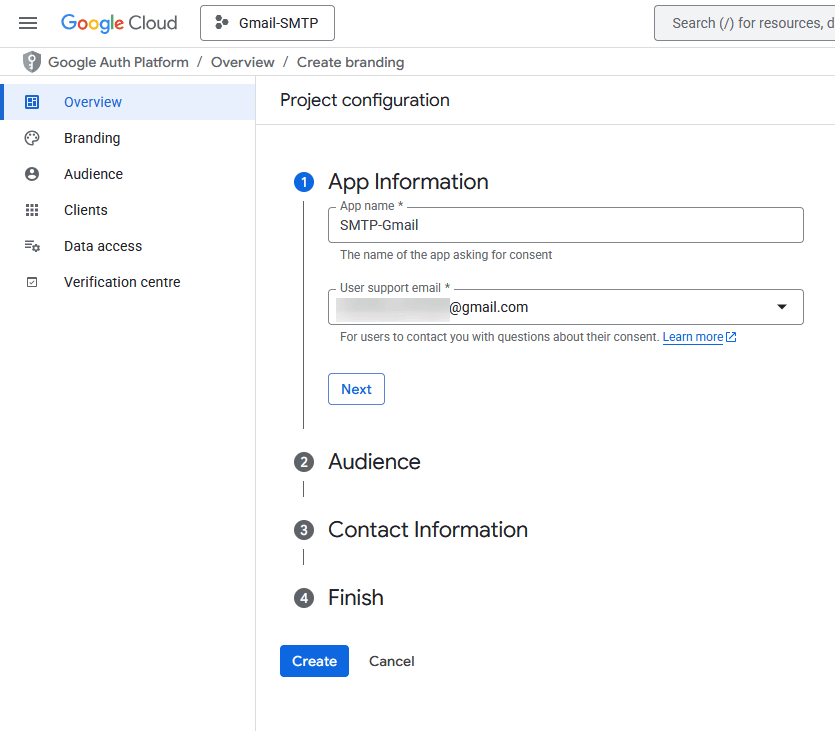
11. Then add your app information. Enter the app name and the user support email, then click on the Next button.
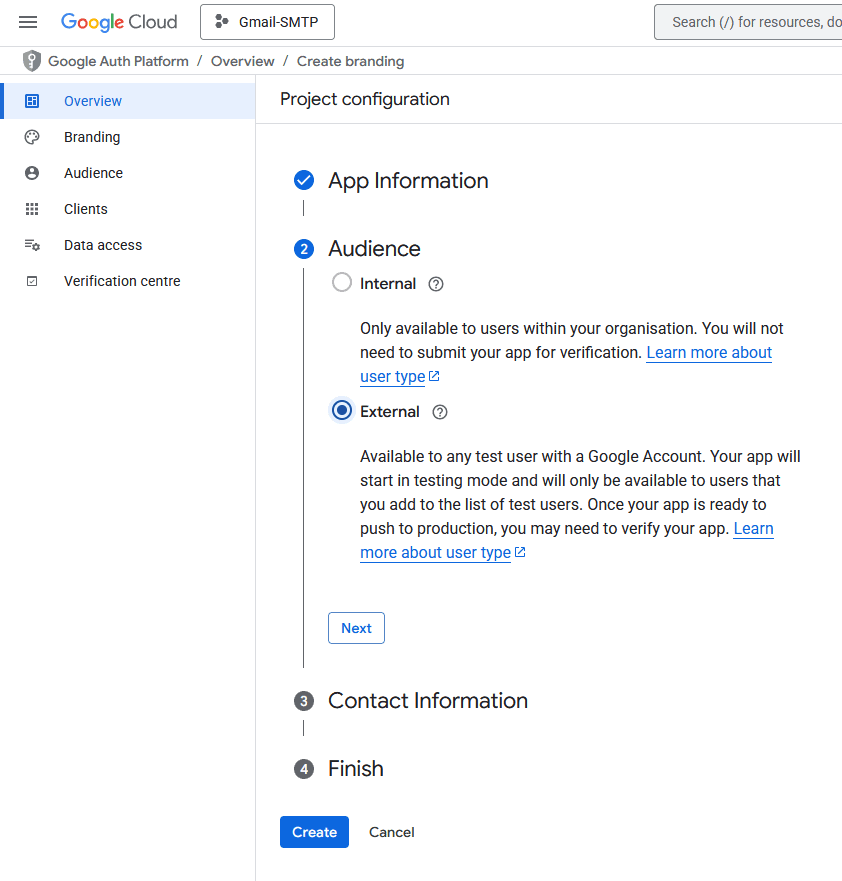
12. Then select the Audience as External and click on the Next button.
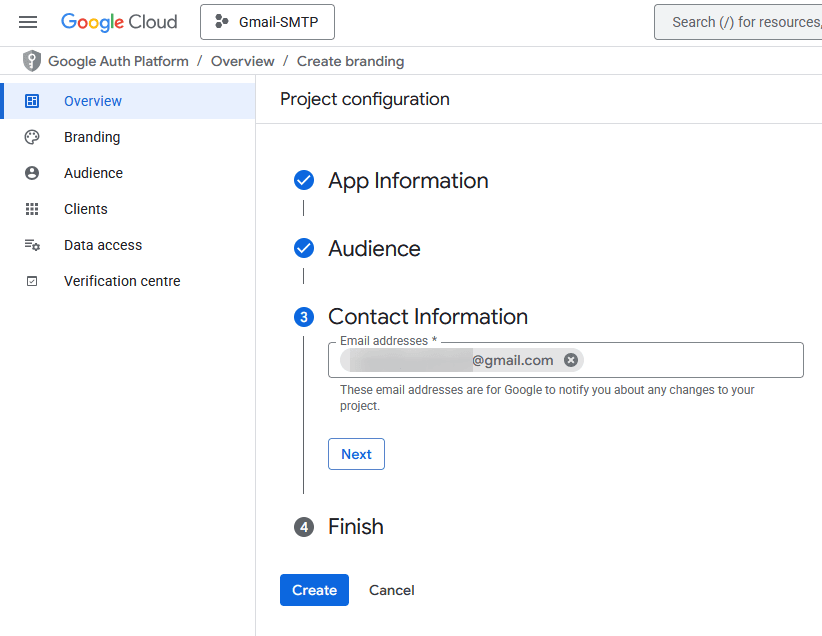
13. After that, add a contact email address and click on the Next button.
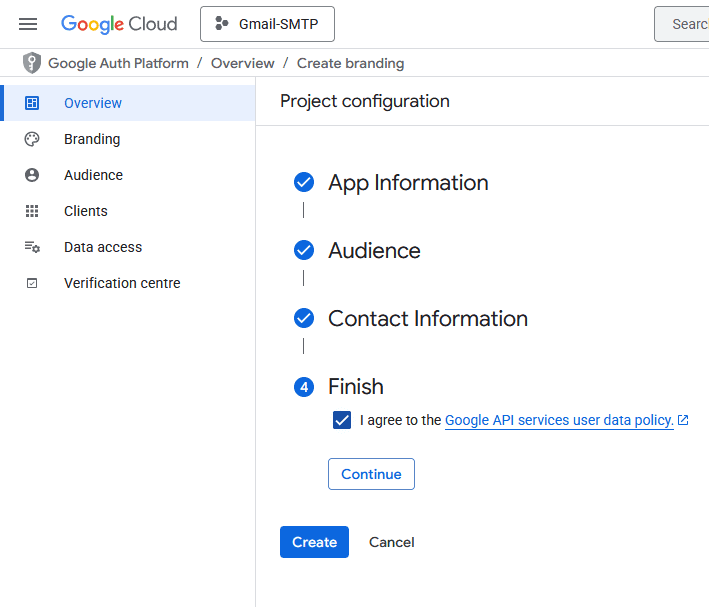
14. Then, check the Google API services user data policy and click on the Continue button.
Once done, click on the Create button.
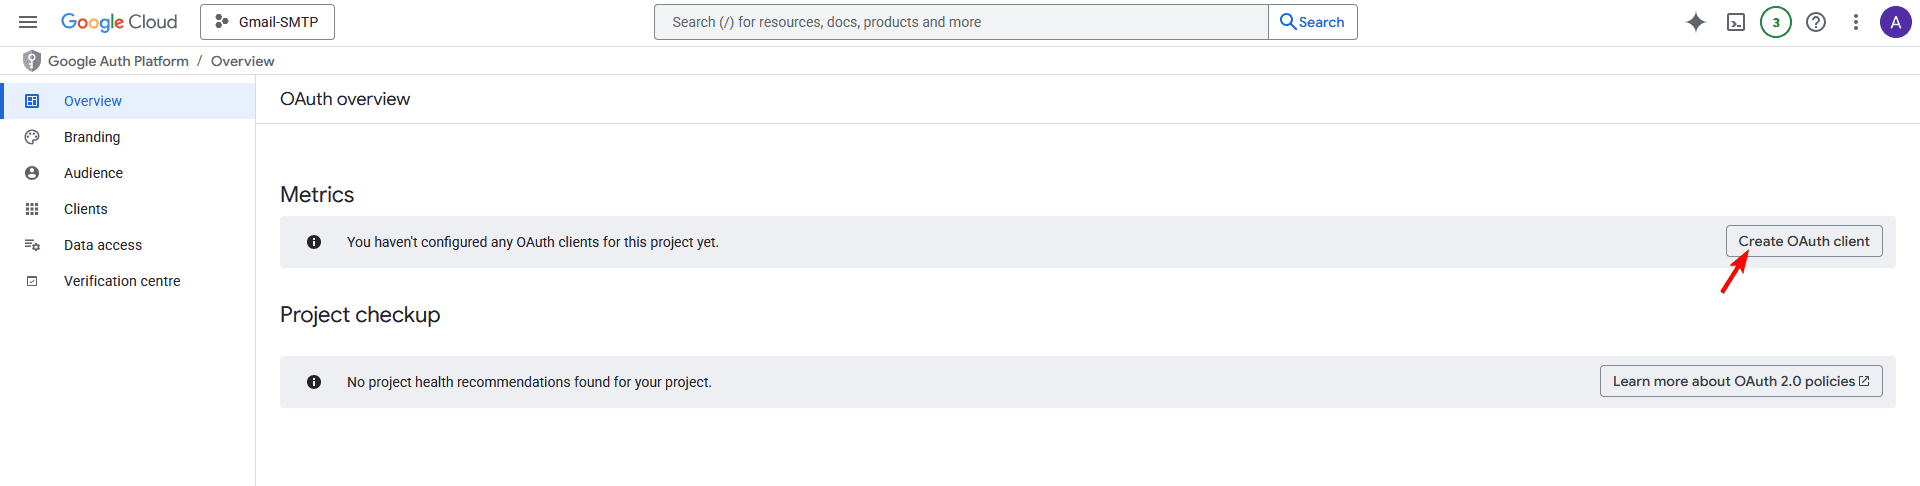
15. On the next page, click on the Create OAuth client button.
16. Then, from the Application type dropdown, select Web application.
You can keep the Name as it is.
17. After that, in the Authorised JavaScript origins section, click the ADD URI button and add your website URL – Example: https://www.yourwebsite.com.
18. Then, in the Authorised redirect URLs section, click on the ADD URI button, then go back to the Nexter Email SMTP popup and copy the Redirect URI and paste it here.
19. Once done, click on the Done button.
20. Now you’ll see the Client ID in a pop-up. You can copy it into a notepad and click on the OK button.

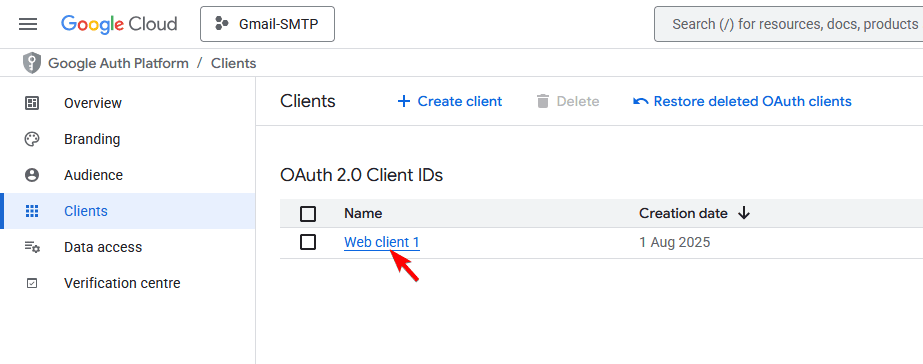
21. On the next screen, click on your client name.
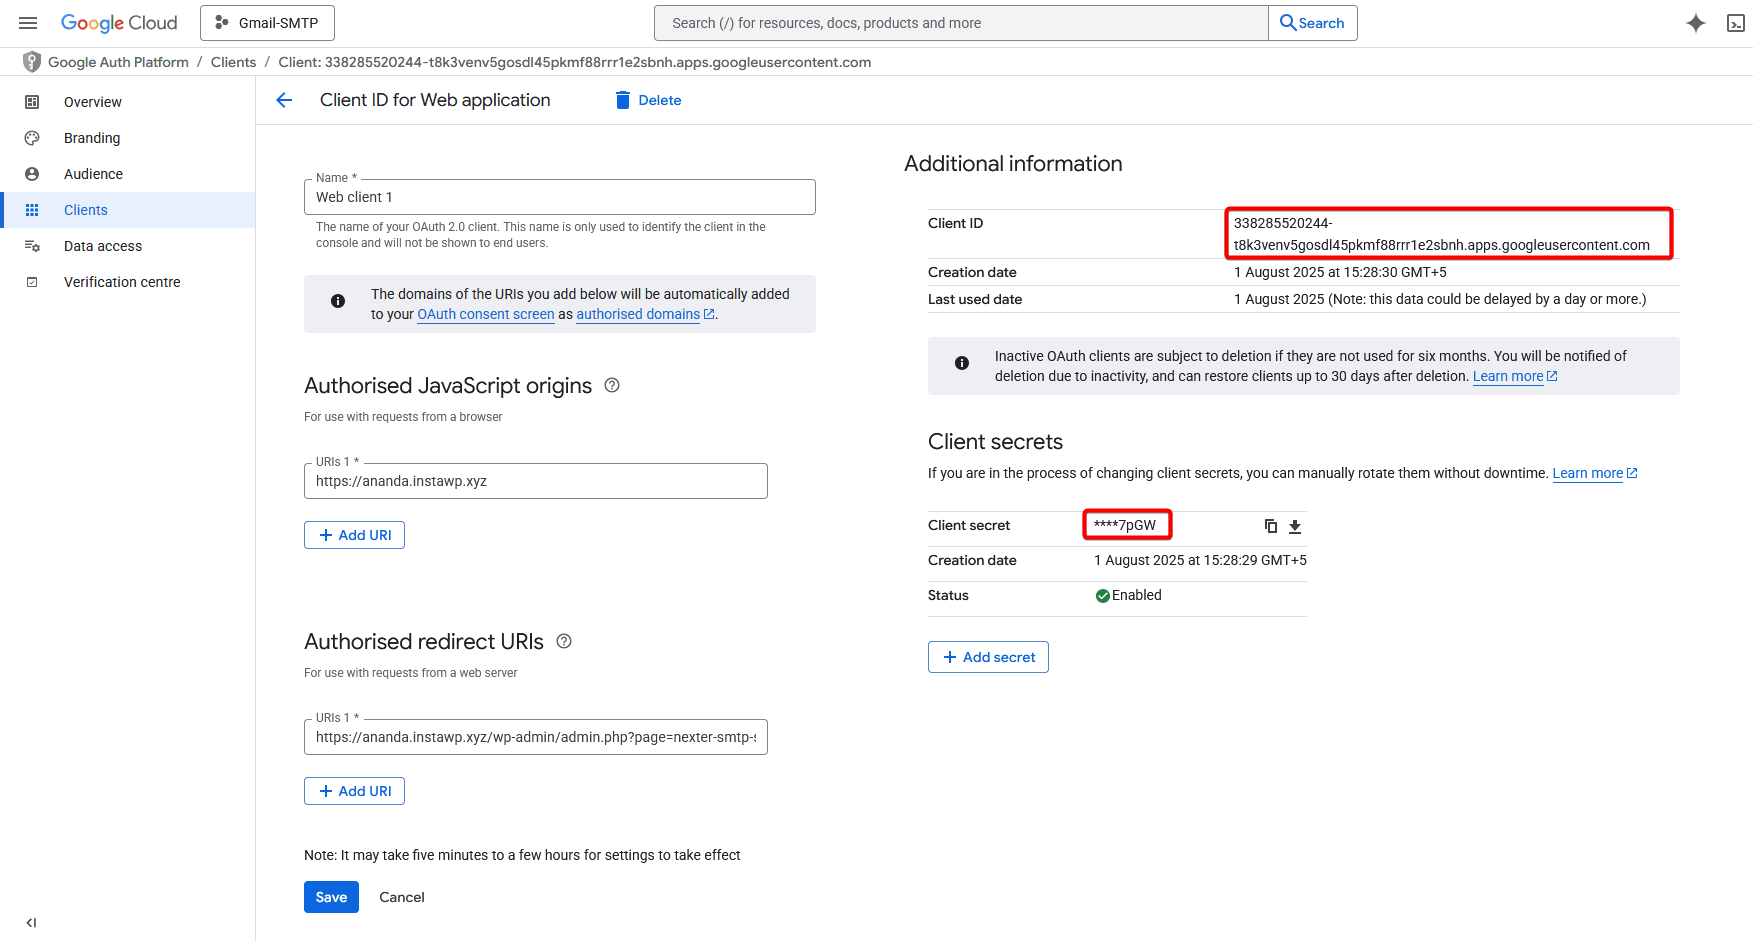
22. On the next screen, you’ll see both Client ID and Client Secret.
Copy both in a notepad.
Set up Gmail SMTP with the Nexter Extension
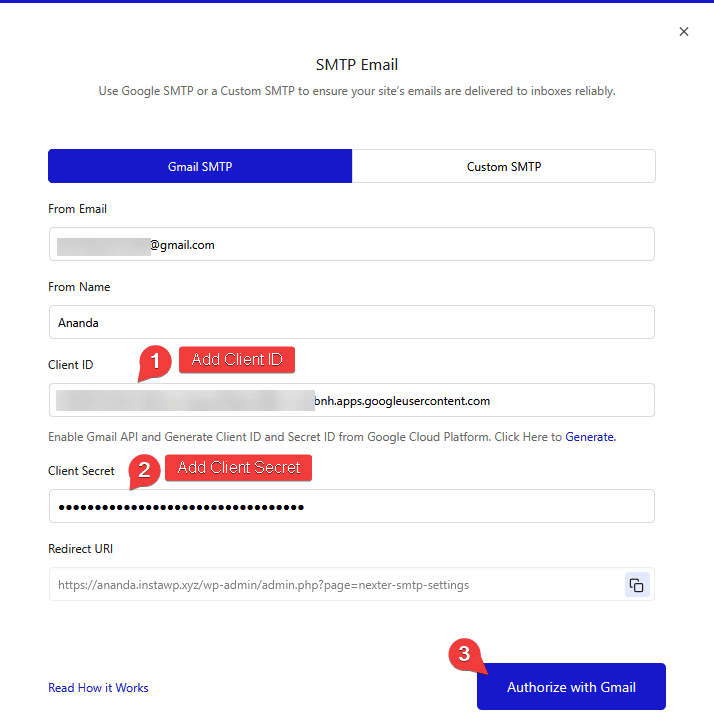
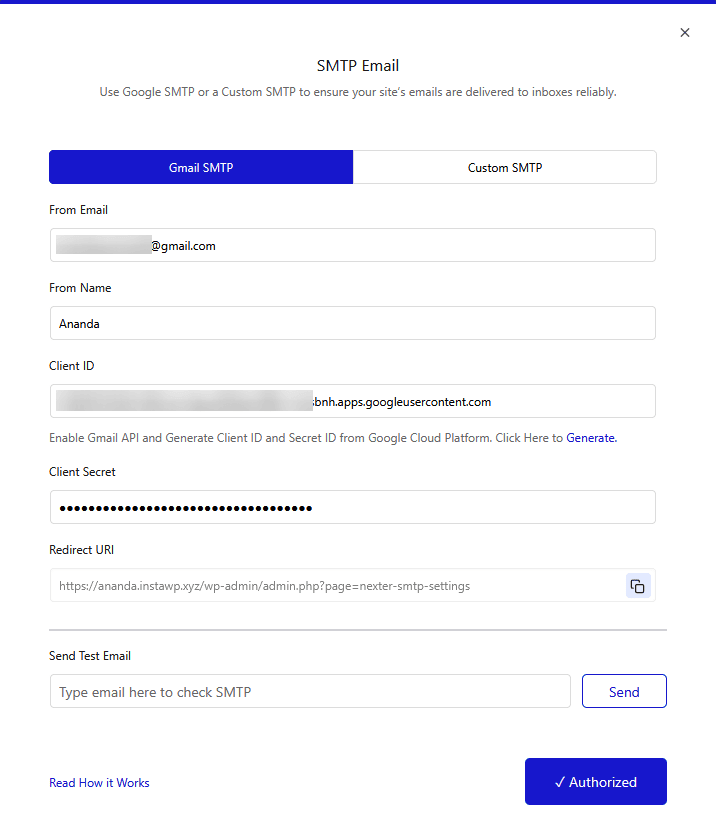
1. Now, in the Nexter SMTP pop-up, add a sender email and name in the From Email and From Name fields.
2. Then add the Client ID and Client Secret in the Client ID and Client Secret fields.
3. After that, click on the Authorize with Gmail button.
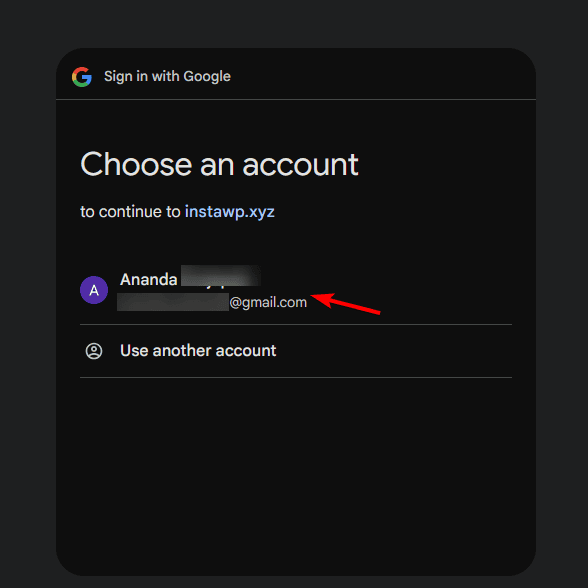
4. It will open a pop-up, select the same Gmail account that you’ve used to create the app.
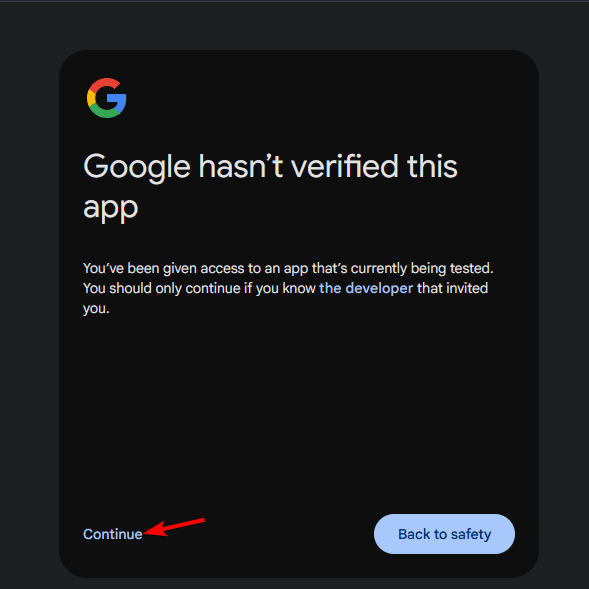
5. Then click on the Continue link to bypass the Google verification.
6. On the next screen, again click on the Continue button.
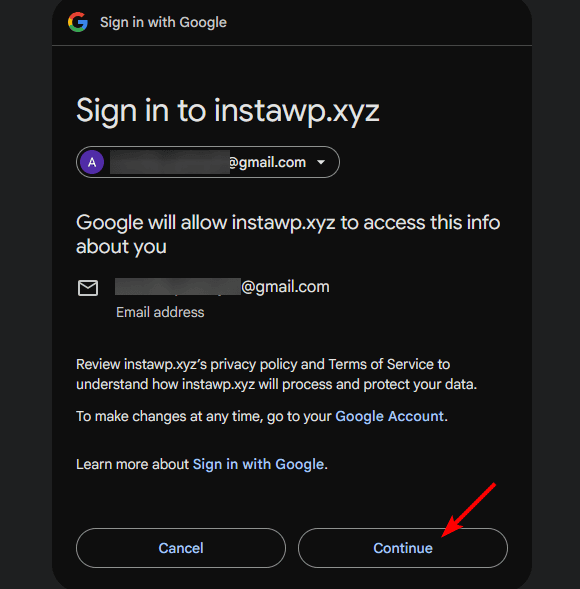
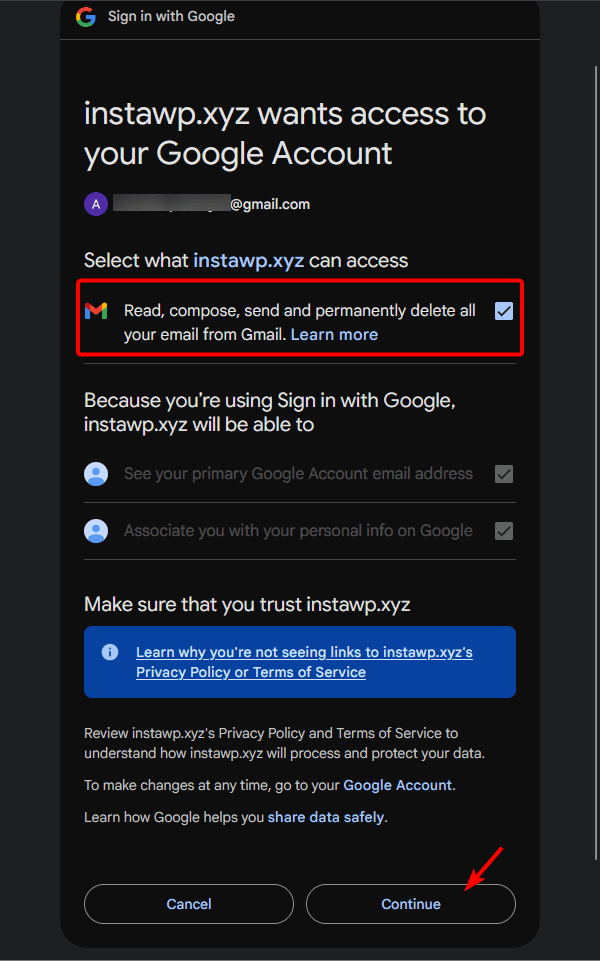
7. Then, in the next screen, allow all permissions and click on the Continue button.
8. Now you’ll see your app has been authorized.
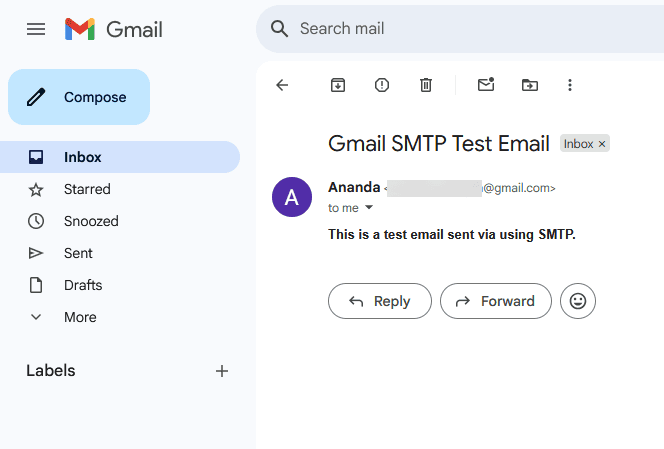
Send Test Email
Once authorized, you’ll see a field to send a test email, add an email ID, and click on the Send button to verify the connection.
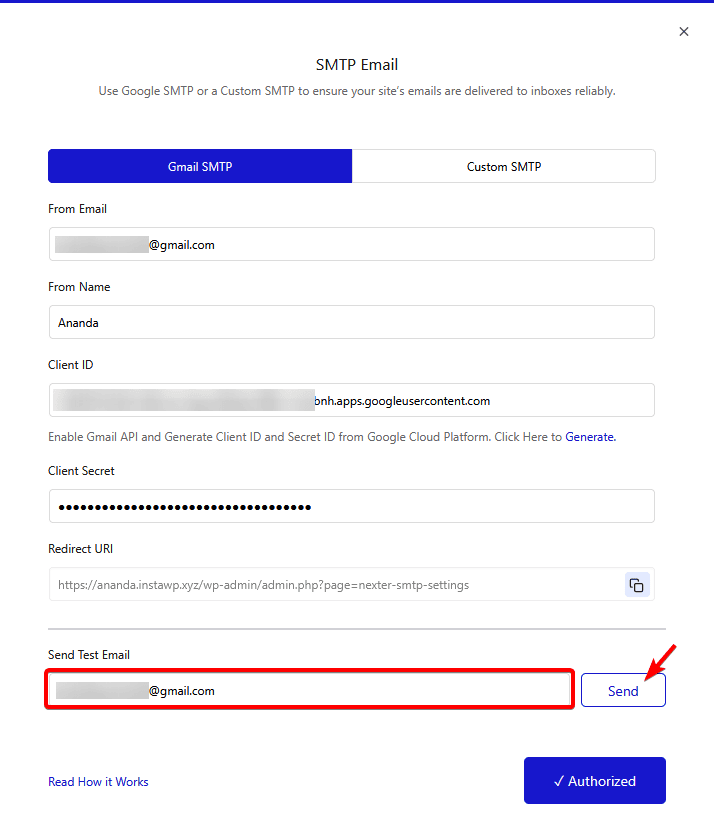
You should receive a test email in your entered email address.