


Regenerating thumbnails in WordPress is an important task when it comes to managing and optimising your website’s images. This process ensures that your images are displayed correctly and in the appropriate sizes.
With the Nexter Extension (Free) plugin you can easily regenerate the thumbnails.
Before we jump into the process, let’s understand why you need to regenerate thumbnails in WordPress.
- Sometimes, WordPress users may face an issue where their featured images appear cropped or out of proportion.
- WordPress saves images in different sizes when they are uploaded, and these sizes can be overridden by the theme being used.
- Regenerating thumbnails allows you to update all thumbnail sizes for one or more images that have been uploaded to your Media Library.
- Regenerating thumbnails is useful when a new thumbnail size has been added and you want past uploads to have a thumbnail in that size.
Learn via Video Tutorial

To regenerate thumbnails in WordPress, follow the steps.
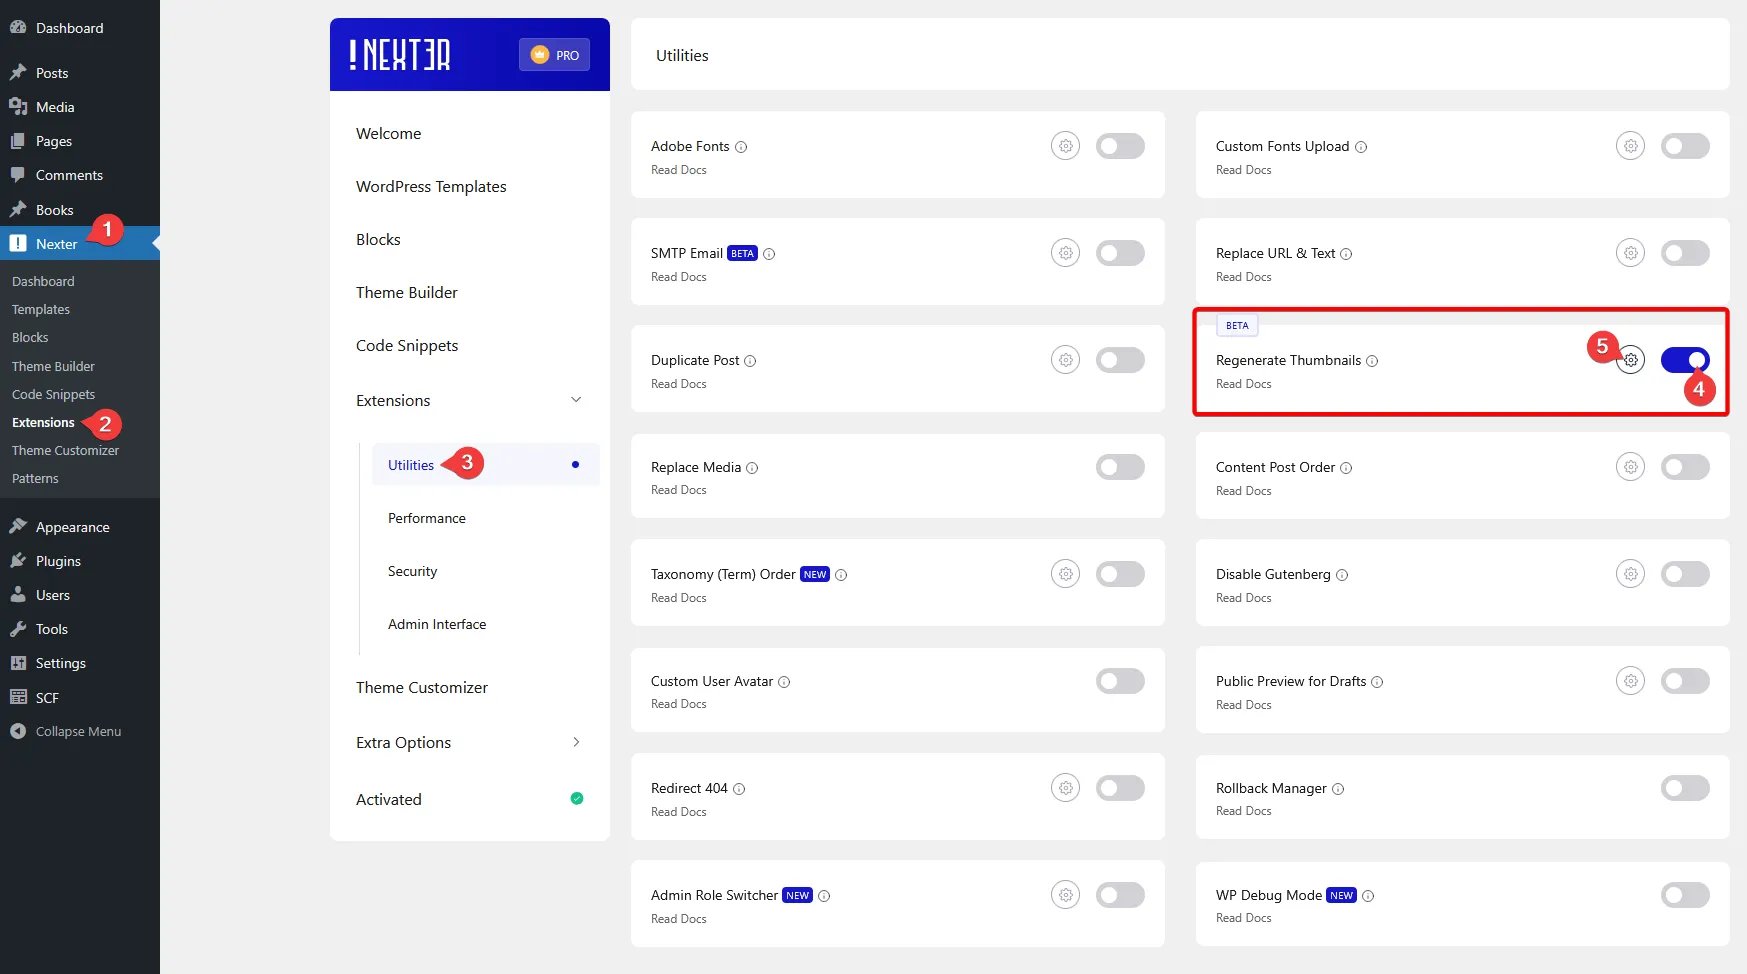
Go to Nexter > Extensions > Utilities.
Then go to the Regenerate Thumbnails section and enable the toggle, after that click on the gear icon (⚙).
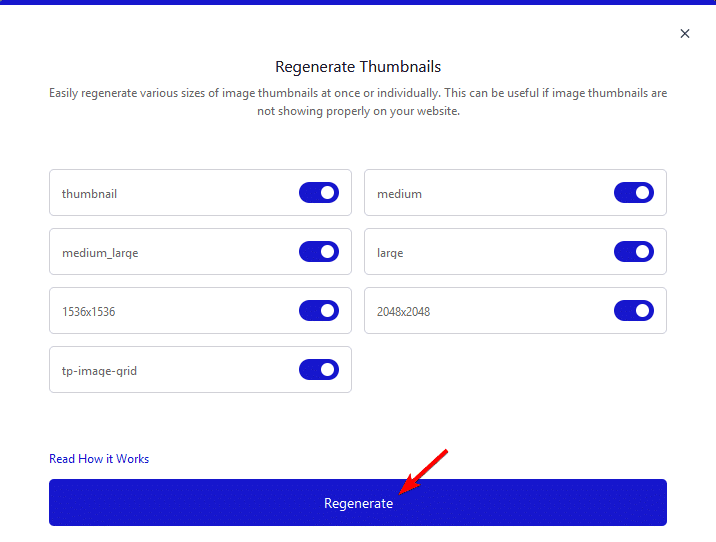
Now you’ll see a popup where you’ll find different thumbnail size options, turn on the toggles for the sizes you want to generate thumbnails for.
Note: Ensure you have enabled the PHP Module Imagick to regenerate thumbnails.
Once done, click on the Regenerate button and the thumbnails will be generated.
How to Enable PHP Module Imagick in Your Server?
The PHP Module Imagick will be enabled by default with most good hosting providers.
But if it is disabled for some reason, the best option would be to ask your hosting provider to enable it.
Alternatively, if you are using cPanel’s WebHost Manager (WHM) you can follow this guide to install and enable Imagick.
For a standard cPanel, go to Software section > Select PHP Version.
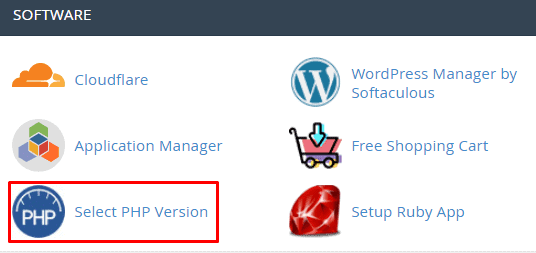
Image source Hostinger.
On the next page, click the Extensions tab, and find the imagick extension in the list and click the checkbox to enable it.

But if you want to enable PHP Module Imagick in your XAMPP localhost, you can follow this guide.