Creating an archive template in WordPress allows you to design a custom template for displaying archive pages such as category, tag, author, date archives etc. With a custom archive template, you can add your own style and content to these pages, providing a more engaging and cohesive user experience.
Requirement – This is a feature of Nexter Extension (Free) plugin, make sure its installed & activated to enjoy all its powers.
With Nexter Theme Builder, you can create custom archive templates for posts, categories, tags, date archive, author archive, and more. This means you can display your archive pages with your own custom design and content instead of the default WordPress design.
To create an archive template using the Nexter Theme Builder, follow the steps –
1. From the Dashboard, go to Nexter Extension > Theme Builder > Add New Template.
2. In the popup, select Archive Page from the Select Template dropdown.
3. Then, in the Name of Template field, add the template name.
4. Then, click on the Next button.
5. On the next screen, you have to set the appropriate display conditions. From the Include/Exclude dropdown, you can choose whether to show or hide the template in the selected locations.
6. Then from the second dropdown, you have to select the location. Here you’ll find many single page template related location options –
- All Archives – This will target all the archive pages, like post, search, author, category etc.
- Author Archive – This will target the author archive page.
- Date Archive – This will target the date archive page.
- Search Results – This will target the search results archive page.
- Default Posts Archive – This will target the default posts archive page i.e the blog page.
- Posts : Categories – This will target the post category page, you can also select individual categories from Condition Type dropdown.
- Posts : First Child Category – This will target the immediate subcategory page of a category, you can also select individual parent categories from Condition Type dropdown to target its first child category.
- Posts : All Child Category – This will target all the subcategory pages of a category, you can also select individual parent categories from Condition Type dropdown to target its subcategories.
- Posts : Tags – This will target the tag archive page.
Note: You’ll get additional display options (plugin specific) for Elementor, WooCommerce and custom post types.
Select the appropriate option for your template.
Based on the option selected, you’ll get an additional field to select the individual item of the source.
Note: You can add multiple locations.
You can click on the + Add Conditions button to add additional conditions. Follow the same process to add multiple conditions.
Note: Using multiple conditions, you can include the template in a certain location and exclude it from a certain location at the same time.
From the Preview Type and Preview ID dropdowns, you can select a post type and individual post respectively to check the template preview.
So when you check the template preview using the WordPress Preview option, it will use your selected archive page.
7. Once done, then click on the Create button.
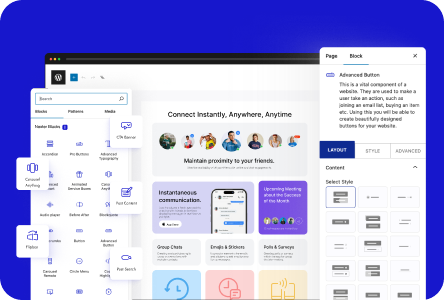
8. Then it will open the WordPress editor, where you can use the WordPress blocks or Elementor to create the actual layout and content of the template. Be sure to use archive related blocks or widgets to ensure that your content is displayed correctly.
For WordPress block editor users, you can use the blog builder blocks available in Nexter Blocks to enhance your template building experience. And for Elementor users, you can use the blog builder widgets available in The Plus Addons for Elementor.
9. Once done, publish the template.
Now your archive template will be created and will show as per the set display conditions.
Also, check How to Add an Action & Filter Hook in WordPress Website.


