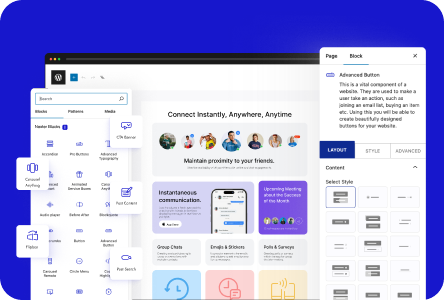
Infobox carousel allows you to present key information in a compact, visually appealing format. By connecting the navigation of the infobox carousel with the Remote Carousel, you can make interesting carousel navigation.
To check the complete feature overview documentation of the Nexter Blocks Infobox block, click here.
Requirement – This block is a part of the Nexter Blocks, make sure it’s installed & activated to enjoy all its powers.
To connect these two blocks, first, add both the Infobox and the Carousel Remote block to the page and follow the steps.
1. In the Infobox block, select Carousel from the Select Layout section, and then select an appropriate style.
2. Then add the required content from the Infobox section.
3. After that, go to the Connection tab and add a unique ID in the Unique Carousel ID field.
4. Now select the Carousel Remote block, then go to the Connection tab and add the same ID in the Unique Carousel ID field.
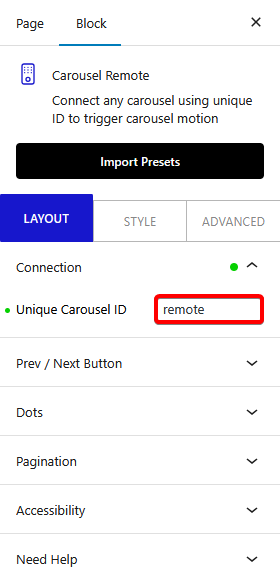
5. Now, you can have two different types of navigation for the Carousel Remote block, the Next and Previous Button and Dots (image or icon). You can use either one or both.
a) To use the next previous button go to Prev / Next Button tab and turn on the Button toggle, make sure the Carousel option is selected from the Connection section and you’ll find some additional customization options as well.

b) But if you want to use dot navigation then go to the Dots tab and turn on the Dots toggle, now make sure to have the same number of dot items as the number of slides in your carousel. You will get some customization options for your dots as well.

Note: You should disable all the navigation options for the Infobox Block for the best user experience.
Now you can easily control your infobox carousel navigation from a different location on your page.
