












Carousel arrows usually have to sit next to the carousel, which is exactly where they compete with the content for attention.
A remote lets the controls live somewhere else on the page — beside a heading, in the next column — and still drive the carousel.
For every Infobox setting in one place, see the Infobox feature guide.
Before You Start
- Edition: Free — the Infobox block works in Nexter Blocks (free) and with Nexter Blocks Pro.
- Block to enable: Infobox, switched on under Nexter > Blocks in your WordPress dashboard.
Steps
- Add the Infobox block and set its Layout to Carousel.
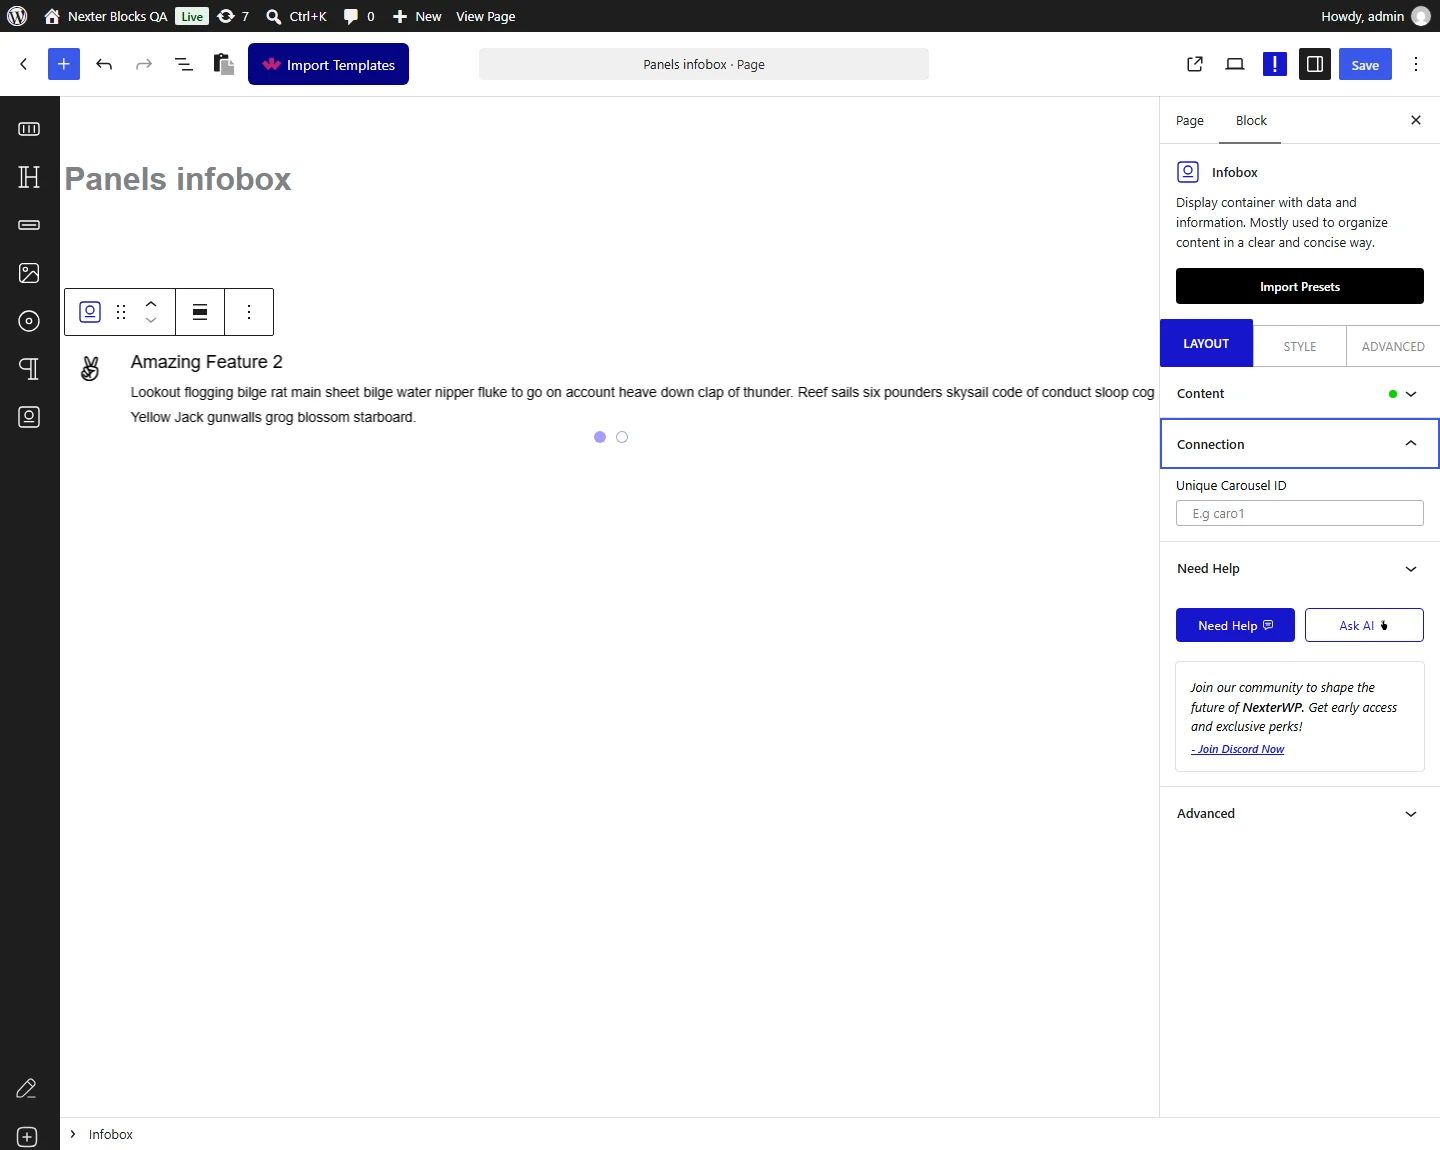
- Give the carousel a Carousel ID — any short name, used only to pair the two blocks.
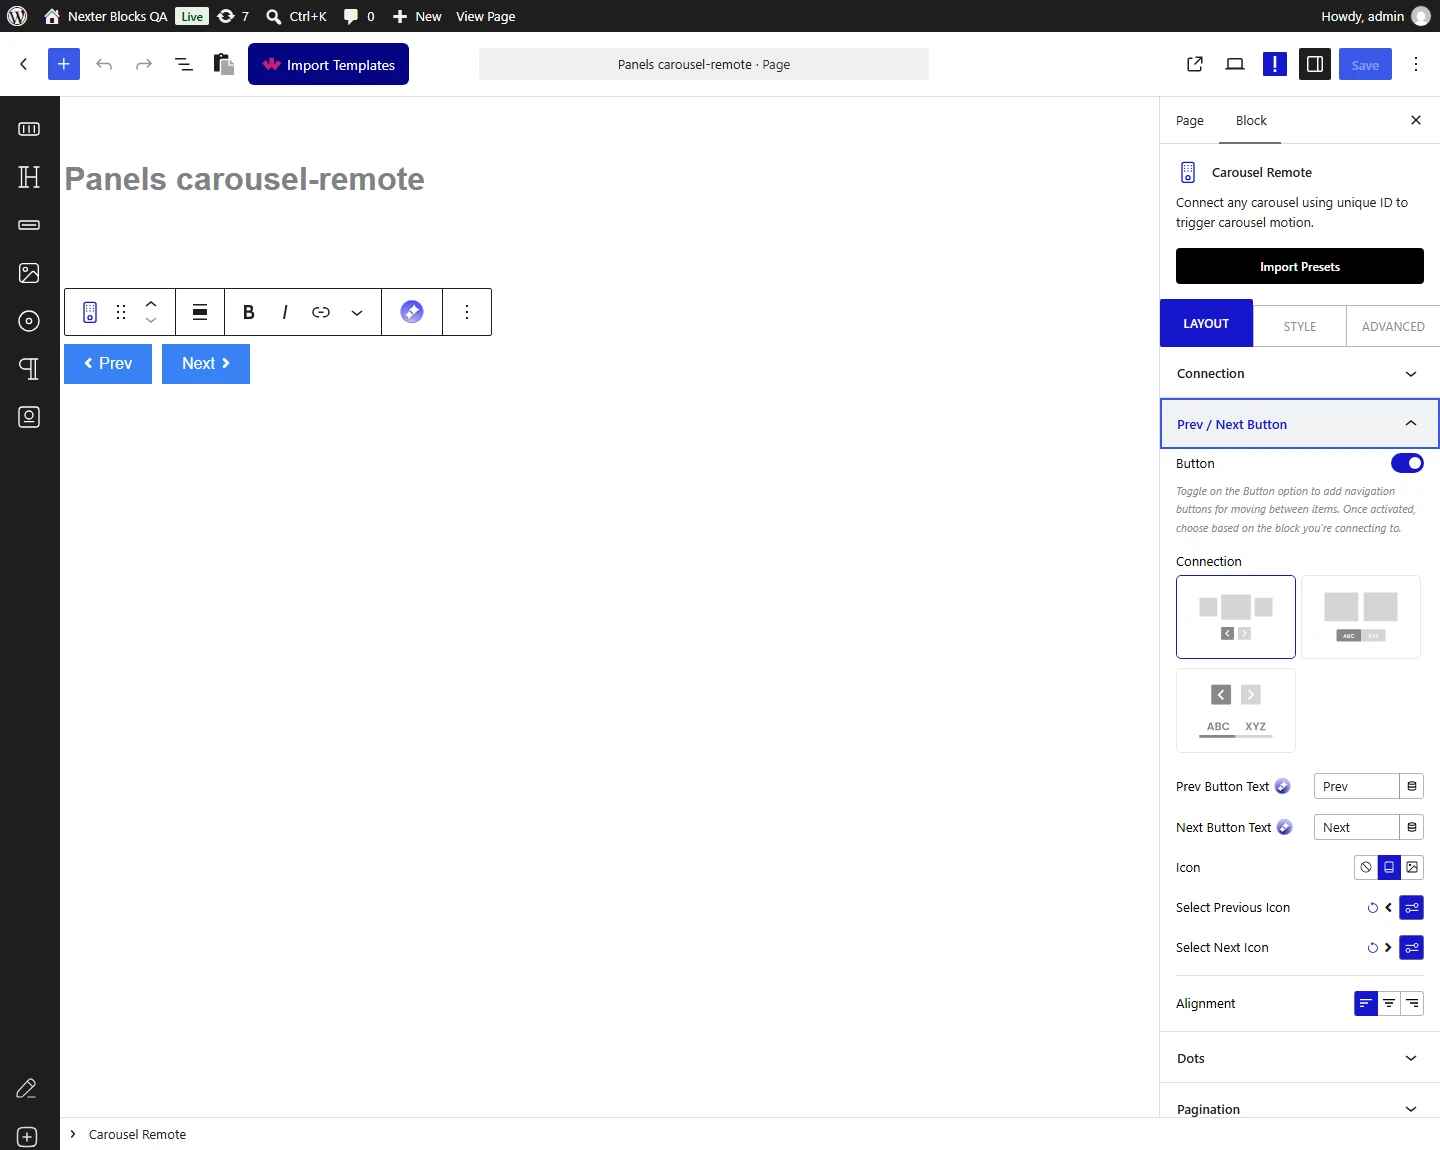
- Add a Carousel Remote block wherever you want the controls.
- Enter the same ID in the remote block so the two are paired.
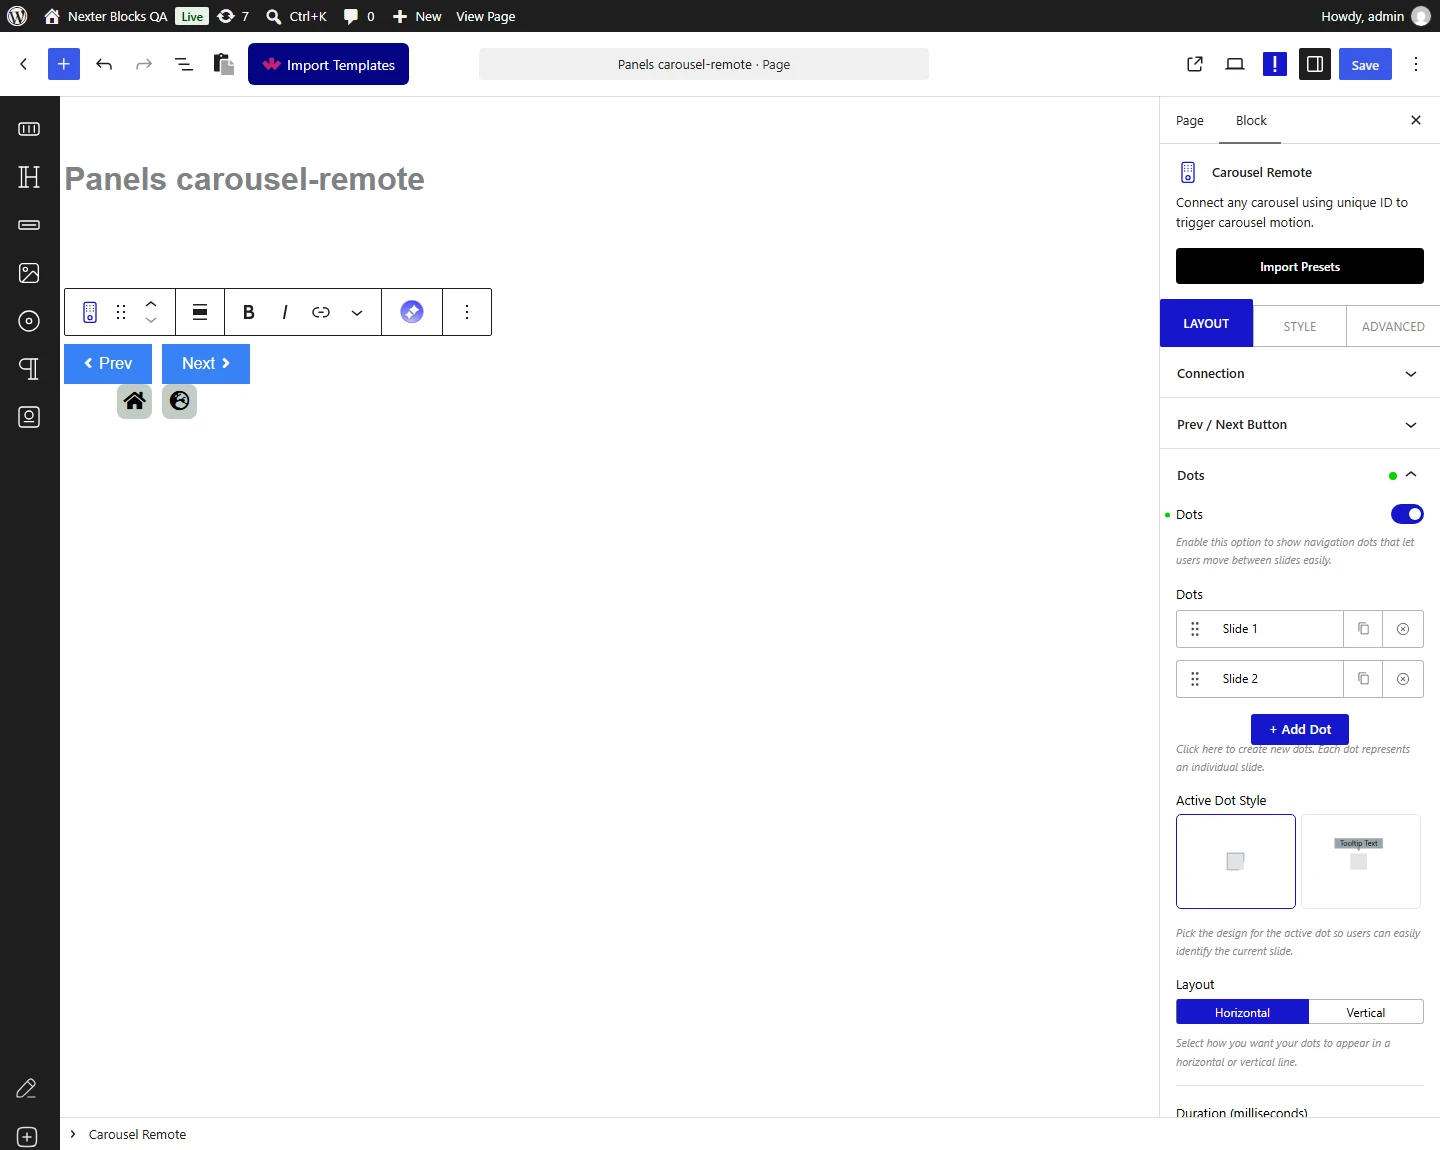
How It Behaves
- Setting a Carousel ID writes the pairing attributes onto the carousel — measured on a published page, the block carried both a carousel identifier and a connection value derived from the ID you typed.
- With no ID, neither attribute is written — measured, so a remote has nothing to pair with.
- The ID is only a label for the pairing; it does not appear to readers.
- The remote can sit anywhere on the same page — it does not have to be near the carousel.
Limitations
- The IDs must match exactly on both blocks — a typo means the remote silently controls nothing.
- The pairing works within one page; a remote cannot drive a carousel on a different page.
- Use a distinct ID per carousel if you have more than one on a page, or a remote may drive the wrong one.
- The connection needs the carousel layout — a listing infobox has nothing to advance.
Troubleshooting
The remote does not control the carousel
Check the IDs match exactly on both blocks, including capitalisation, and that the Infobox is set to the Carousel layout. Measured: with no ID set, the carousel writes no pairing attributes at all.
My remote drives the wrong carousel
Two carousels are sharing an ID. Give each one its own and update the matching remote.
Nothing happens on a listing infobox
Only the carousel layout can be advanced. Switch the Layout to Carousel first — see the carousel doc.
