Are you looking to track changes and manage content versions more effectively in WordPress? By enabling revision control for different post types, you can easily view what changes were made, compare versions, and even restore an earlier version if needed. It’s a great way to keep your content organized and avoid accidental loss of important updates.
With the Nexter Extension (Free) plugin, you can easily add revision control to different WordPress post types.
How to Add Revision Control with the Nexter Extension?
To add revision control with the Nexter Extension plugin, from the WordPress Dashboard, go to Nexter > Extensions > Performance.
Then go to the Revision Control section, enable the toggle, and click on the gear icon (⚙).

It will open the Revision Control popup.
In the Limit to section, you can set the number of revisions a post type can have.
Then you’ll see different post types available on your site.
Turn on the toggle for specific post types as per your requirements.
Once done, click on the Save button.
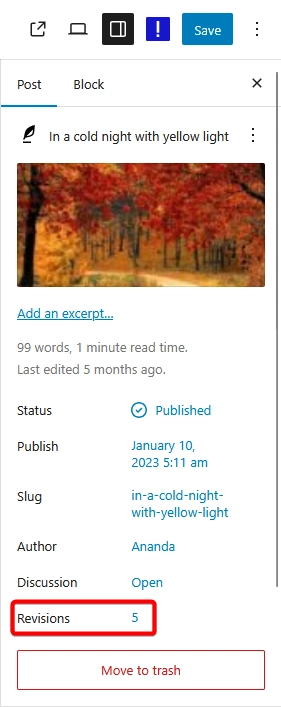
Now, when you edit a post of that specific post type and save the changes, you’ll see a revision number in the right Settings panel.

When you click on that number, you can see the changes made in a specific version, and you can easily restore a previous version.


