With WordPress powering a growing number of websites on the internet, it’s no surprise that it is one of the most popular content management systems in use. To make it easier for users to access your website, offering a wide range of login methods is important. One of the most popular methods is to add a Google login option to your WordPress website. This allows users to log in using their existing Google account, reducing the need to create yet another username and password combination.
With the Login & Signup block from Nexter Blocks, you can easily add a Google login option to your login or registration form.
To check the complete feature overview documentation of Nexter Blocks Login & Signup block, click here.
Requirement – This block is a part of Nexter Blocks, make sure its installed & activated to enjoy all its powers.
First, you have to generate your Google Client ID.
Generate Google Client ID
1. For this, you have to login to your Google account and go to the Google Developers Console.
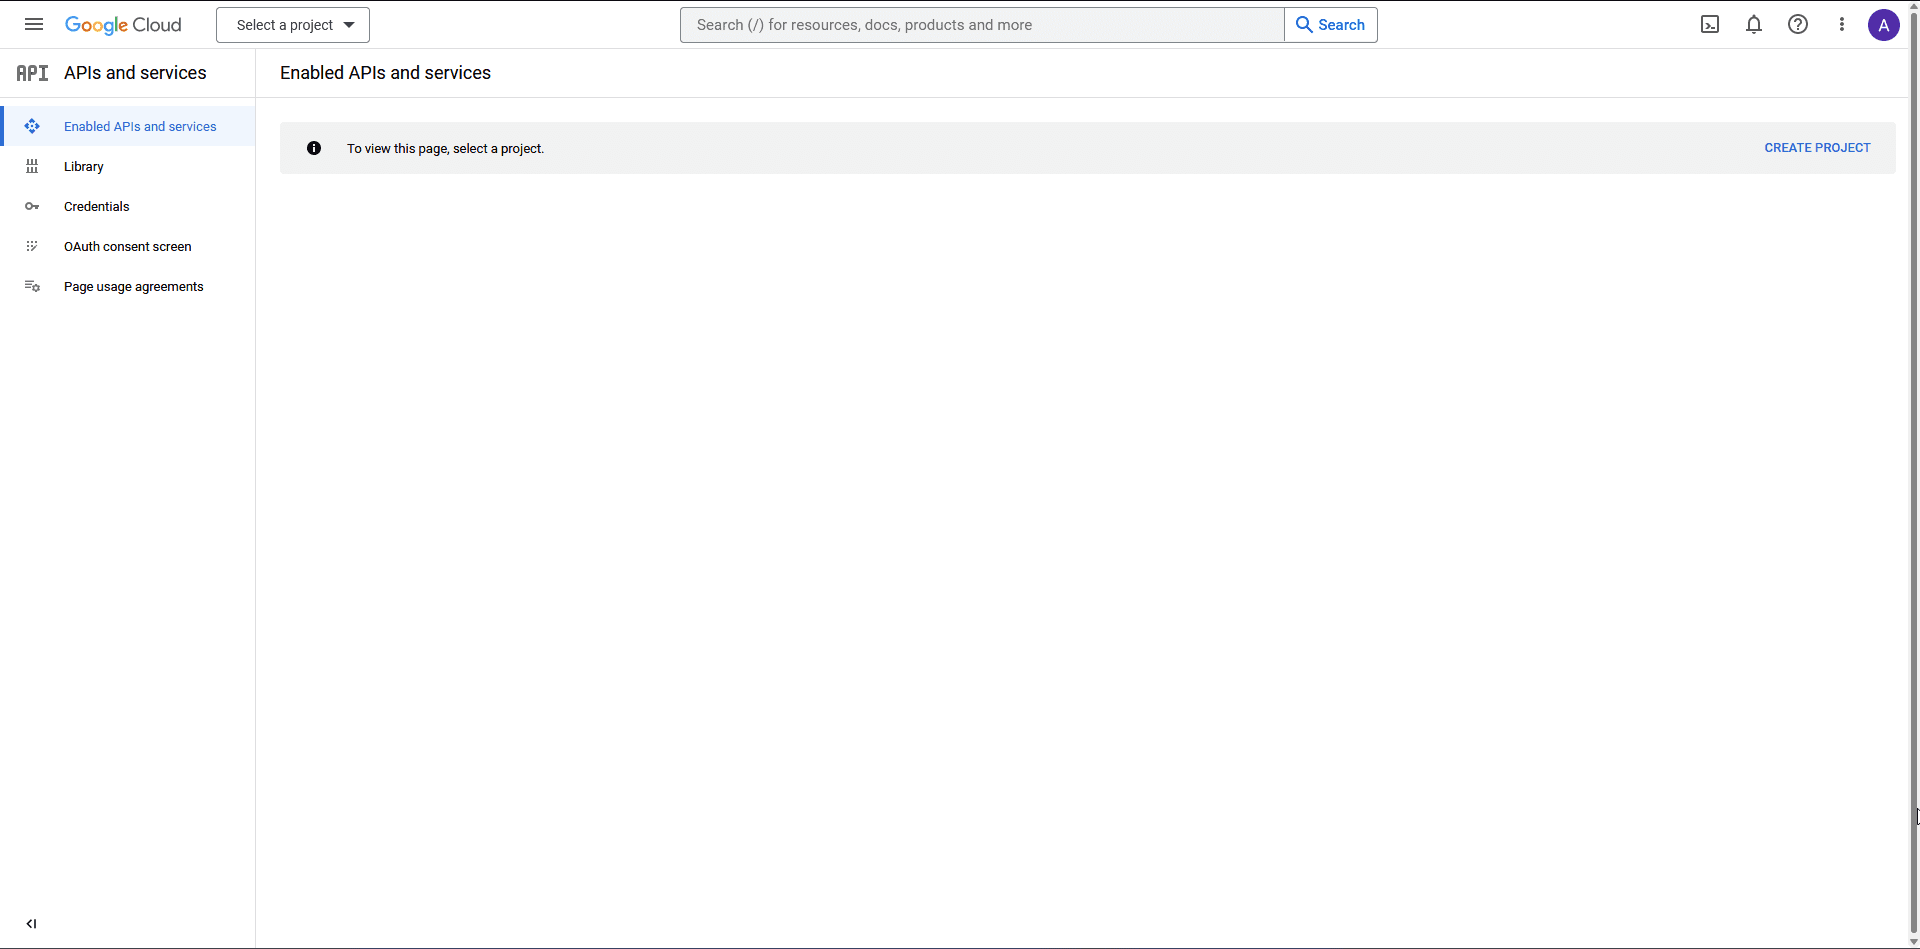
2. If you don’t have any project created, then click on CREATE PROJECT link.
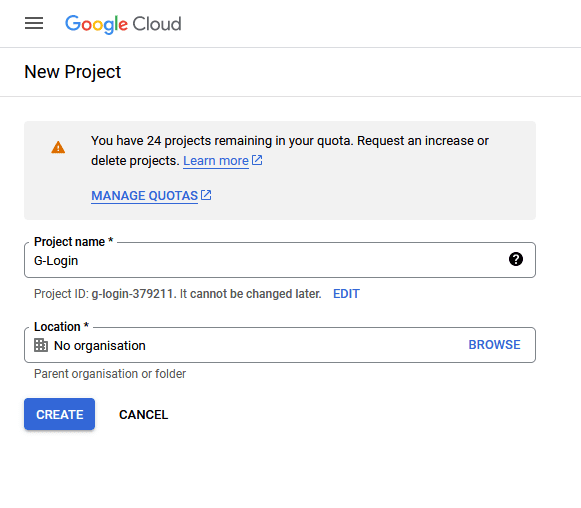
3. On the next screen, add your Project name and click the CREATE button.
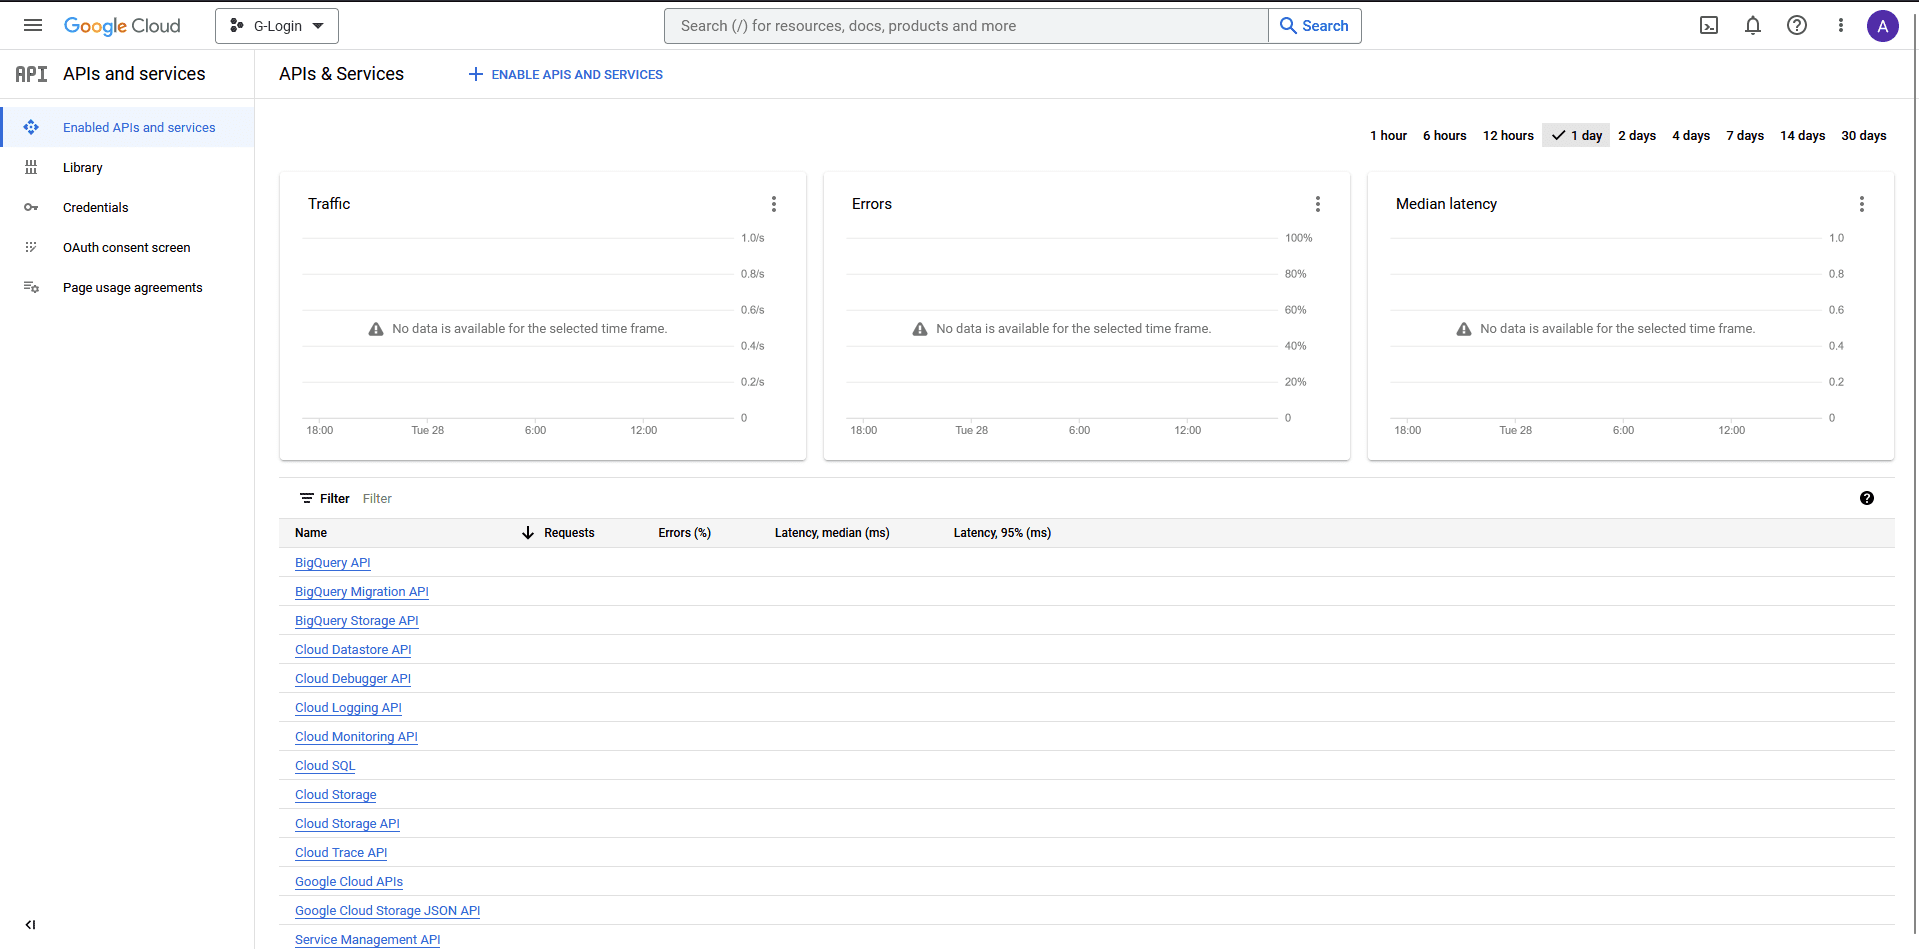
4. Then click on the OAuth consent screen on the left sidebar.
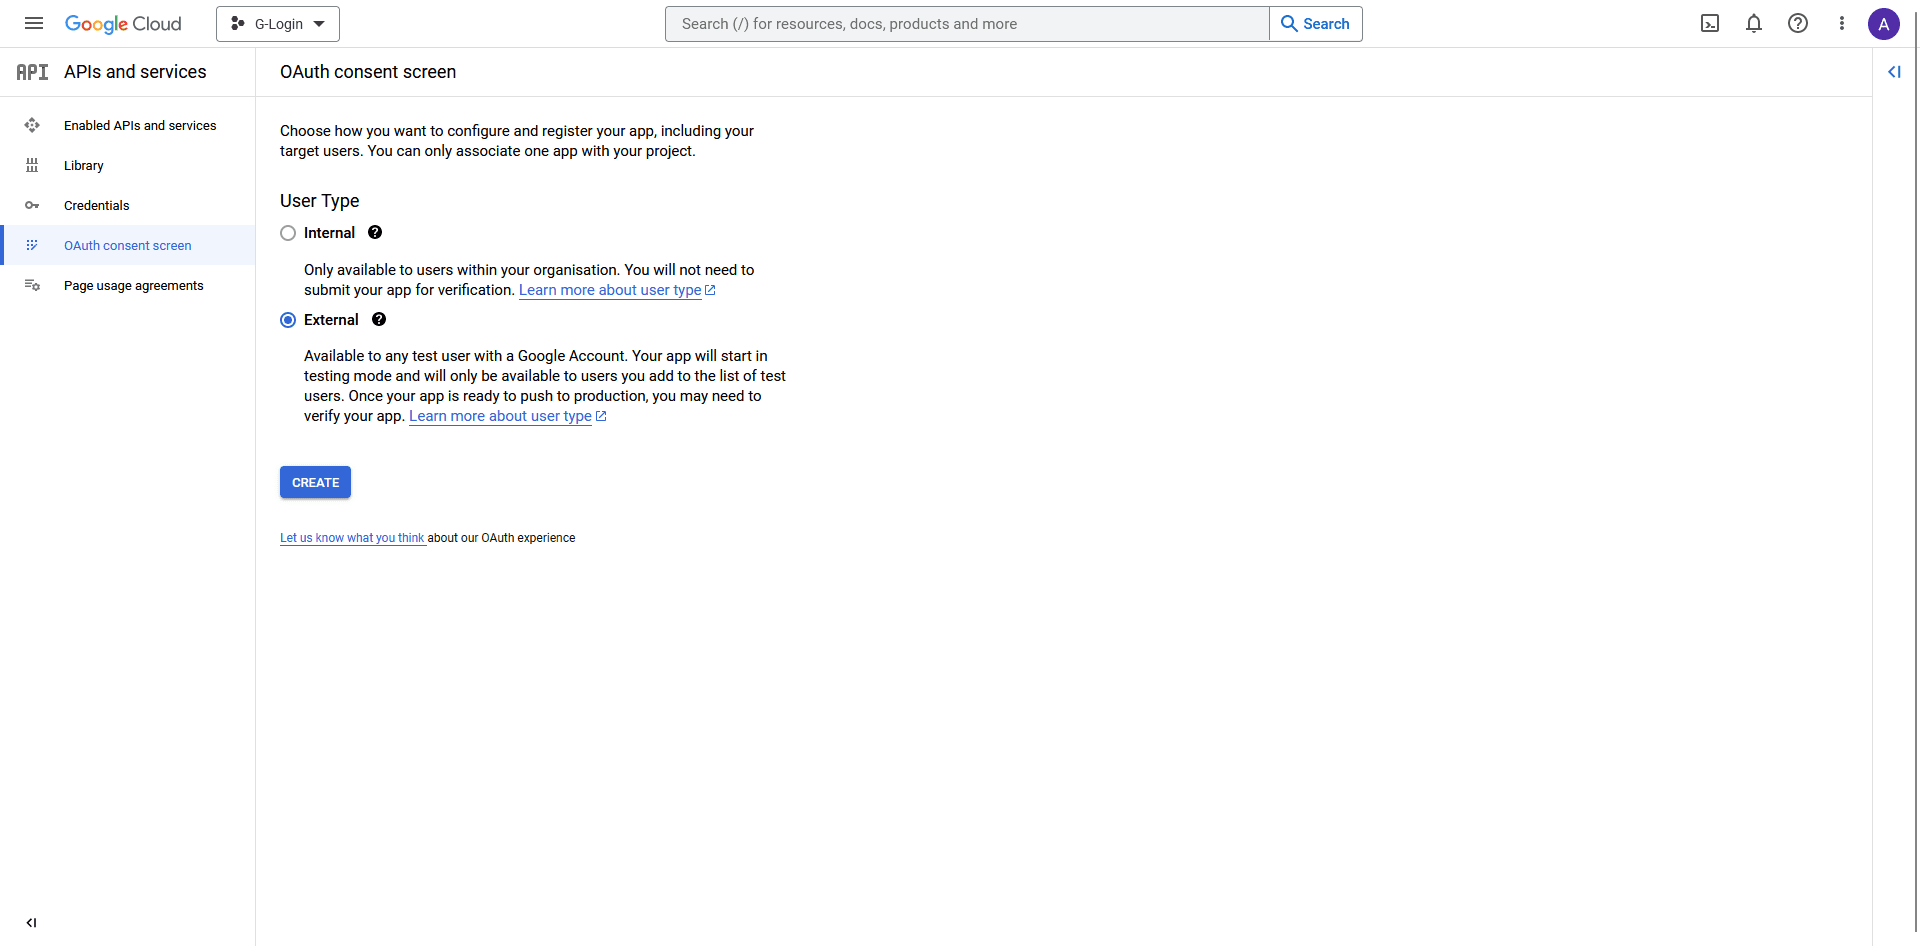
5. On that page, select the User Type and click the CREATE button.
- Internal – Only available to users within your organisation.
- External – Available to any user with a Google Account.
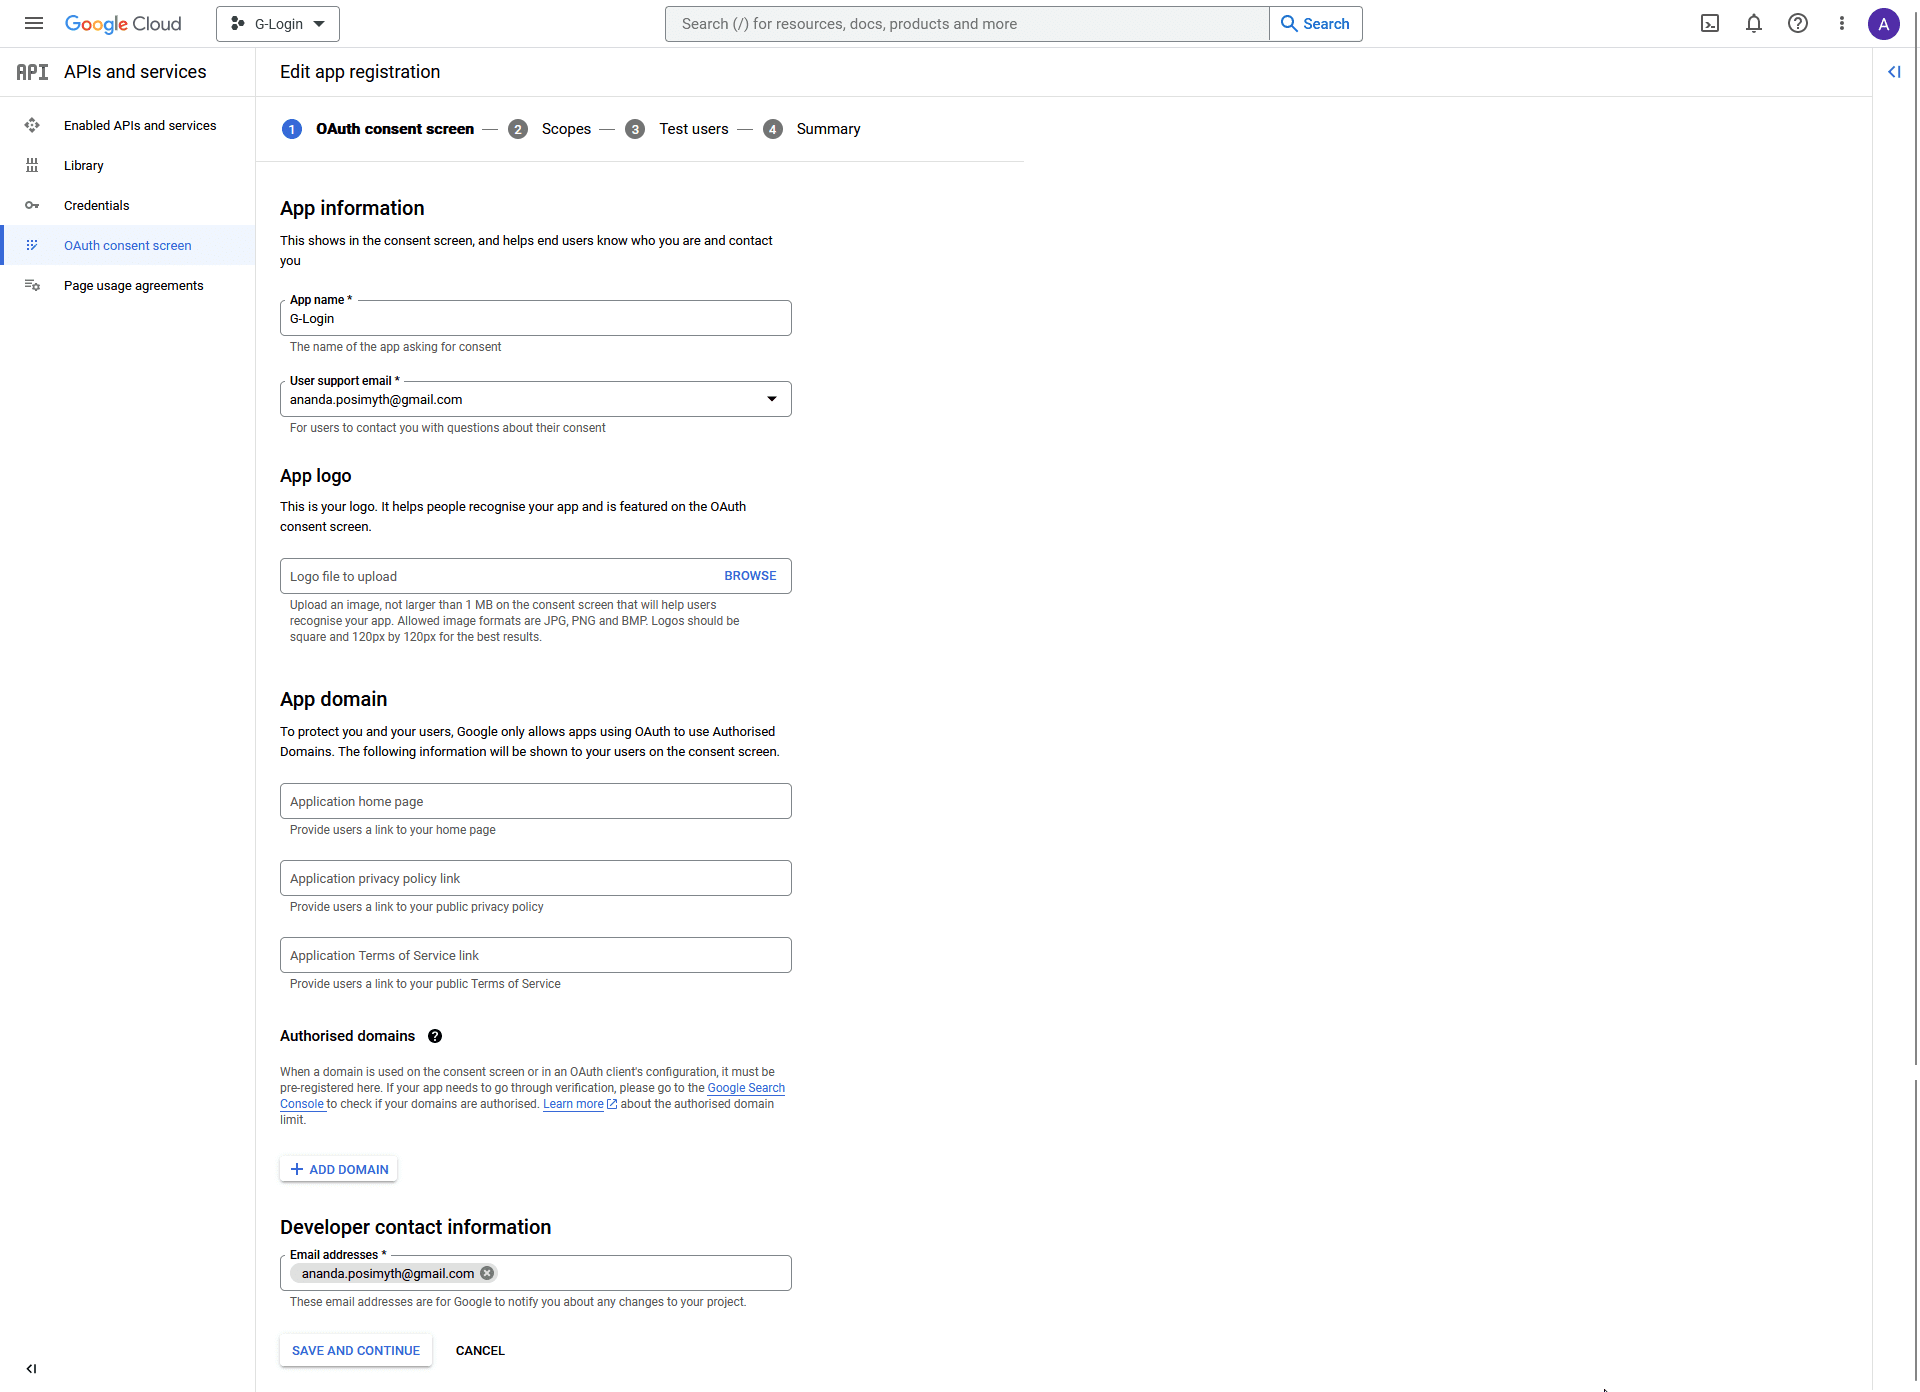
6. On the next page, add your app information. App name, User support email and Developer contact information fields are mandatory rest are optional until you deploy your app.
Then click on the SAVE AND CONTINUE button.
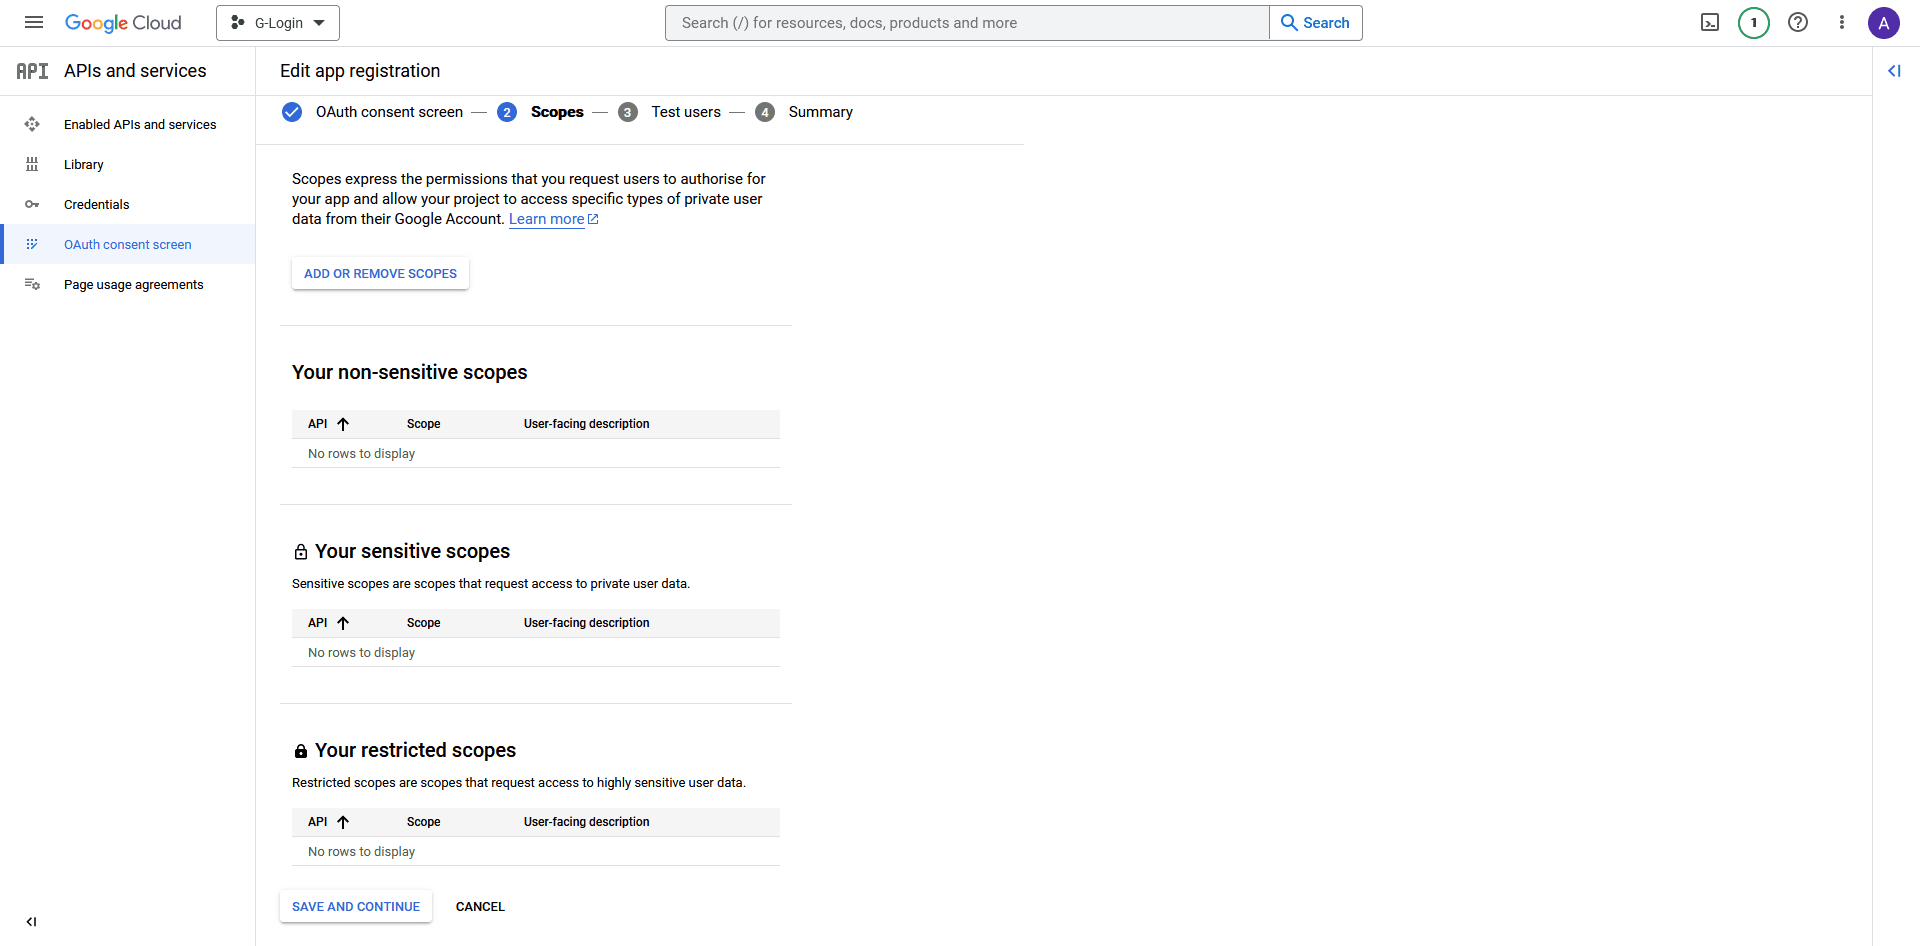
7. On the Scopes page, click the SAVE AND CONTINUE button.
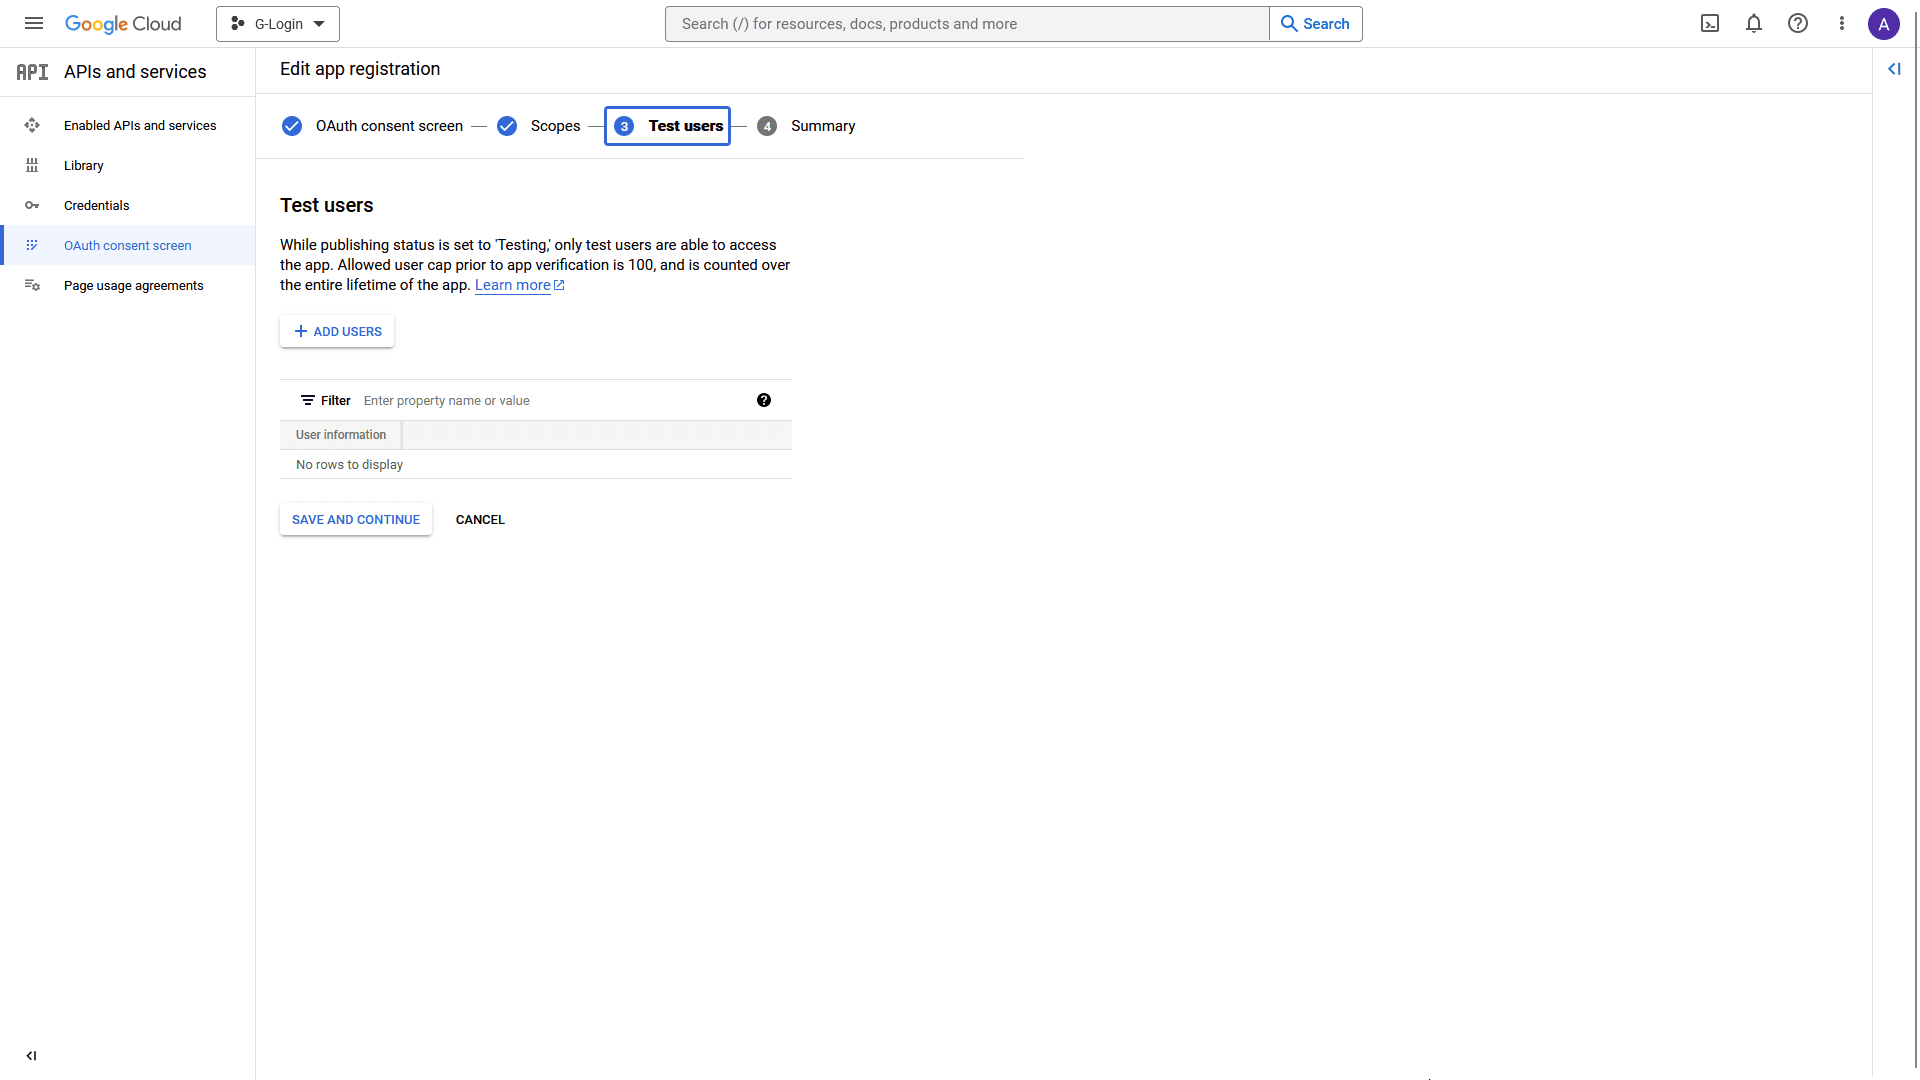
8. Also, on the Test users page, click the SAVE AND CONTINUE button.
9. On the Summary page, click the BACK TO DASHBOARD button at the bottom.
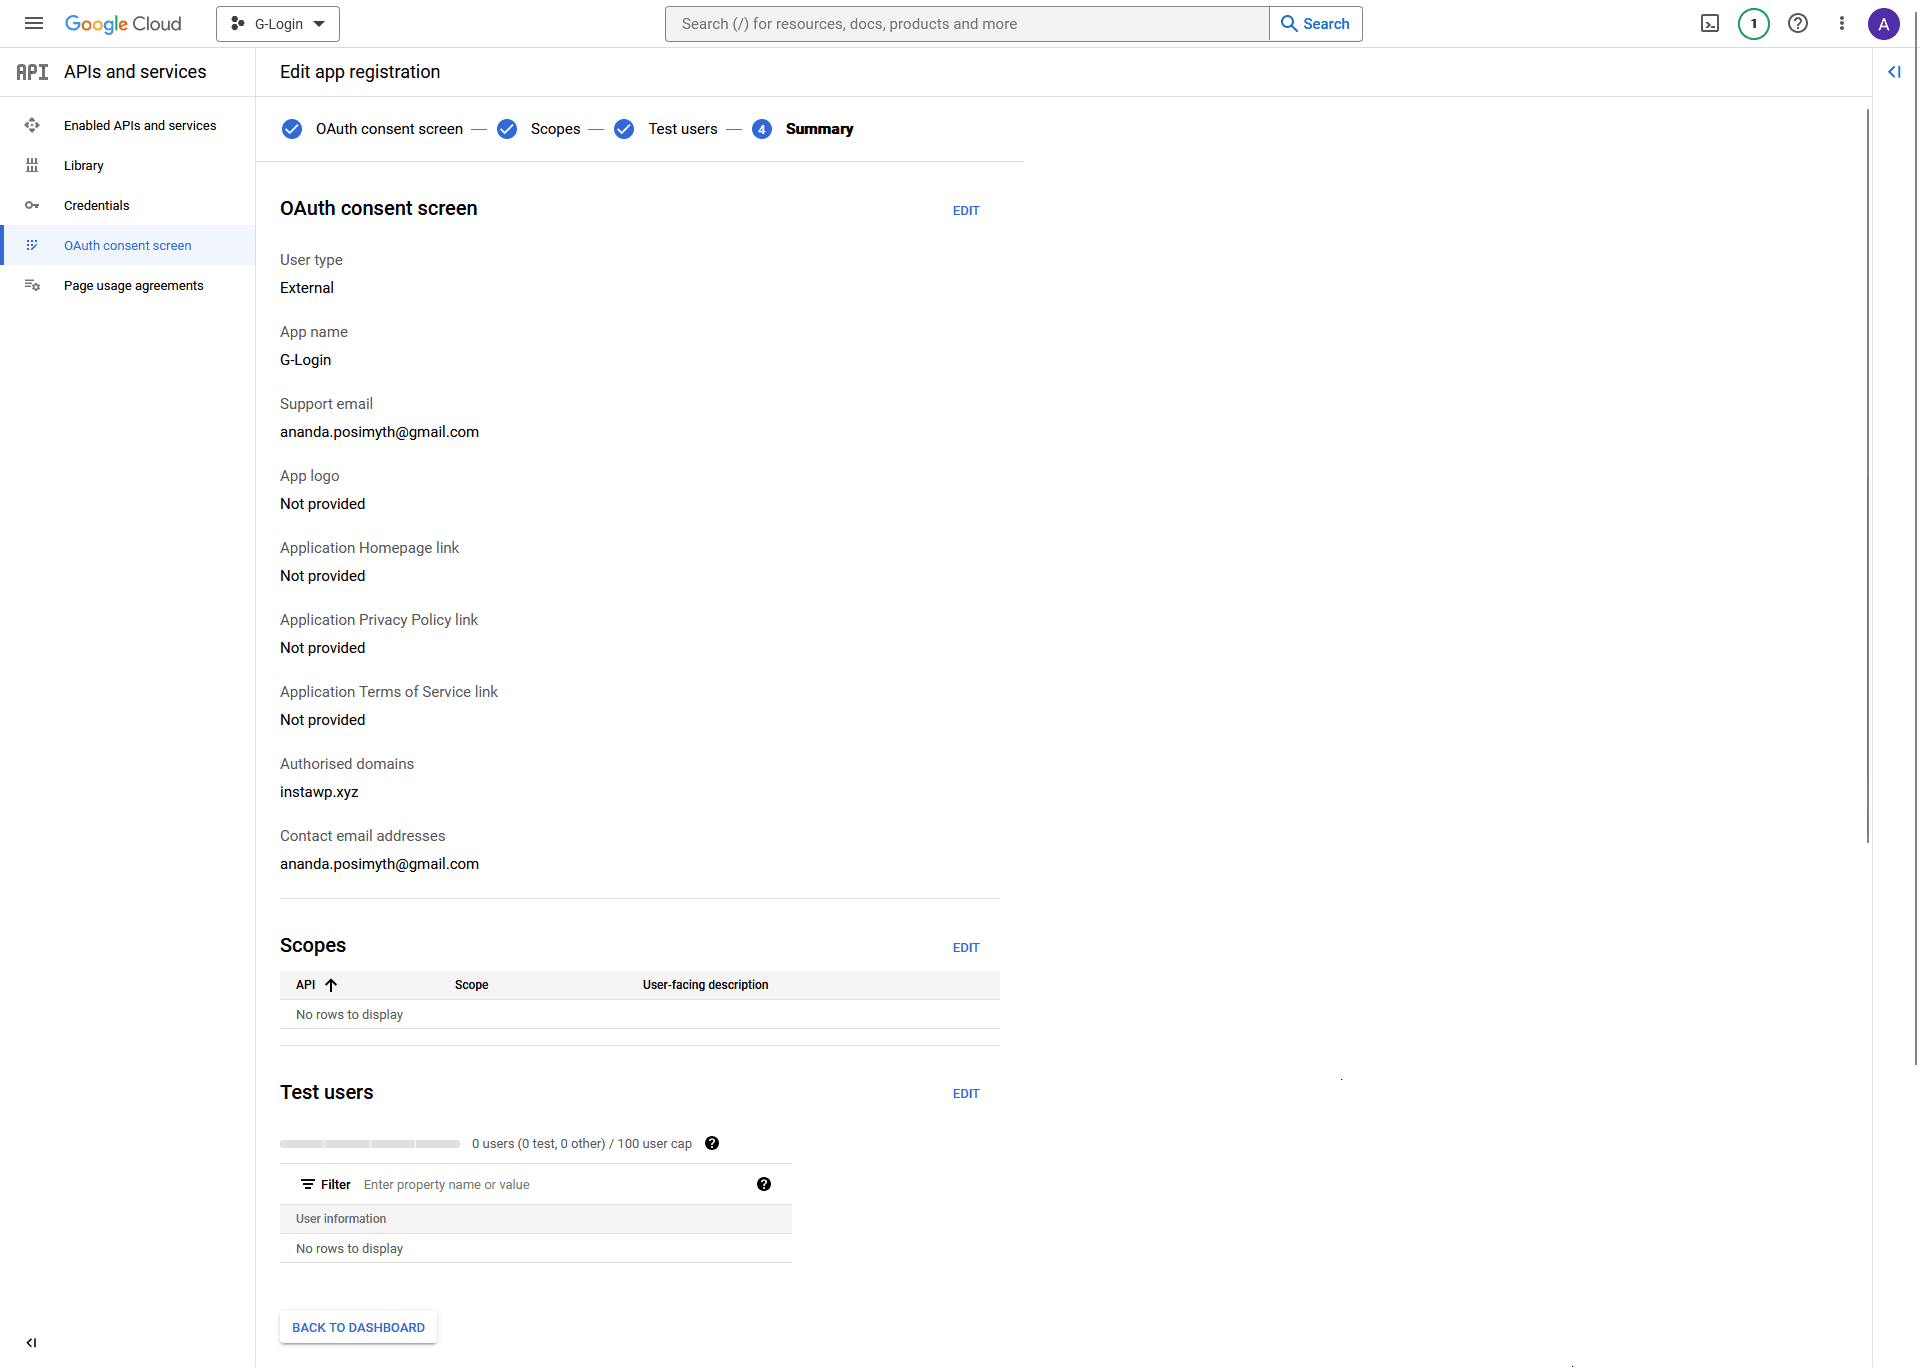
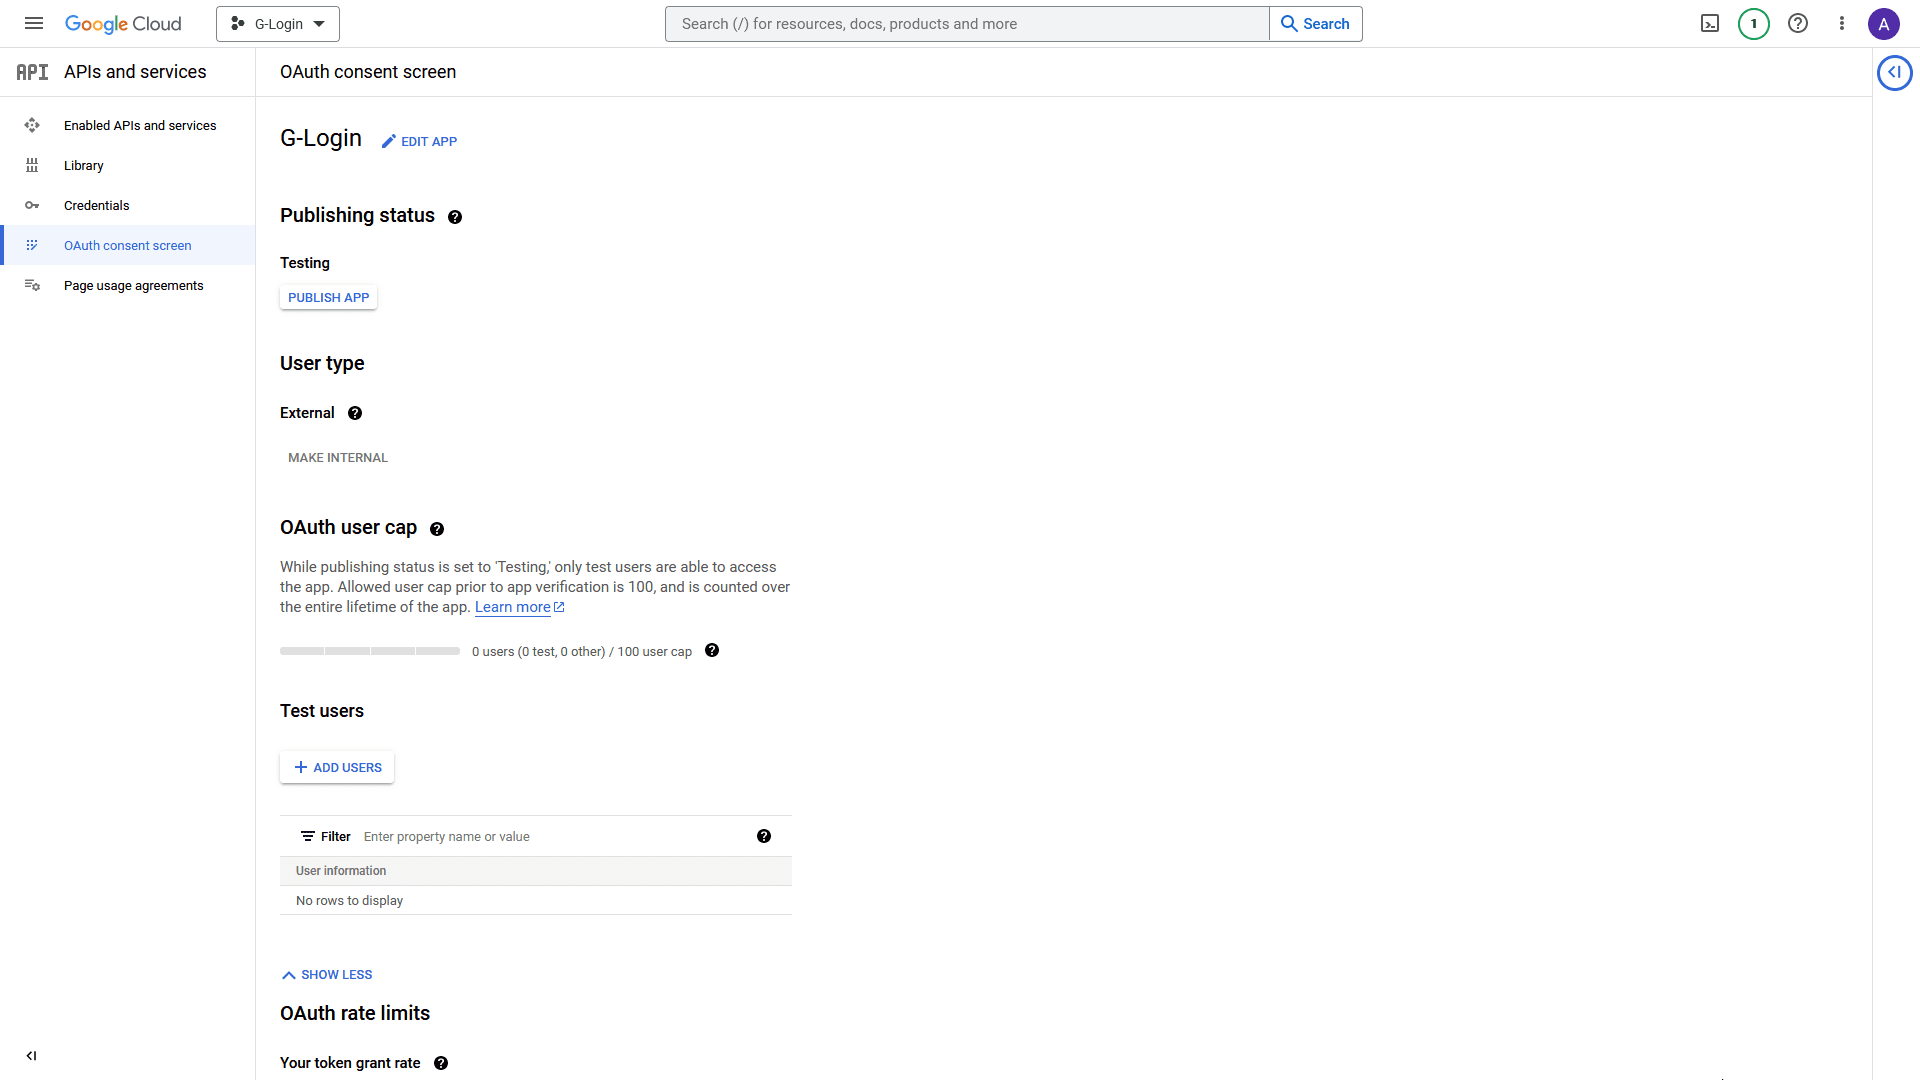
10. On the next page, click on the PUBLISH APP button to publish your app.
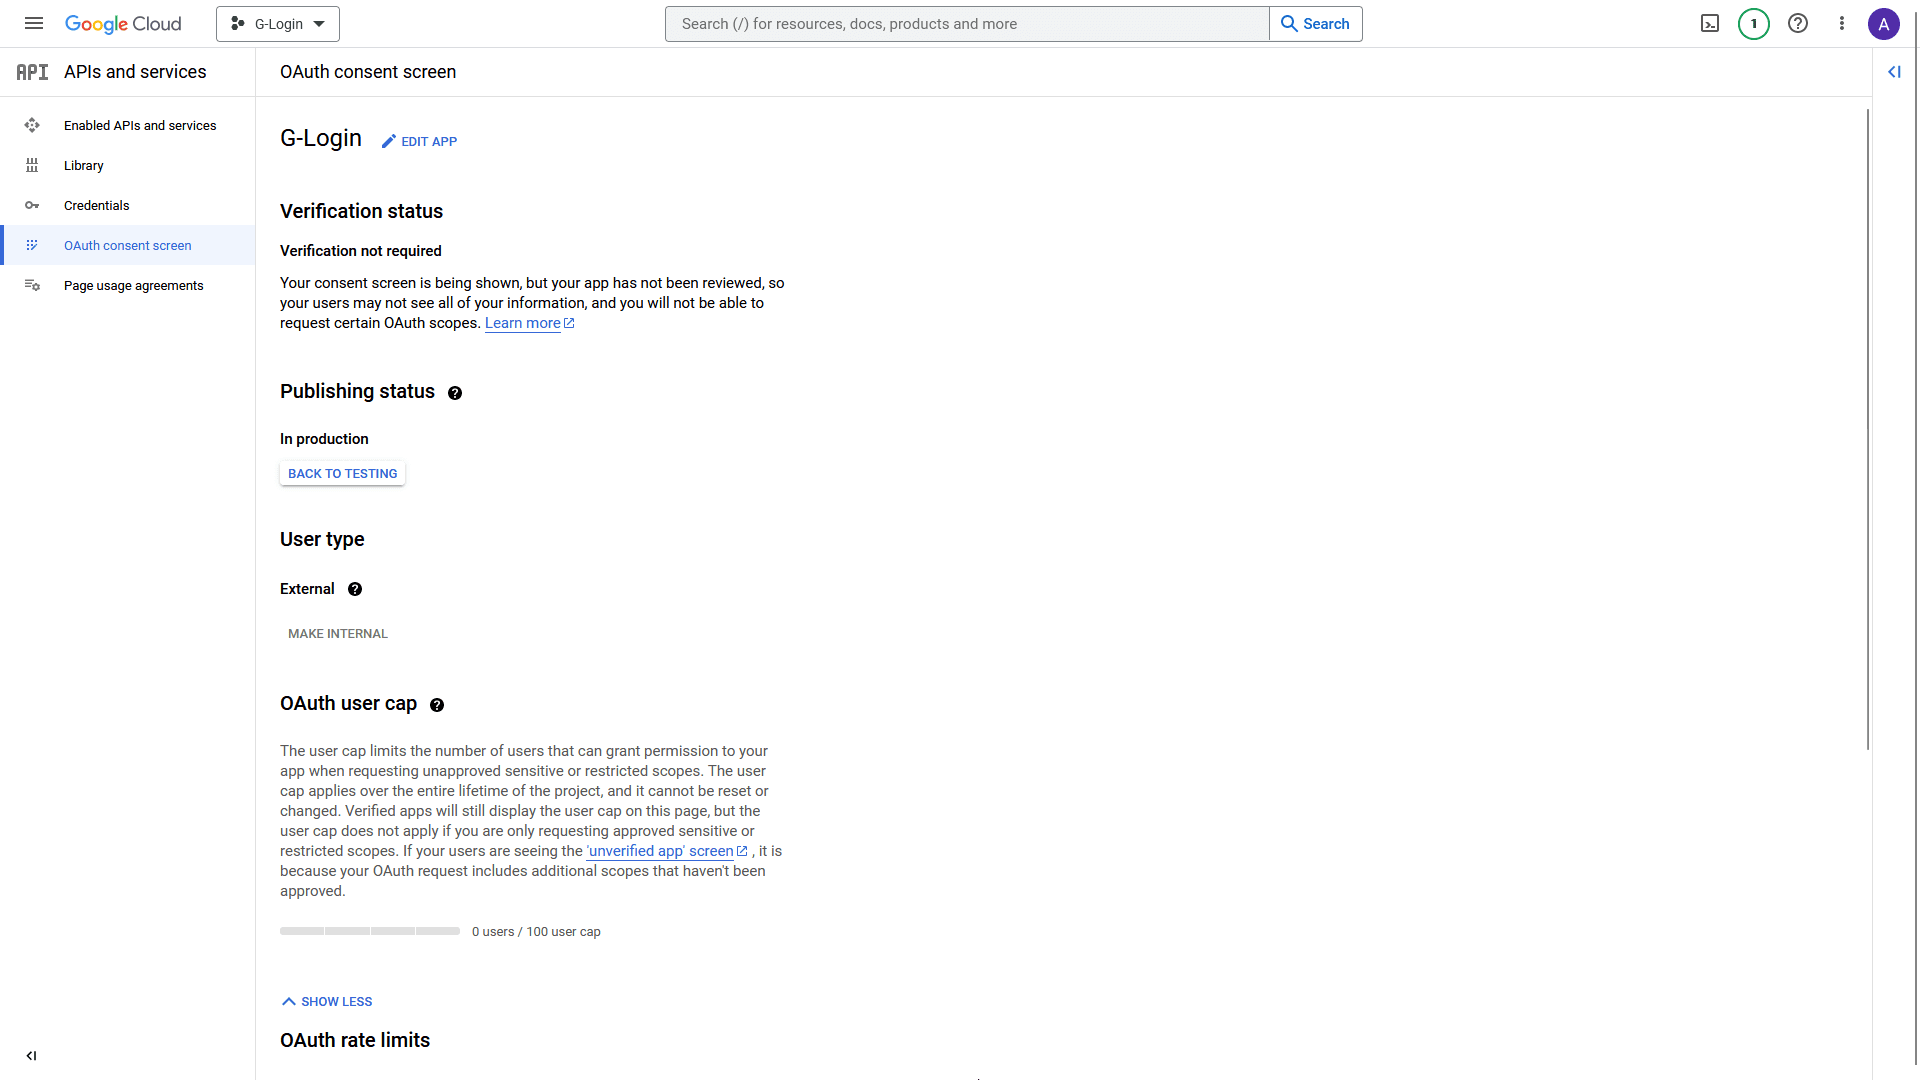
11. Once done, click on Credentials in the left sidebar.
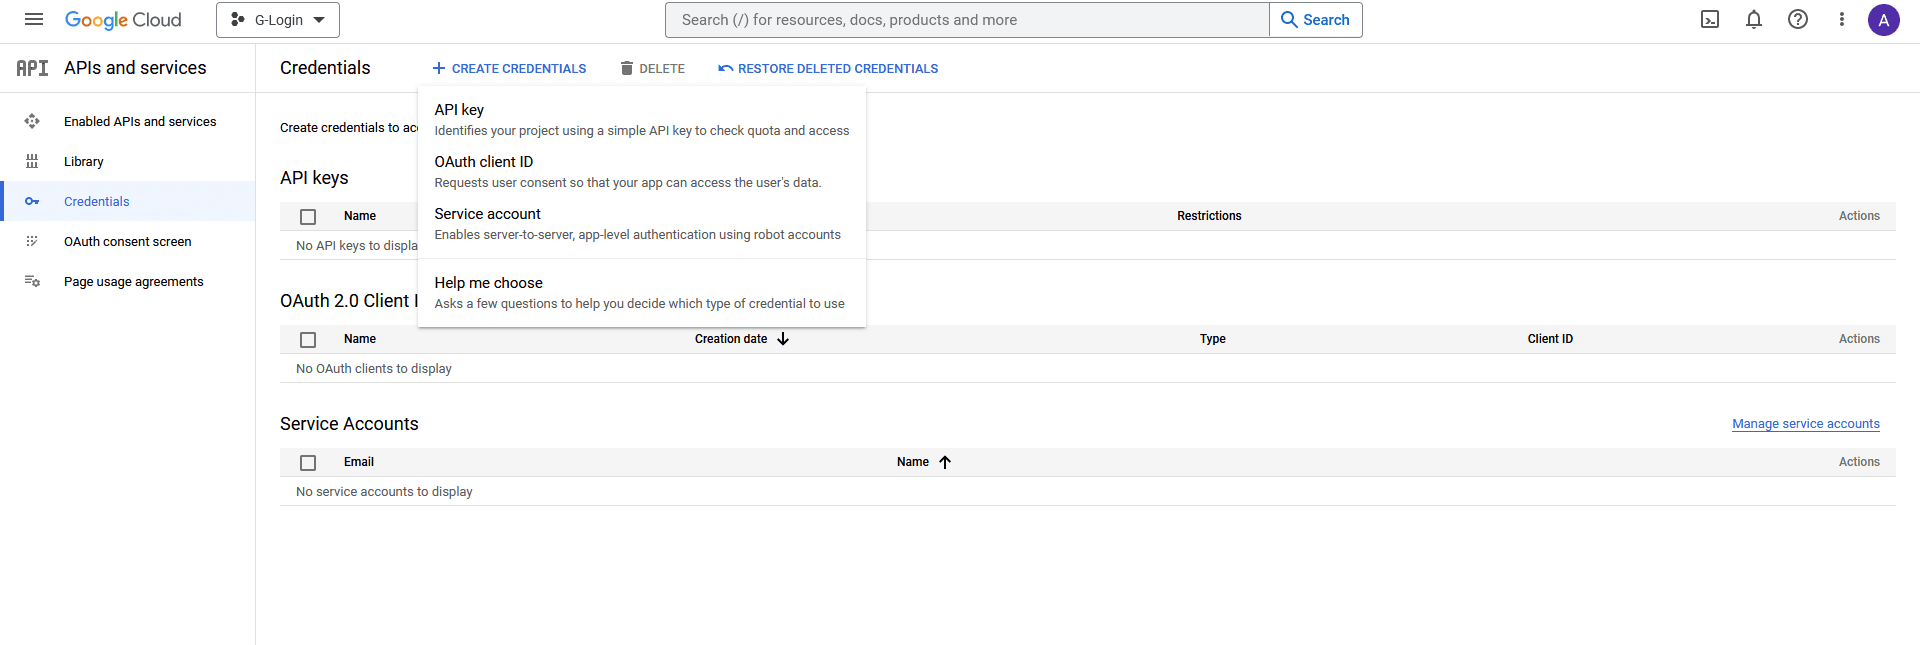
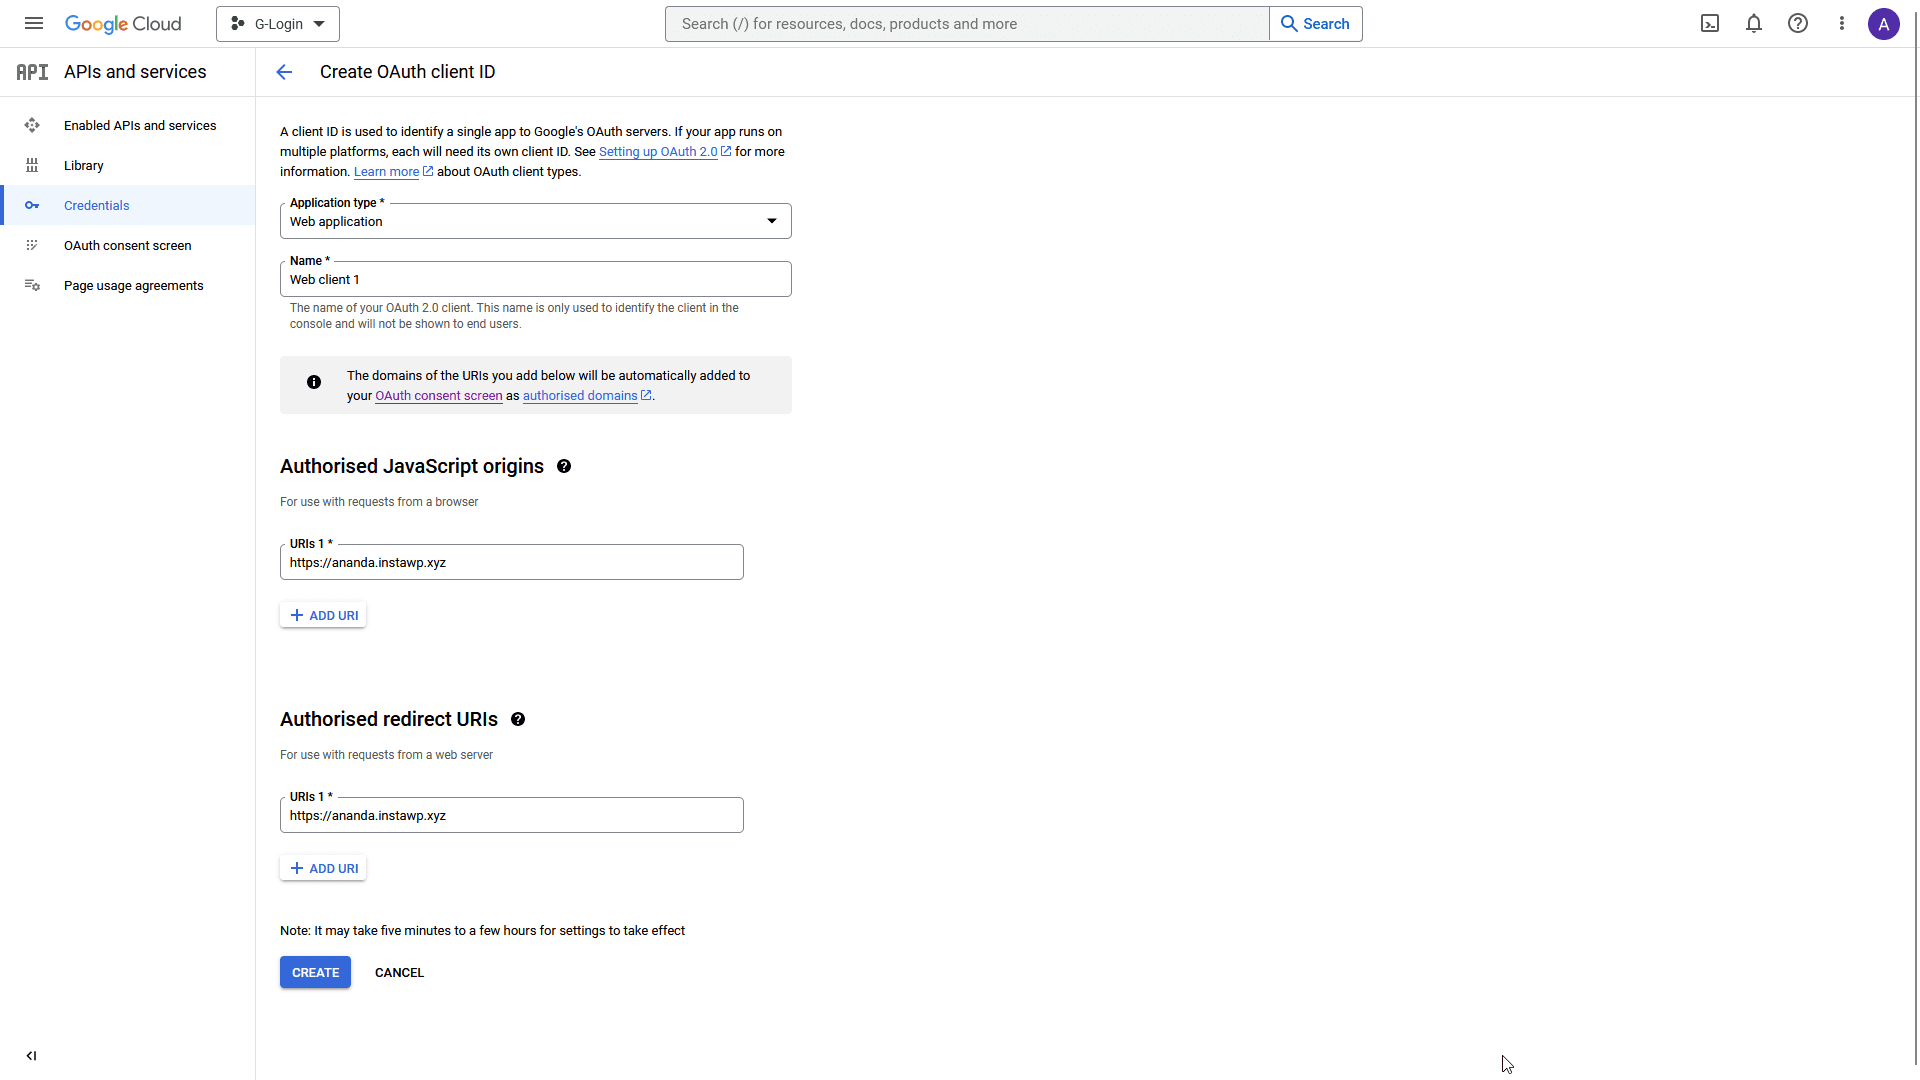
10. On the Credentials page, from the top, click on + CREATE CREDENTIALS > OAuth client ID.
11. Then, from the Application type dropdown, select Web application.

12. Once you select the option then, you have to add the following details.
- Name – Add your application name.
- Authorised JavaScript origins – Click the ADD URI button to add your website URL – Example: http://www.yourwebsite.com.
- Authorised redirect URLs – Click the ADD URI button to add your website URL – Example: http://www.yourwebsite.com.
Once done, click on the CREATE button.
13. On the next page, you’ll get your Client ID and Client Secret, copy and paste them into a notepad.
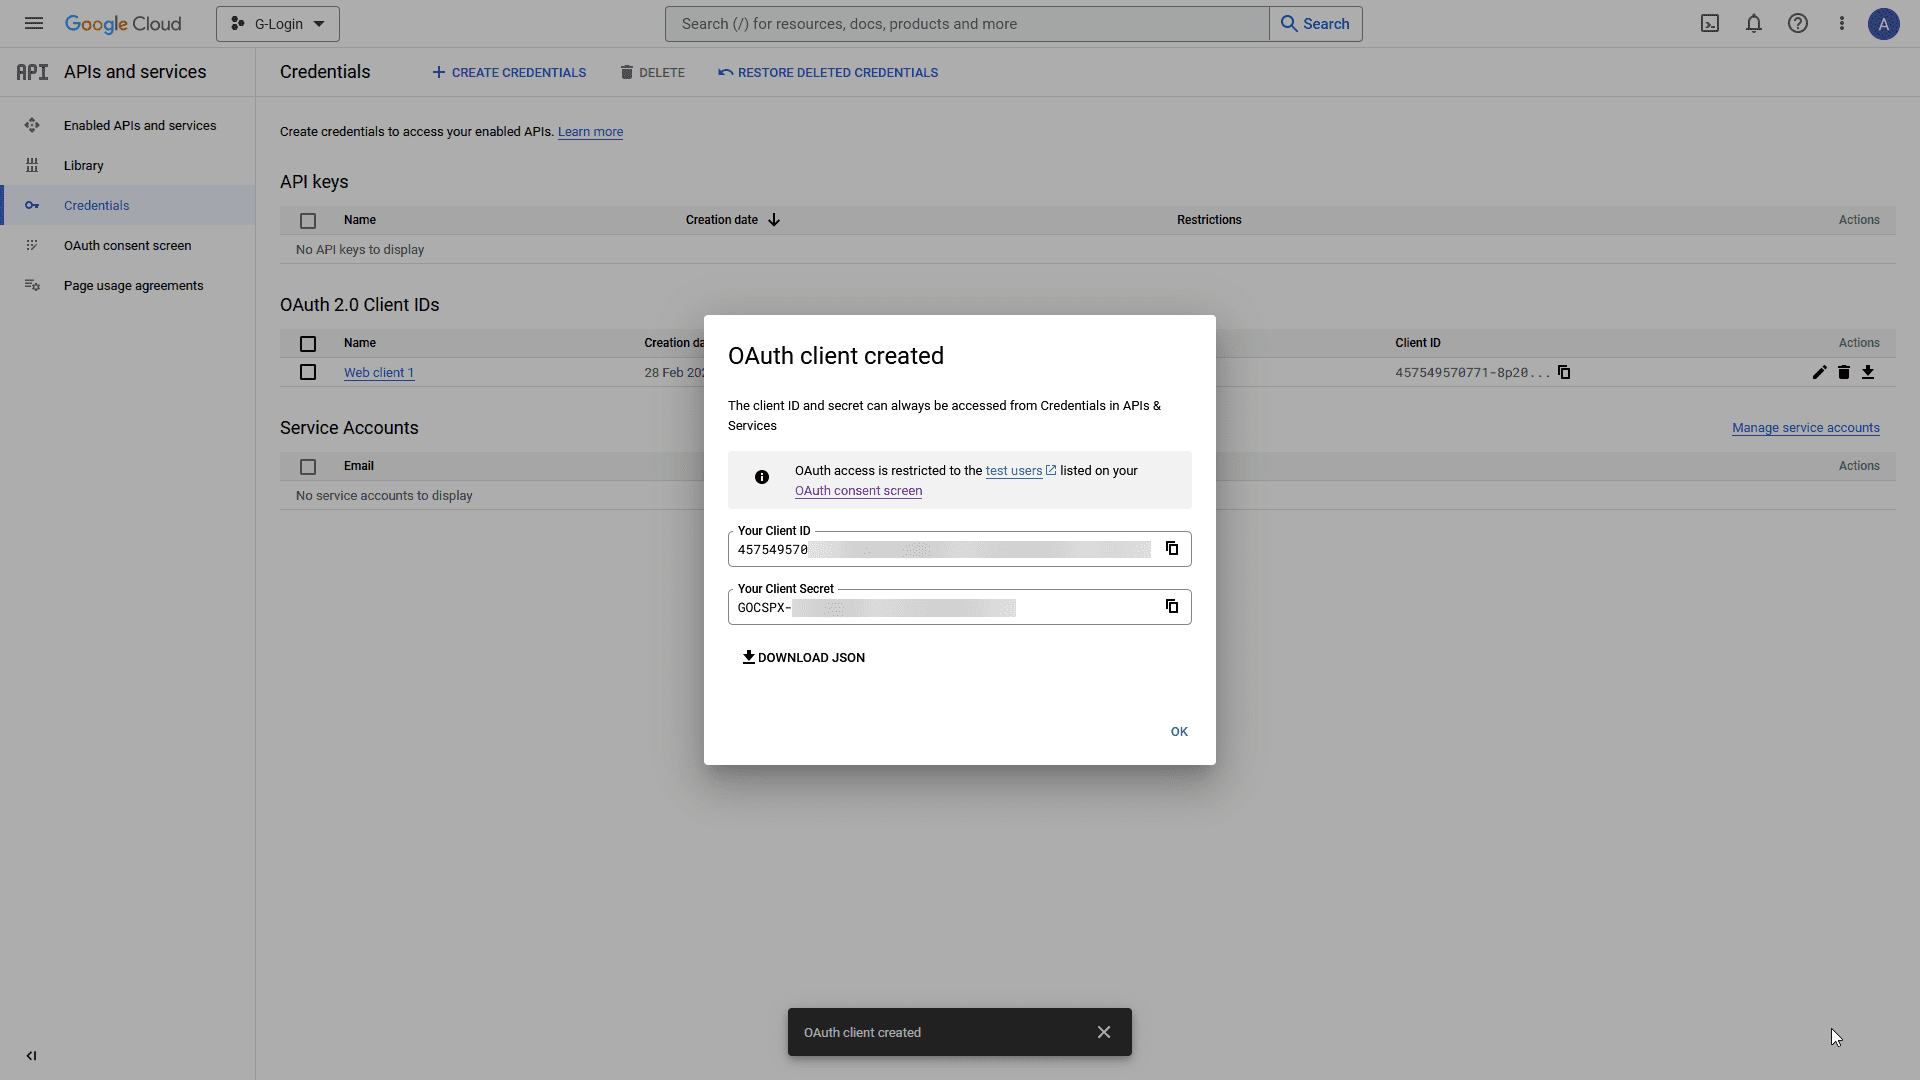
Note: For the Login & Signup block, you only need the Client ID.
Add the Client ID in the Login & Signup block
Once you have your Client ID, add the block on the page, go to Forms > Type and select any of the form types Login, Register or Login & Register.
Select the appropriate layout from the Layout section.
Note: Here, we are using the Login form, but following the same process, you can add Google login to both Register and Login & Register forms.

Once your form fields are ready, go to the Login tab and click the +Add Field button.
From the Field dropdown, select Social Login.

From there, turn on the Google toggle to enable login via Google. Add your id in the Google Client ID field.
You can also enable Google One Tap Popup by turning on the toggle. With this option, it will automatically show a popup asking the user to login via Google.
But if you don’t enable Google One Tap Popup, you’ll see a few more options.
Type – From here you can choose the button type, Standard or Icon.
Theme – You can select the button theme.
Shape – For the Standard button shape.
Button Text – You can choose from different button texts for the Standard button.
Icon Shape – For the Icon button shape.
Size – For the button size.
Finally, in the Redirect URL field, you can add a page link to redirect users to a specific page after login.
From the Alignment, you can align the button in the form.
Also, check How to add Facebook login to a WordPress website.


