With over 21 feature comparisons, we aim to help you make an informed decision about which theme suits your website’s needs the best. So, let’s dive in and explore the differences between Astra and Avada.
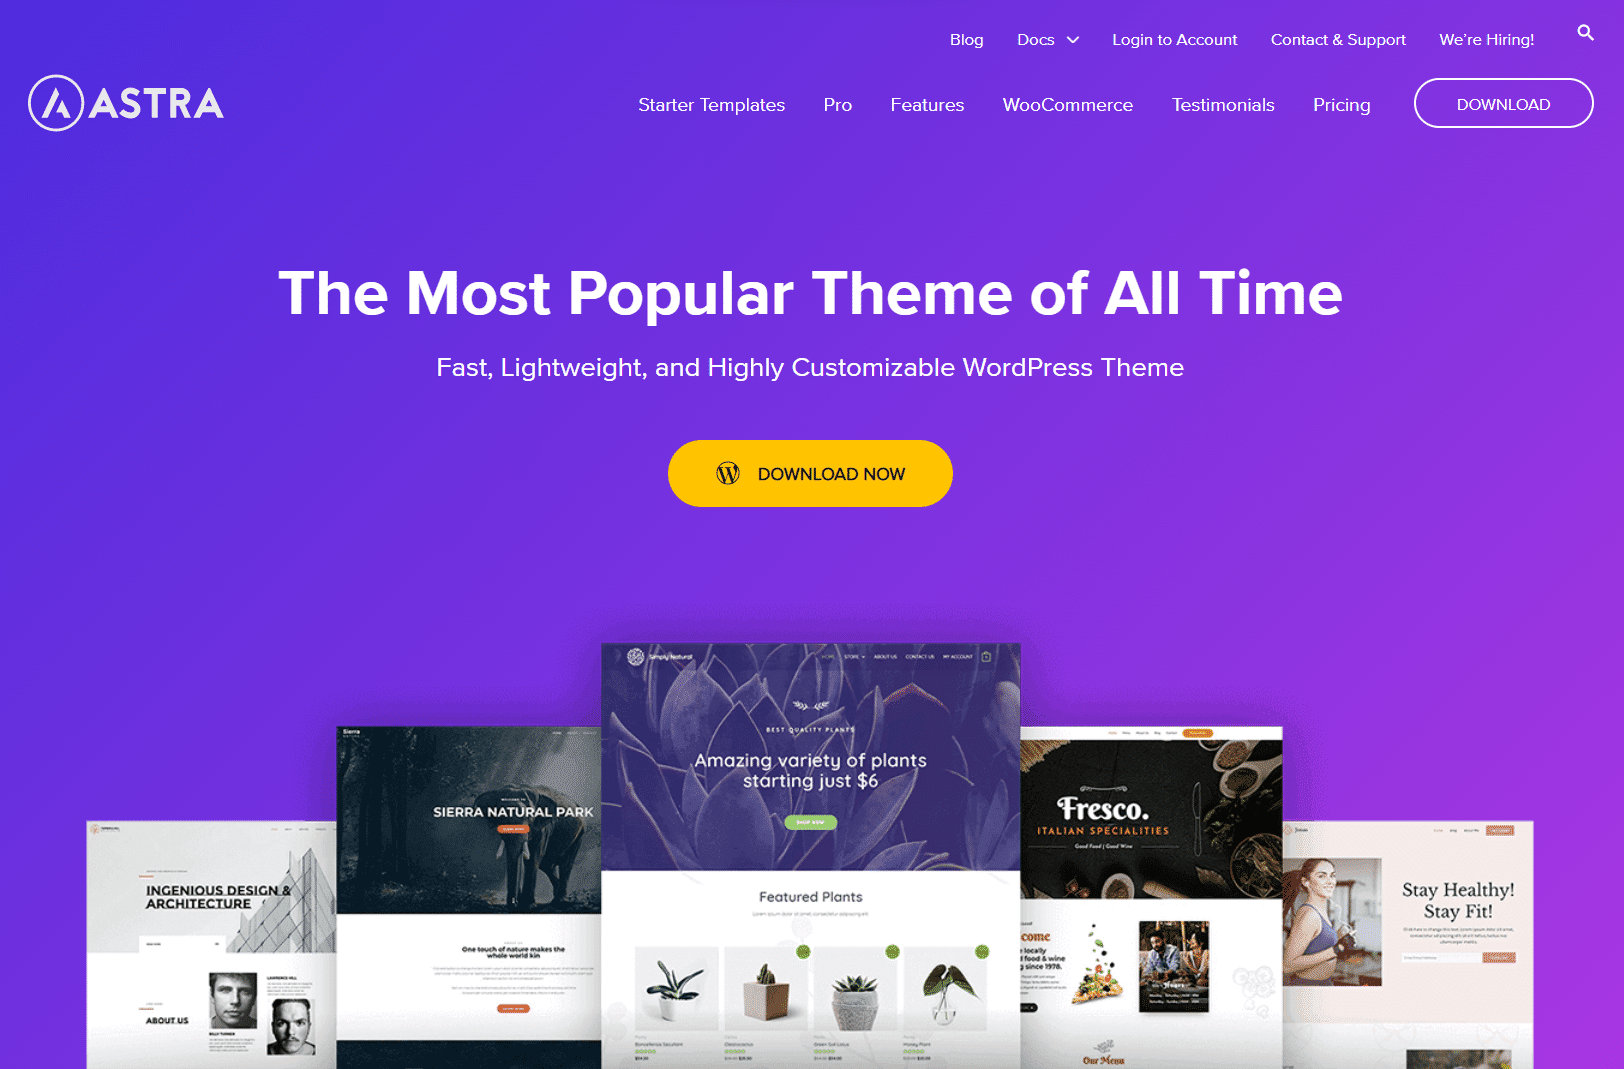
What is Astra?

Astra offers a wide range of pre-designed templates and layout options, making it easy to customize the appearance of your website. It is also optimized for speed and performance, ensuring fast loading times and a smooth user experience.
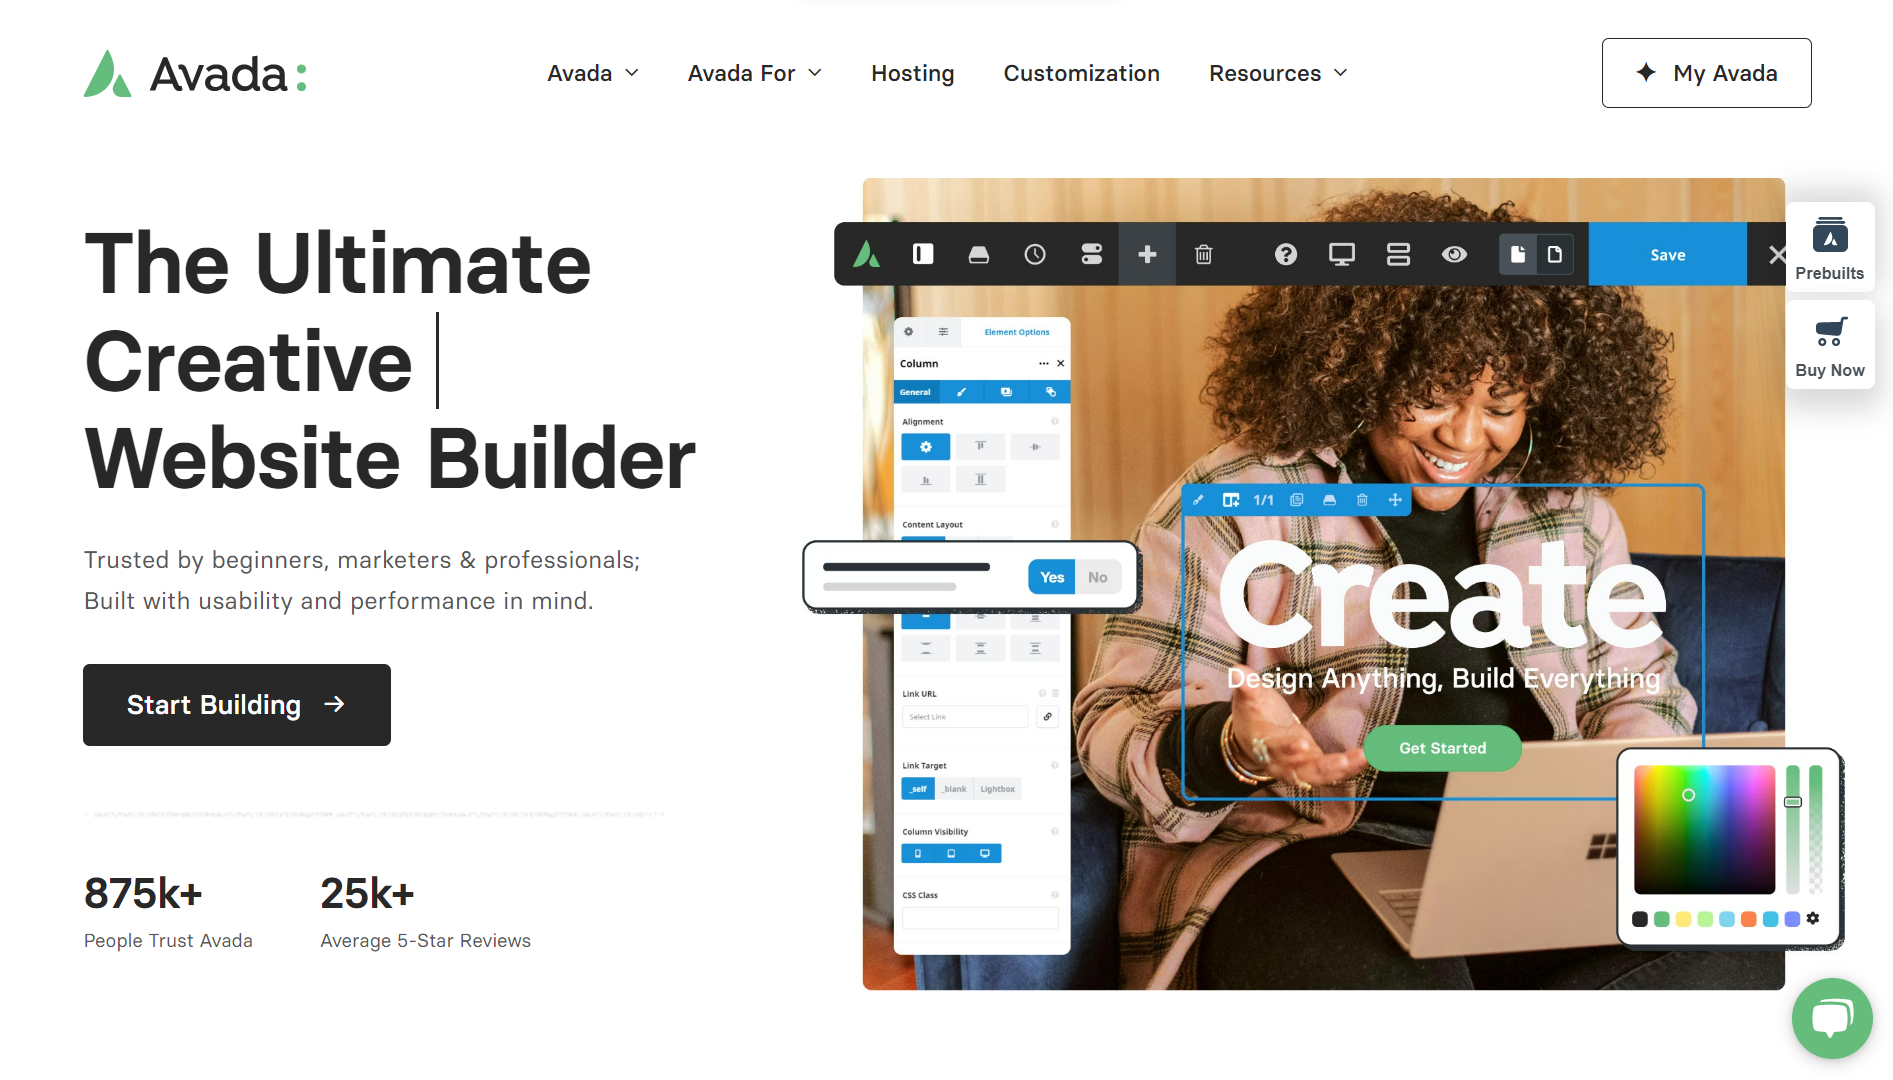
What is Avada?

It provides a powerful framework for creating professional websites, making it suitable for various purposes such as business, portfolio, blog, or e-commerce sites.
Comparison Table Between Astra vs Avada: 21+ Feature Comparisons
Why We Recommend Using Nexter Theme?
Make your WordPress image gallery more user-friendly and organised by adding a category filter. With a category filter, visitors can easily browse through specific image categories, making it easy to find the images they're looking for.
With the Media Listing block from the Nexter Blocks, you can easily create a WordPress image gallery with a category filter.
To check the complete feature overview documentation of the Nexter Blocks Media Listing block, click here.
Requirement - This block is a part of the Nexter Blocks, make sure its installed & activated to enjoy all its powers.
To do this, add the Media Listing block on the page,
1. Select Images from the Type section.
2. Then select the appropriate listing style and layout from the Layout tab.
Note: The Category option is only available for Repeater.
3. Go to the Content tab, and choose Repeater from the Select Option section.
Make sure you’ve added and assigned categories to your images while adding content to each repeater item.
4. Then go to the Filters tab, and turn on the Category Wise Filter toggle.
Note: Category filter is not available for the Carousel layout.
Now you’ll see filter options in your image gallery that you can use to filter images by category.

Note: Similarly, you can add a category filter to a video gallery by selecting Videos from the Type section.
You can edit the ‘All’ filter label from the All Category Text field.
From the Filter Style and Filter Hover Style, you can choose different styles for the category filter labels for normal and hover states.
From the FilterAlignment section, you can align the filter label.

Also, check How to Create a Video Carousel in WordPress.


