












A phone and a desktop side by side tell a responsive story — but only if they move together.
Connecting mockups ties their scrolling to one another, so hovering either one scrolls both.
For every Dynamic Device setting in one place, see the Dynamic Device block guide.
Before You Start
- Edition: Pro — the Dynamic Device block is part of Nexter Blocks Pro.
- Block to enable: Dynamic Device, switched on under Nexter > Blocks in your WordPress dashboard.
- Two or more Dynamic Device blocks, each with a tall screenshot and scrolling on.
Steps
- Add the Dynamic Device block and click Design from Scratch.
- Choose the Device Type — mobile, tablet, laptop or desktop — then pick the exact frame from the list below it.
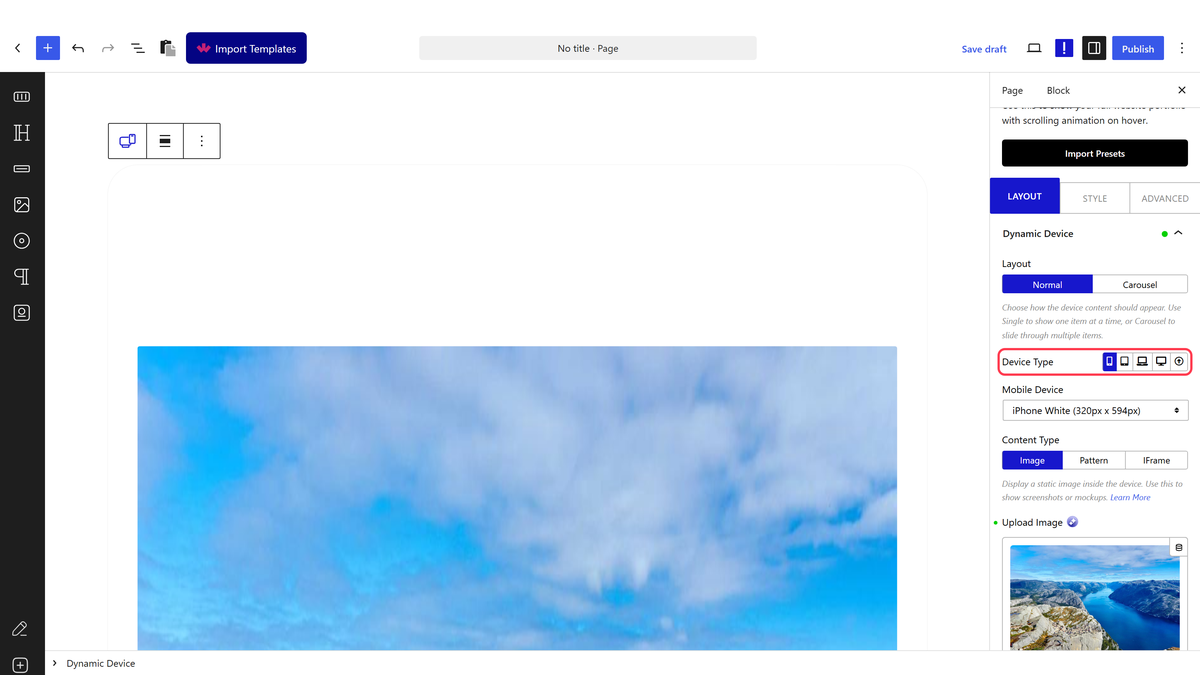
- Set each device up with its own screenshot and scrolling switched on.
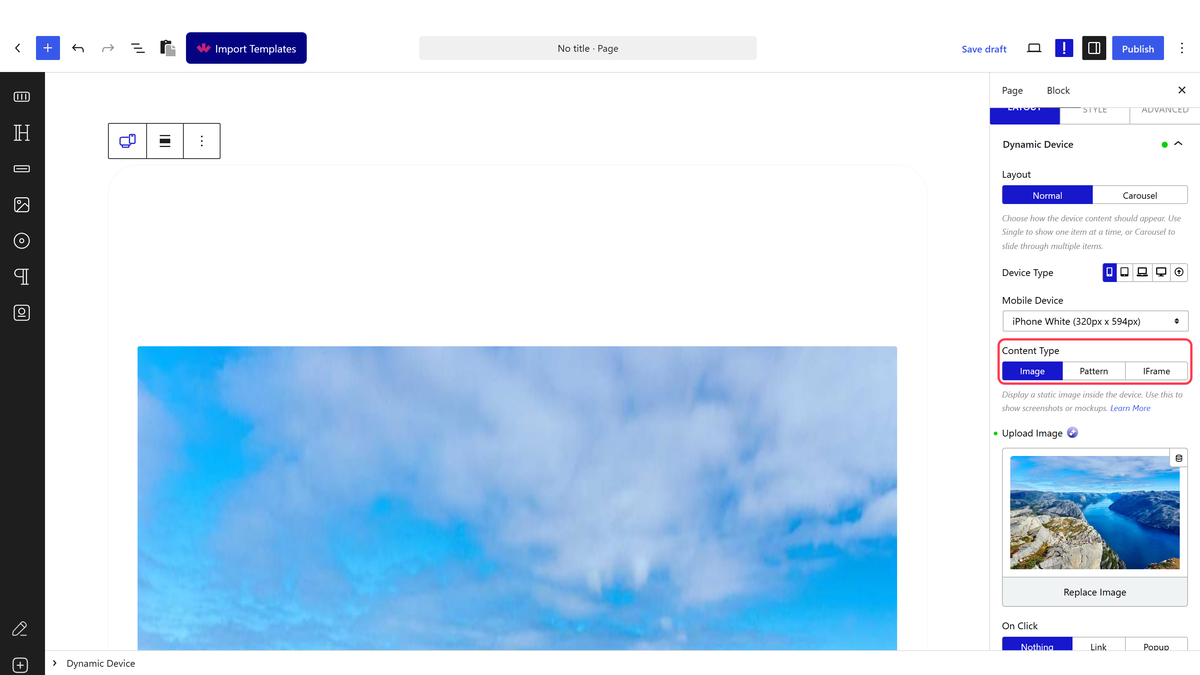
- Give every device you want linked the same connect name.
- Publish and hover one of them.
How It Behaves
- The connection is a shared name in the markup. Measured: connected devices carry
data-connectddwith the name you chose, plus the classtpgb-dd-multi-connect. - Every device with the same name scrolls together, so one hover moves the whole set.
- The devices can be different types — a phone and a desktop showing the same page is the usual reason to do this.
- Devices with different names, or no name, keep scrolling independently.
Limitations
- Pro only.
- The names must match exactly, and a typo simply leaves the devices unconnected with no warning.
- Screenshots of different lengths fall out of step, since each scrolls its own full height.
- It relies on hover, so connected scrolling does not happen on touch screens.
Troubleshooting
Only one device scrolls
The connect names do not match. Check them character for character.
They scroll at different rates
The screenshots are different heights. Make them the same length.
Nothing scrolls at all
Each device needs scrolling switched on individually — connecting them does not enable it.
