The Tabs Tours block from the Nexter Blocks is a powerful tool that allows users to create stunning, interactive tabs on their websites with ease. Tabs are a great way to organize content and add a bit of visual flair to your website. With the Tabs Tours block, you can easily add, edit, and arrange tabbed content sections on your website, allowing you to create a clean, organized presentation on any page.
If you connect the Tabs Tours block with the Carousel Remote block you can create your own unique navigation system to control the Tabs Tours block navigation.
So let’s see how you can connect the Tabs Tours block with the Carousel Remote block.
To check the complete feature overview documentation of the Nexter Blocks Carousel Remote block, click here.
Requirement – This block is a part of the Nexter Blocks, make sure it’s installed & activated to enjoy all its powers.
To connect these two blocks, first, add both the Tabs Tours block and the Carousel Remote block on the page and follow the steps.
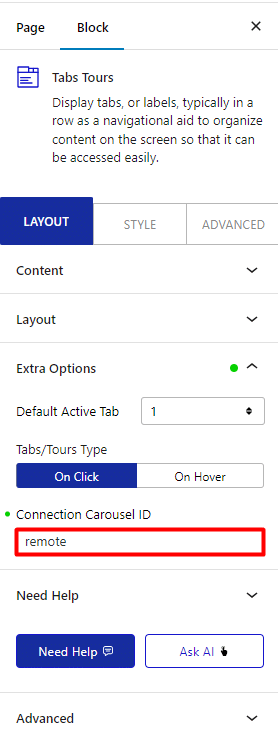
1. Once you add the Tabs Tours block on the page, after adding the content from the Content tab, go to the Extra Options tab and add a unique ID in the Connection Carousel ID field.

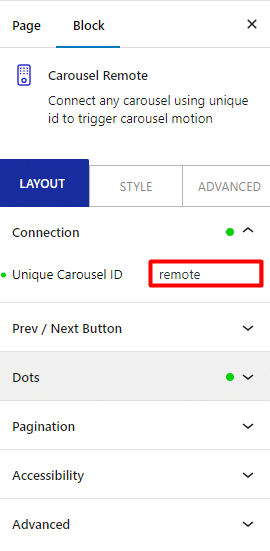
2. Now select the Carousel Remote block then go to the Connection tab and add the same ID in the Unique Carousel ID field.

3. Then go to Prev / Next Button tab and turn on the Button toggle, make sure the Tab & Tours option is selected from the Connection section and you’ll find some additional customization options for the buttons as well.

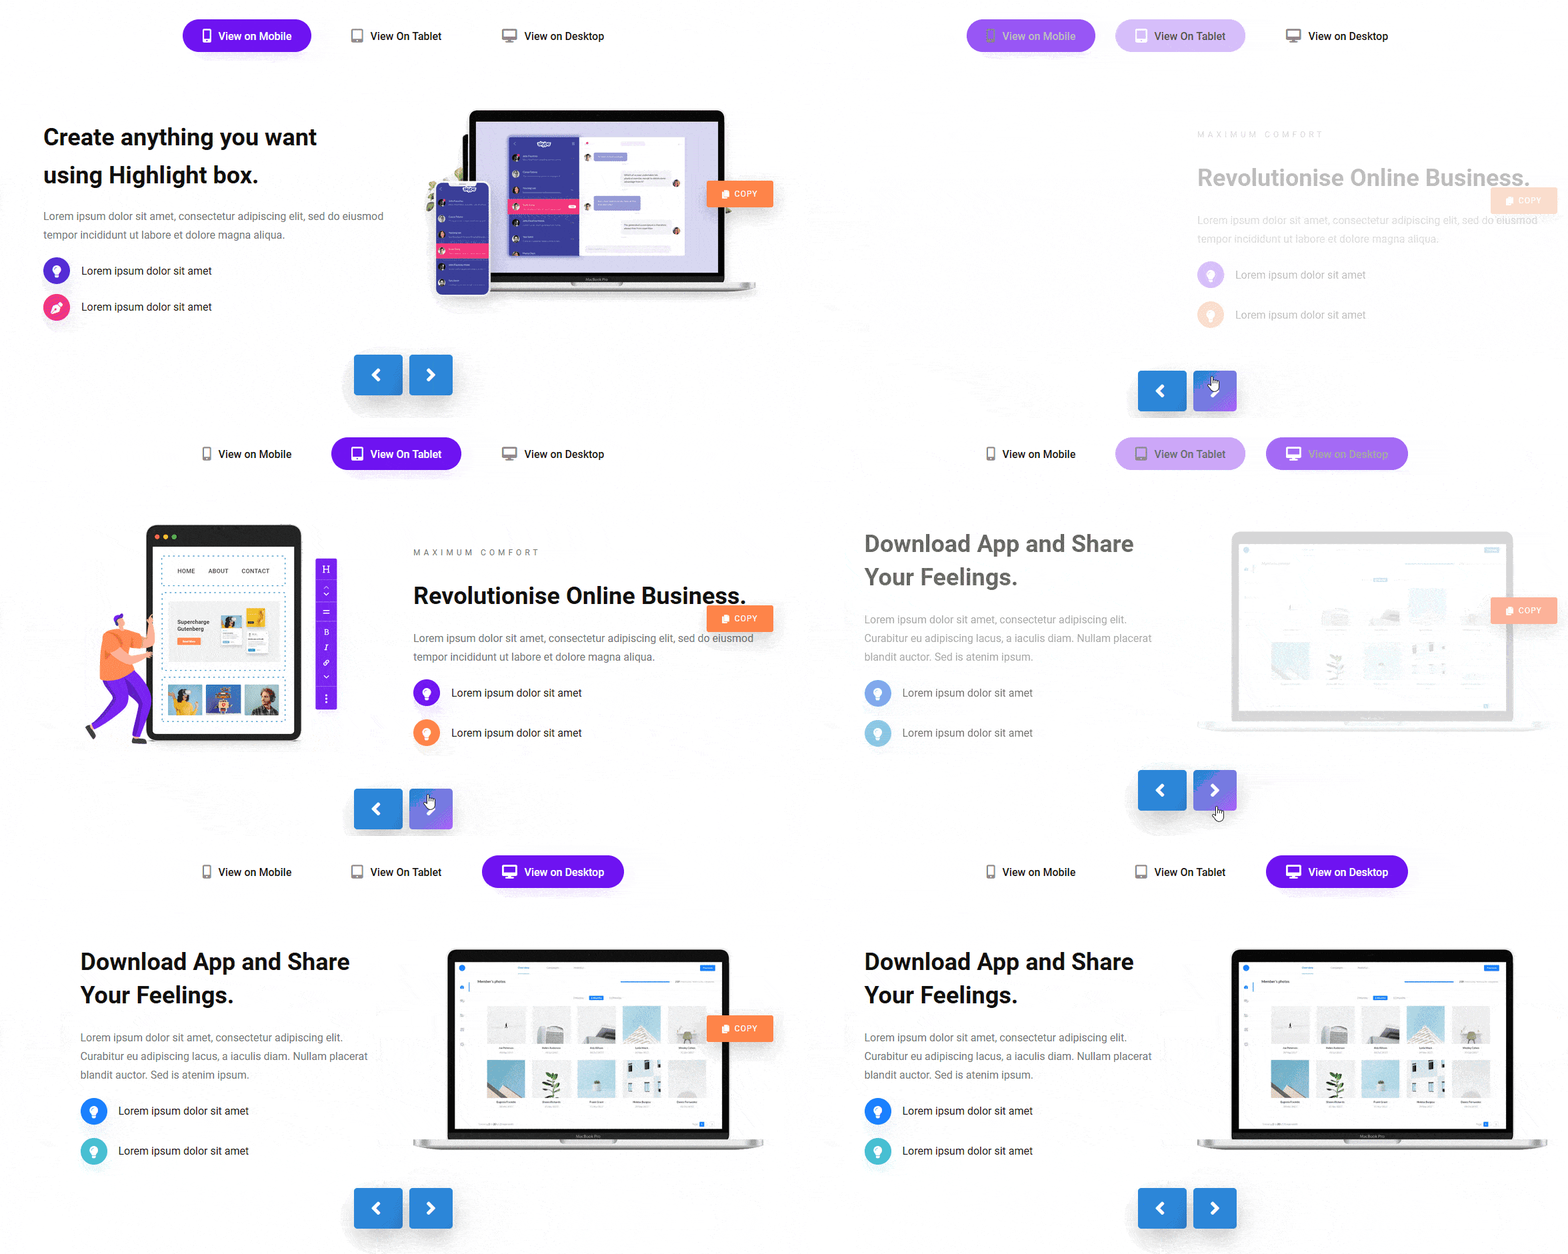
That’s it now your Tabs Tours block is connected with the Carousel Remote block and you can navigate between the tabs with your custom navigation buttons.

Also, check How to connect Carousel Remote Sync (Dots & Arrows) with WordPress Testimonials Block.


