












Menus and price lists are the sort of thing a table handles badly — the price needs to sit apart from the description, and the whole row needs to read well on a phone.
The Pricing List block is built for exactly that row: a tag, a title, a description and a price, in three arrangements.
Before You Start
- Edition: Free — works in Nexter Blocks (free) and with Nexter Blocks Pro.
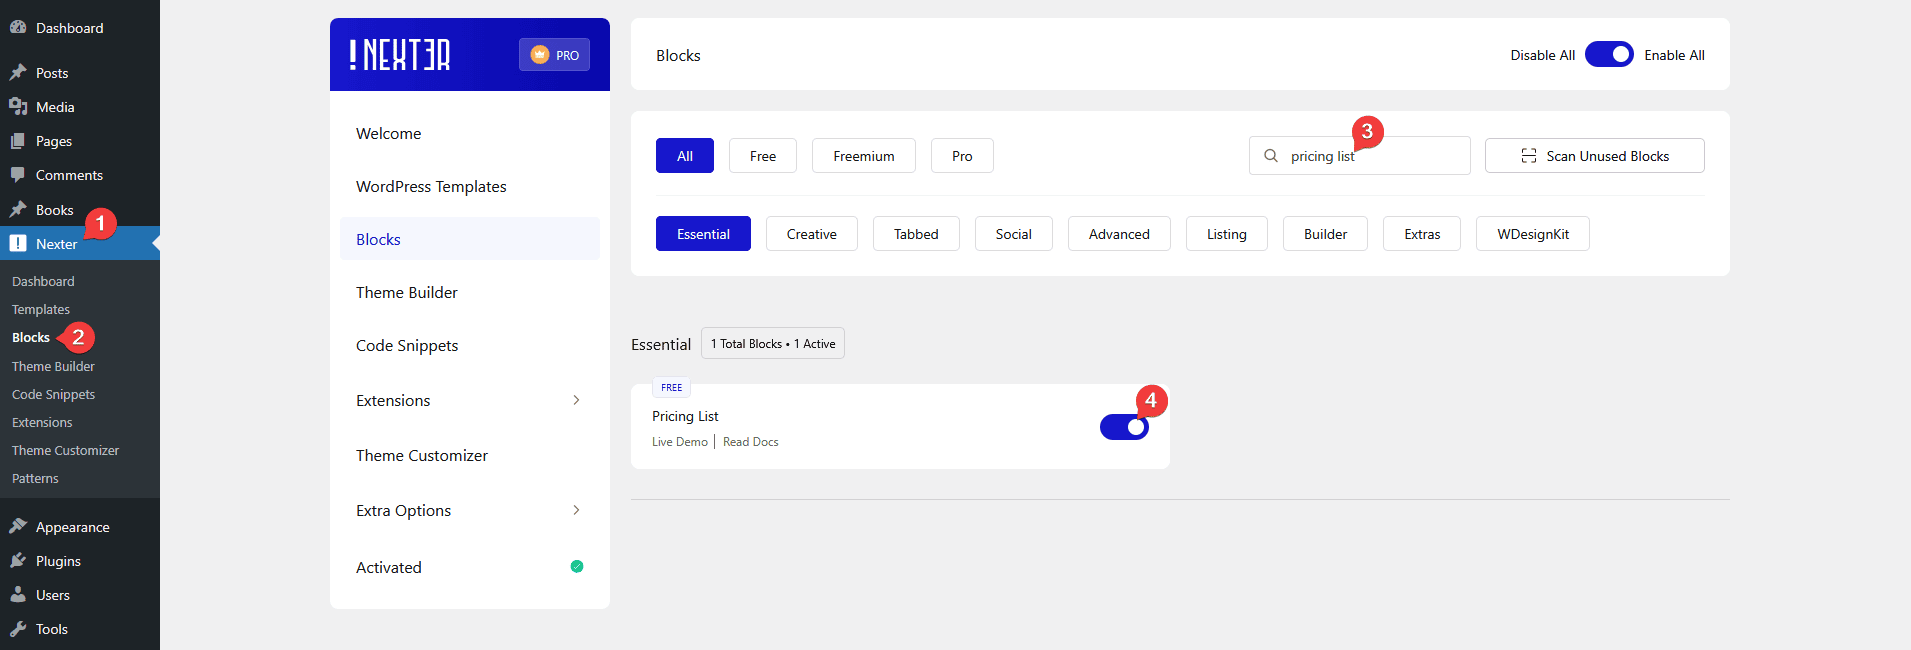
- Block to enable: Pricing List, switched on under Nexter > Blocks in your WordPress dashboard.
Video Tutorial

Steps
- Add the Pricing List block to your page.
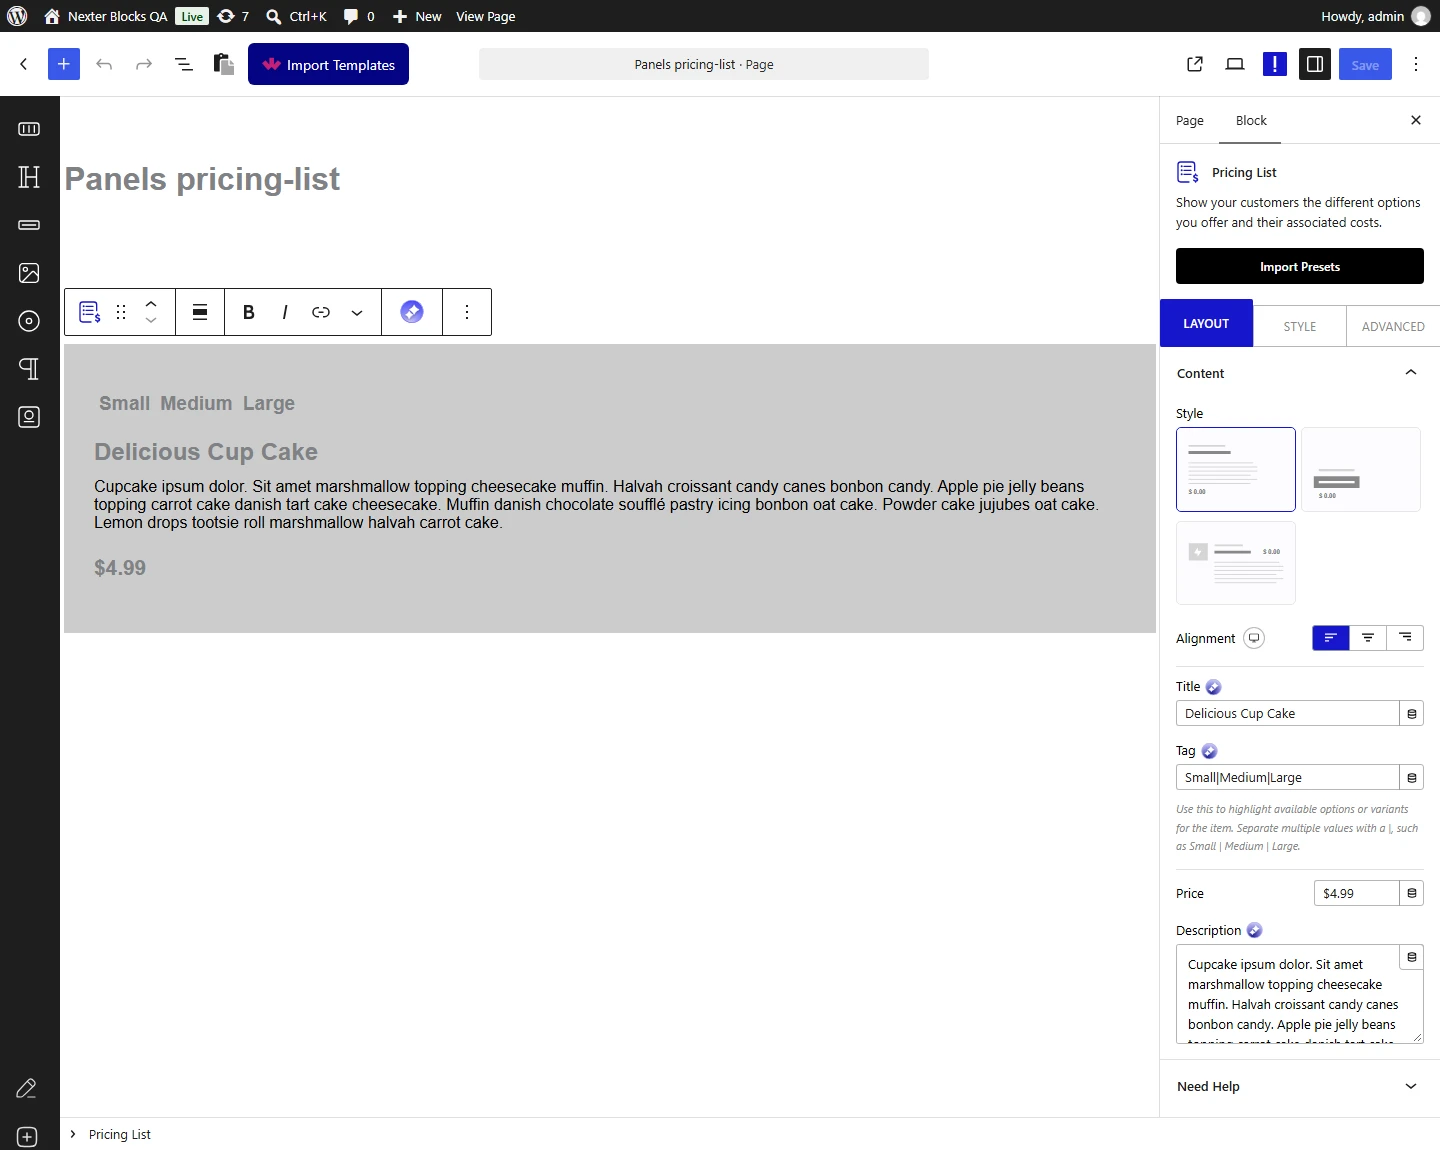
- Choose a Style — 1 is a plain row, 2 flips on hover, 3 puts an image beside the text.

- Fill in the tag, title, description and price.
- In style 3, choose the image and its shape.

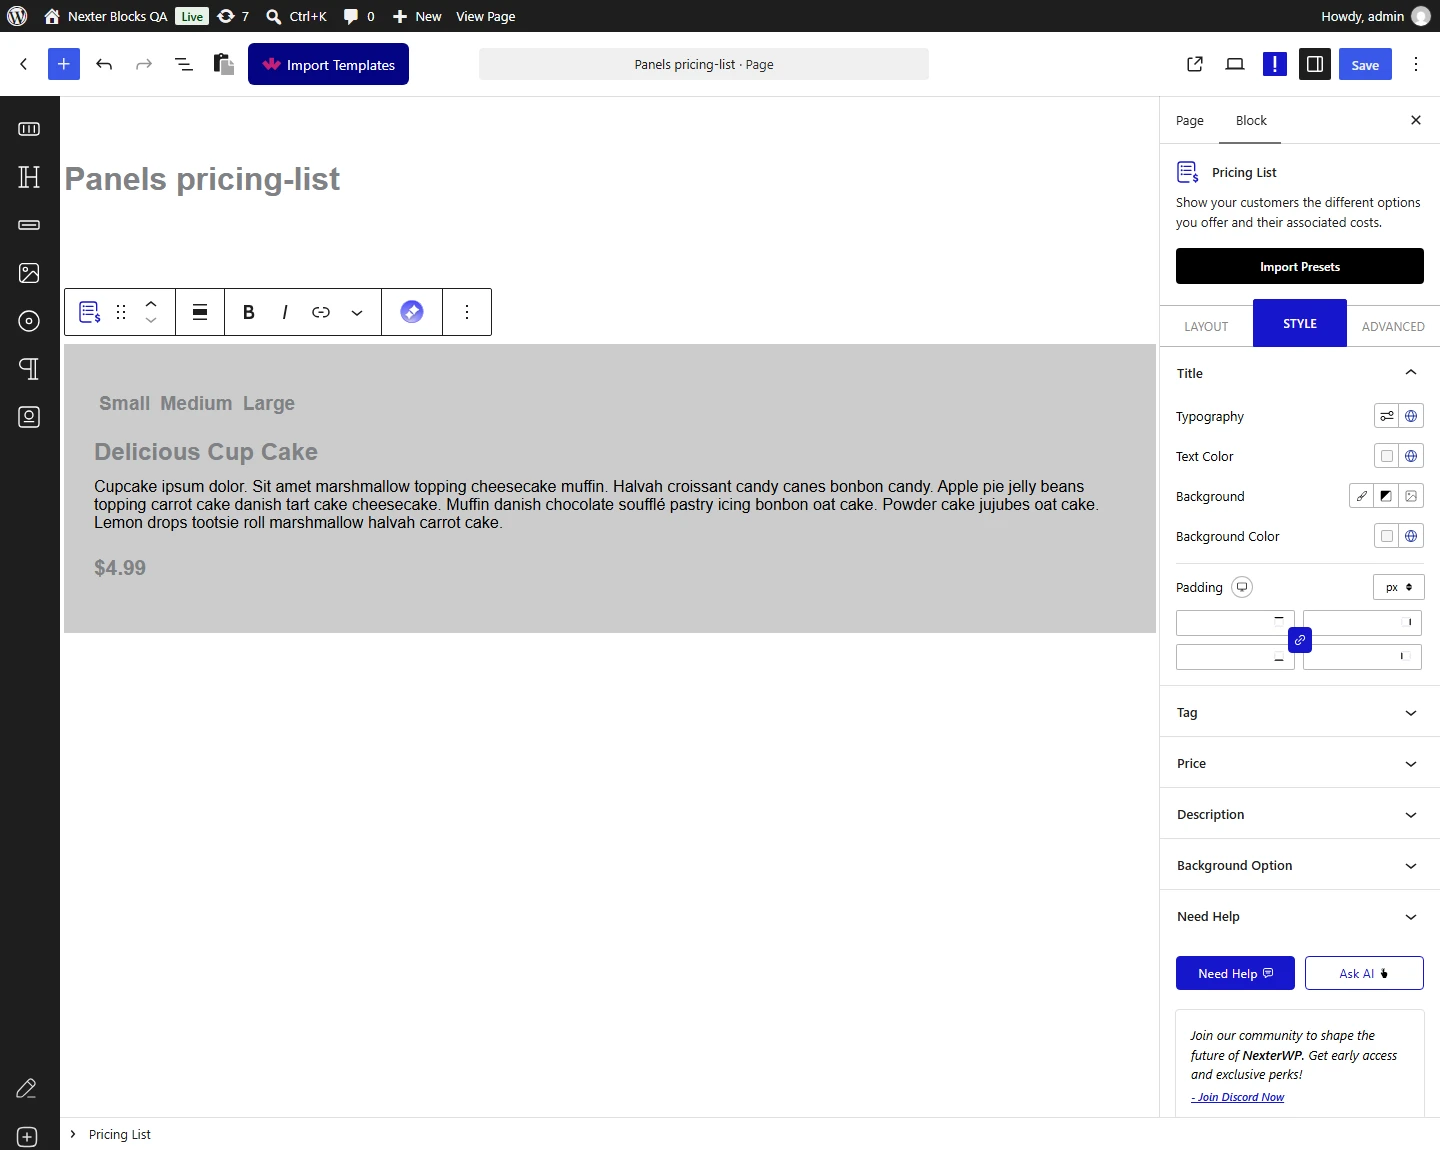
- Style it, then duplicate the block for each further item.
One block is one item. There is no repeater inside it, so a menu of ten dishes is ten Pricing List blocks stacked up, not one block with a list in it. Build the first one, style it, then duplicate it.
How It Behaves
The Pricing List block is one row of a menu or price list — a tag, a title, a description, a price, and in one of the three styles an image.
- One block is one item. There is no repeater inside it, so a menu of ten dishes is ten Pricing List blocks stacked up, not one block with a list in it. Build the first one, style it, then duplicate it.
- Only style 3 shows an image. Measured: the same block given the same picture rendered no image at all in styles 1 and 2, and the image in style 3. If you want photographs beside your items, style 3 is the only choice — choosing an image in the other two styles does nothing and gives no warning.
- The tag field splits on a vertical bar. Measured:
Small|Medium|Largerendered as three separate tags, andChef specialas one. That is how you get several labels from one field — but it also means a|you meant literally will be split. - In the flip style the description moves to the back. Measured: the front carried the tag, title and price, and the description was on the reverse. It is not hidden — it is on the face the visitor sees after hovering.
- Empty fields are left out entirely. Measured: a blank title, description or price renders no element at all, so the row closes up rather than leaving a gap.
Limitations
- The Box Align setting currently has no effect. Measured on published pages across every style and every value: the alignment class is never added to the markup, so the block’s own alignment rules never apply. Use the block’s ordinary alignment and spacing controls instead. This is reported to the development team.
- Images are style 3 only — measured, the setting is ignored in styles 1 and 2.
- One item per block, so a long menu means a lot of blocks. Duplicating a styled one is much faster than building each from scratch.
- The block does not sell anything — it is a presentation block, with no cart, no stock and no ordering.
Troubleshooting
My image is not showing
Only style 3 shows an image. Measured: the same block given the same picture rendered no image at all in styles 1 and 2, and the image in style 3. If you want photographs beside your items, style 3 is the only choice — choosing an image in the other two styles does nothing and gives no warning.
My tag has been split into pieces
The tag field treats a vertical bar as a separator. Measured: Small|Medium|Large renders three tags. Remove the bar if you meant it literally.
Box Align does nothing
The Box Align setting currently has no effect. Measured on published pages across every style and every value: the alignment class is never added to the markup, so the block’s own alignment rules never apply. Use the block’s ordinary alignment and spacing controls instead. This is reported to the development team.
The description has vanished in style 2
It is on the back of the card. Measured: the flip style puts the tag, title and price on the front and the description on the reverse. See the flip box style guide.
The block is there but empty
Every field is blank. Measured: each empty field is omitted, so an entirely empty block renders a box with nothing in it and no error.
