A strong online presence is key for tattoo artists looking to attract more clients—but building a website can feel like a huge task. Coding? Not required. Hiring an expensive developer? Skip it.
In this guide, you’ll learn how to create a tattoo artist website using WordPress in just 15 Minutes—no technical skills needed.
With bold, artistic templates and an easy drag-and-drop editor, you can build a visually striking portfolio that showcases your unique style. Get online quickly and let your artwork speak for itself!
Prerequisites for Creating Tattoo Artist Website
Before you get started, double-check that you’ve got everything set up:
- A domain name and web hosting (that’s how your site goes live)
- WordPress already installed on your website
- Nexter Blocks plugin added and turned on
- WDesignKit plugin installed if you want to use ready-made designs
Once you’ve got all that set, you’re good to go and can follow the steps easily.
How to Create Tattoo Artist Website (Step by Step Guide)
Let’s get started with the step-by-step guide to build your Tattoo Artist website.
Step 1: Select WordPress Hosting for your Tattoo Artist Website
Choose the right hosting, and you’ll avoid countless headaches later. If you’re building with WordPress, here are three great options:
WordPress Hosting is designed specifically for WordPress sites—no surprises there.
Kinsta offers lightning-fast speeds and top-tier security, making it perfect for donation pages.
On a budget? Hostinger delivers impressive performance without draining your wallet.
Step 2: Install & Set Up WDesignKit for Easy-to-Use WordPress Templates
Skip the design headaches by using WDesignKit — it’s your secret weapon for building professional websites faster with sleek, ready-to-use Gutenberg templates that don’t require any coding.
Just install and activate this plugin, and you’ll unlock hundreds of templates in seconds. No more starting from scratch!
Need the full walkthrough? Check out the detailed installation and activation docs for smoother onboarding.
Step 3: Select the Tattoo Artist Template for Your WordPress Website
Let’s find the perfect template for your site in just a few steps. Go to your WordPress Dashboard, then click on WDesignKit > Browse Templates.
In the search bar, type Tattoo Artist, choose Gutenberg as the page builder, and select Page Kits as the template type.
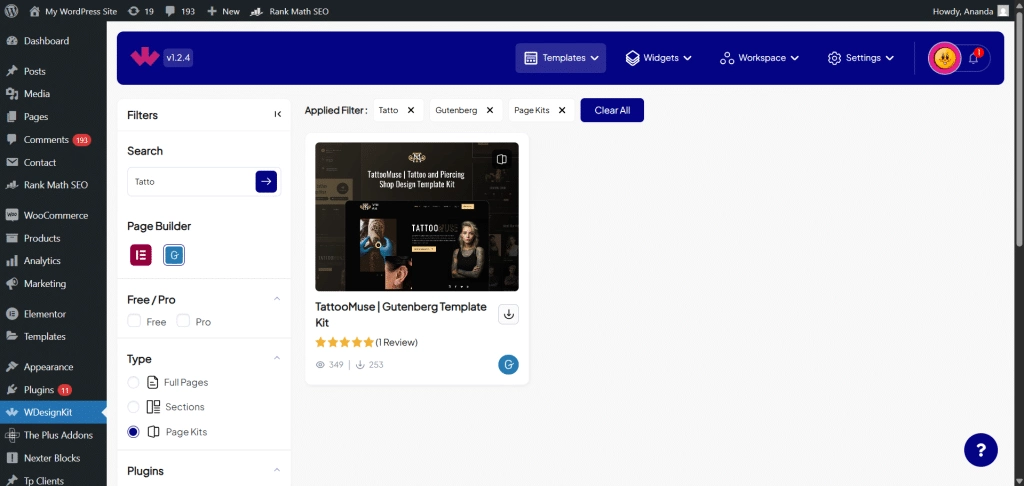
Browse through the options and select the one that fits your needs the best.

Browse through the options and select the one that fits your needs the best.
Step 4: Import the Template into Your WordPress Site
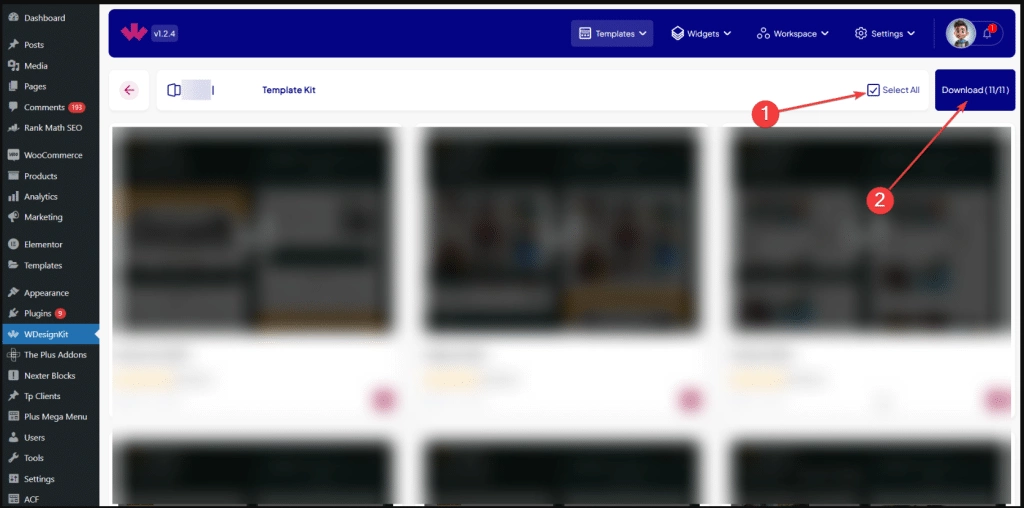
Once you’ve found the right template, click “Select All” to include every page in the kit, then hit “Download” to begin importing.
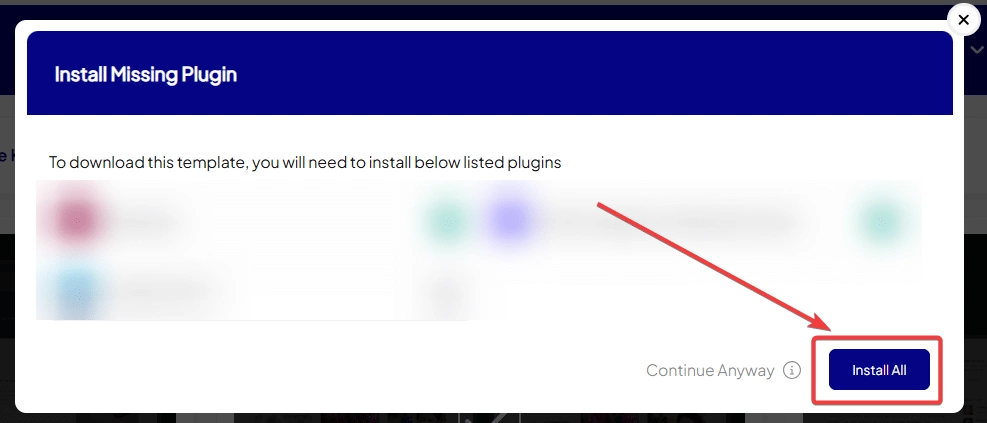
A pop-up will appear showing any plugins your template needs.
Click “Install All,” then “Next” to continue. These plugins help everything run smoothly.
The next popup will ask how you want to import the templates—as Posts, Pages, or My Templates.
Just leave it on the default option and click “Import.” WDesignKit will handle the rest, and in a few seconds, you’ll see a “Successfully Imported” message.
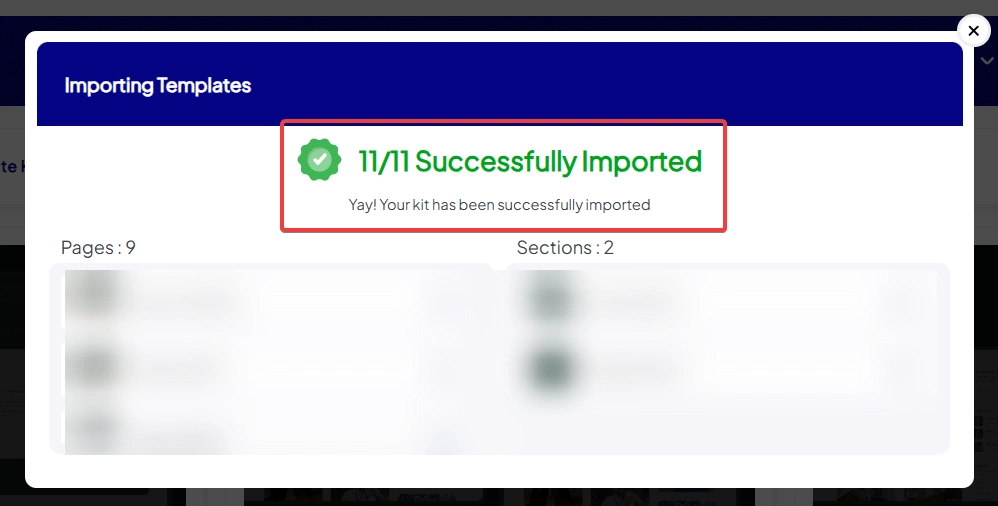
And just like that, your website layout is all set, ready for you to add your content!
Step 5: Customize Content & Upload Relevant Images
Time to make the template truly yours! Start by updating the text—add your catchy headlines, simple descriptions, and buttons that tell visitors what to do next.
Swap out any generic images with real photos showing your brand and what you’re all about. People connect better with visuals that feel real.
And don’t forget to keep things consistent—use your brand colors and a similar writing style on every page to build trust.
Recommended Actions After Importing Your Website
Now that your Tattoo Artist website is ready, here are the next steps to follow:
1. SEO Plugins
A beautiful website means nothing if people can't find it. That’s where a good SEO plugin makes all the difference.
Rank Math offers a clean, user-friendly interface packed with advanced SEO features.
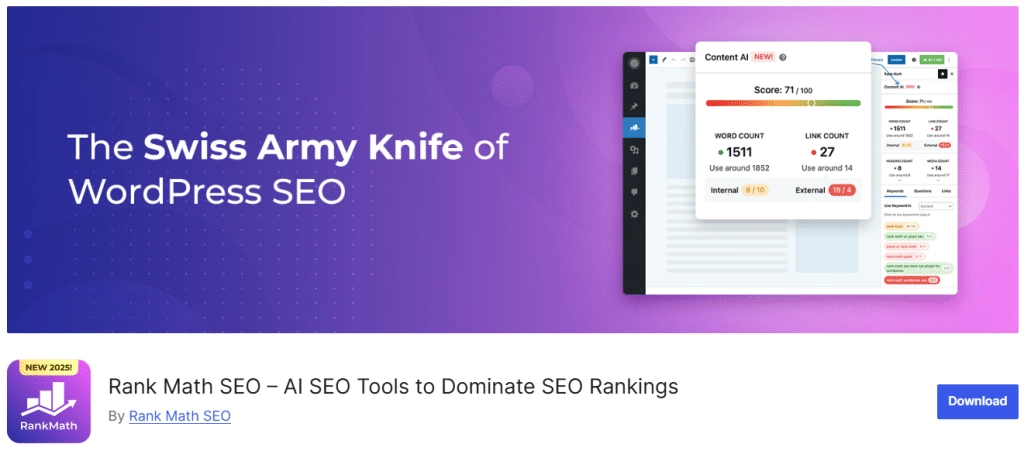
It's smart content analysis helps you catch missed optimization opportunities, while the built-in schema markup tool makes it easy to enhance your search visibility.
Yoast SEO is a trusted favorite, known for its simple traffic light system that guides you through SEO best practices.
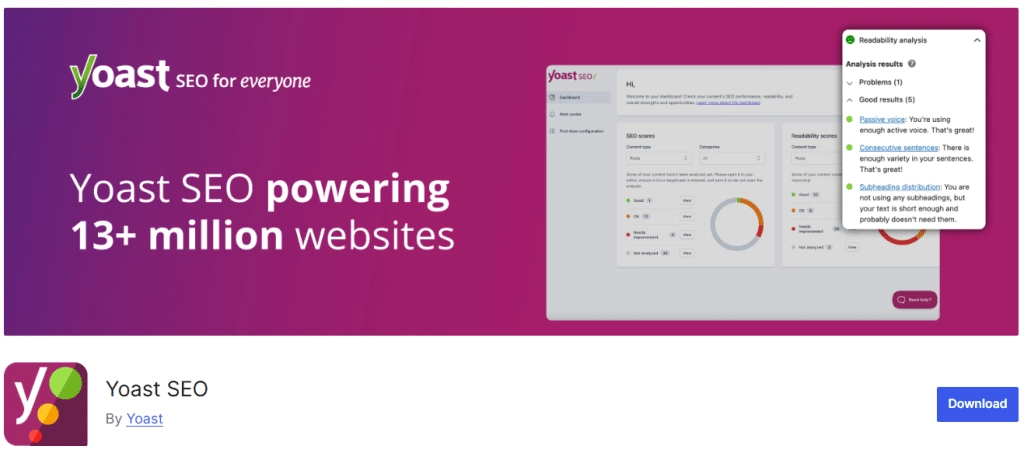
Its readability analysis can greatly improve how your content flows for readers.
Both plugins help search engines understand your content better—but remember, stick to just one. Running multiple SEO plugins can cause conflicts and hurt your rankings.
2. Performance Plugins
Website speed matters—visitors often leave if your site takes more than 3 seconds to load. A fast-loading site keeps people engaged and improves your chances of converting them.
WP Rocket is our top pick for speeding things up.
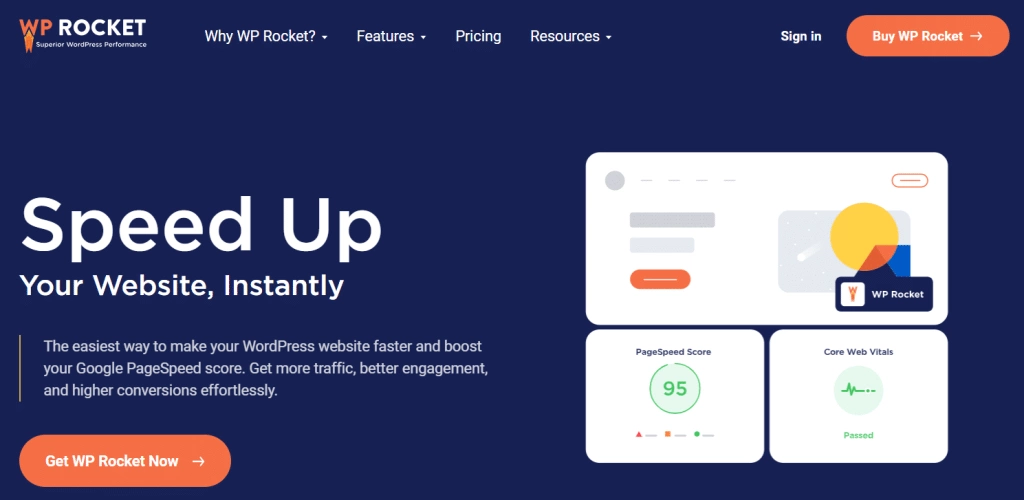
Just install and activate—it’s that simple. With features like image lazy loading, it’s perfect for media-rich pages.
On a budget? W3 Total Cache is a great free alternative.
It’s not as beginner-friendly, but once set up correctly, it delivers impressive speed gains.
No matter which you choose, caching is a must for any WordPress website aiming for performance.
3. Security Plugins
Most websites face over 50 attack attempts every single day. Lock yours down before hackers find it—don’t risk becoming an easy target.
MalCare provides real-time malware scanning and automatic cleanup.

Its smart firewall blocks harmful traffic before it even hits your site, saving you from hours of stress.
Wordfence is another powerful option, trusted for its live traffic monitoring and brute-force attack protection.

Even the free version delivers better security than many paid tools out there.
Both plugins offer solid protection and peace of mind. Because nothing’s worse than having to rebuild a hacked site from scratch.
Wrapping Up
That’s it! In just 15 minutes, you’ve transformed a blank page into a professional Tattoo Artist website — no coding required.
With the help of WDesignKit templates and Nexter Blocks, you can focus on what really matters — your mission.
Keep in mind, a great website keeps evolving. Make small monthly updates, refresh your content regularly, and use analytics to understand what your visitors care about most.
Stay updated with Helpful WordPress Tips, Insider Insights, and Exclusive Updates – Subscribe now to keep up with Everything Happening on WordPress!
Frequently Asked Questions (FAQs)
How many WDesignKit templates can I import on my site?
There’s no restriction—you can import as many templates as you like on a single website.
Do I need any paid plugin to use WDesignKit templates with Gutenberg?
No, you can use all WDesignKit templates with just the free version of Nexter Blocks.
Do I need any Gutenberg addon to import templates?
Yes, you’ll need the free Nexter Blocks plugin, which unlocks all the block-based templates and customization features.
Do I need Gutenberg Free & Pro Versions to Use Templates?
Gutenberg itself is free and fully supported. However, to access Pro templates, you’ll need the Pro version of WDesignKit or Nexter Blocks.
What happens if I remove WDesignKit after importing templates?
The templates will remain on your site—removing WDesignKit won’t affect or delete them.
Are WDesignKit website templates customizable in Gutenberg?
Absolutely! All templates are fully customizable using Gutenberg blocks. You can easily adjust layouts, colors, fonts, and more—no coding required.
Are the prebuilt websites customizable?
Yes, every template is 100% customizable, giving you full design freedom. Nothing is locked.
Do I need any Elementor addon or Gutenberg addon to import templates?
For Elementor templates: You may need the free or Pro version of The Plus Addons for Elementor.
For Gutenberg templates: You’ll need the free or Pro version of Nexter Blocks.


