






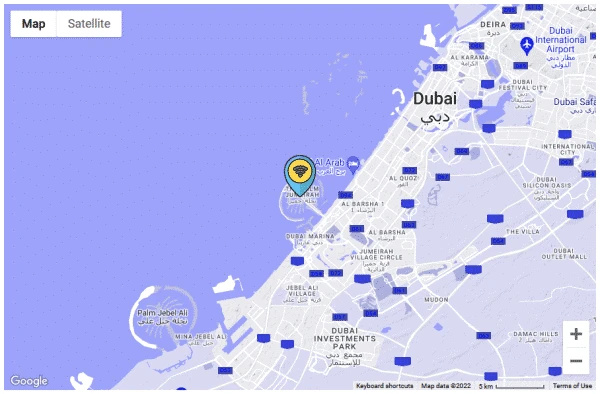
A branded marker, such as your logo or a store icon, makes your locations stand out from other places on the map.
The free Google Map block in Nexter Blocks lets you set a marker image for each pin.
For every Google Map setting in one place, see the Google Map block guide.
Before You Start
- Edition: Free — works in Nexter Blocks (free) and with Nexter Blocks Pro.
- Block to enable: Google Map, switched on under Nexter > Blocks in your WordPress dashboard.
- A marker image: a small PNG or SVG with a transparent background, around 40–60px tall.
- A Google Maps API key saved under Nexter > Extra Options > Settings.
Steps
- Add the Google Map block and open Content on the Layout tab.
- Open a pin under Pins and upload your marker in Tooltip Icon.
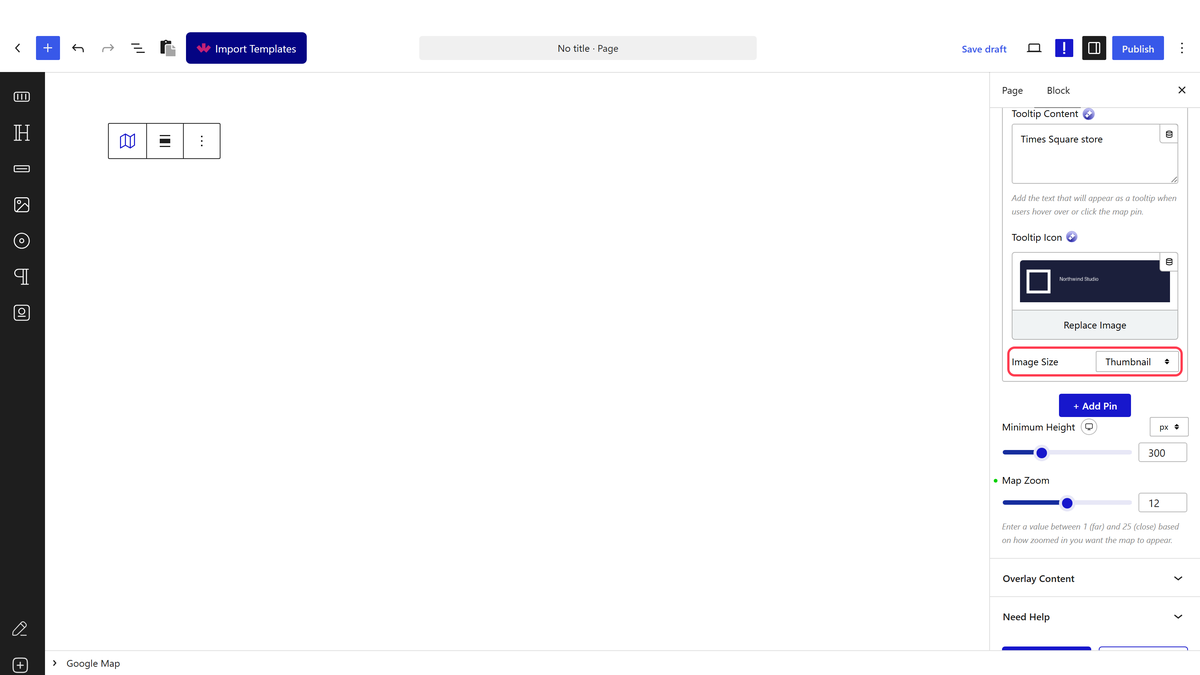
- Pick an Image Size. The marker appears at that image size, so choose one close to the size you want.
- Repeat for other pins if they need their own marker, then save.
How It Behaves
- Each pin uses its own Tooltip Icon. Pins without one keep Google’s red marker.
- The tooltip text from Tooltip Content still opens when the marker is clicked.
Limitations
- There is no separate width or height setting for the marker. Resize the image before uploading, or use Image Size.
- Large images show at full size and can cover the map. Keep marker files small.
Troubleshooting
The marker is huge
Upload a smaller image, or choose a smaller Image Size such as Thumbnail.
The default red pin still shows
The image was added to a different pin. Open each pin under Pins and check Tooltip Icon.
