












Every card is really a box with things inside it.
The Hover Card block builds that box out of rows: one row opens a tag and deliberately does not close it, the rows after it become its contents, and a final row closes it again.
For every Dynamic Device setting in one place, see the Hover Card block guide.
Before You Start
- Edition: Free — the Hover Card block works in Nexter Blocks (free) and in Nexter Blocks Pro.
- Block to enable: Hover Card, switched on under Nexter > Blocks in your WordPress dashboard.
- A little HTML. This block builds markup out of the rows you add, so it helps to know what a tag is and which tag wraps which.
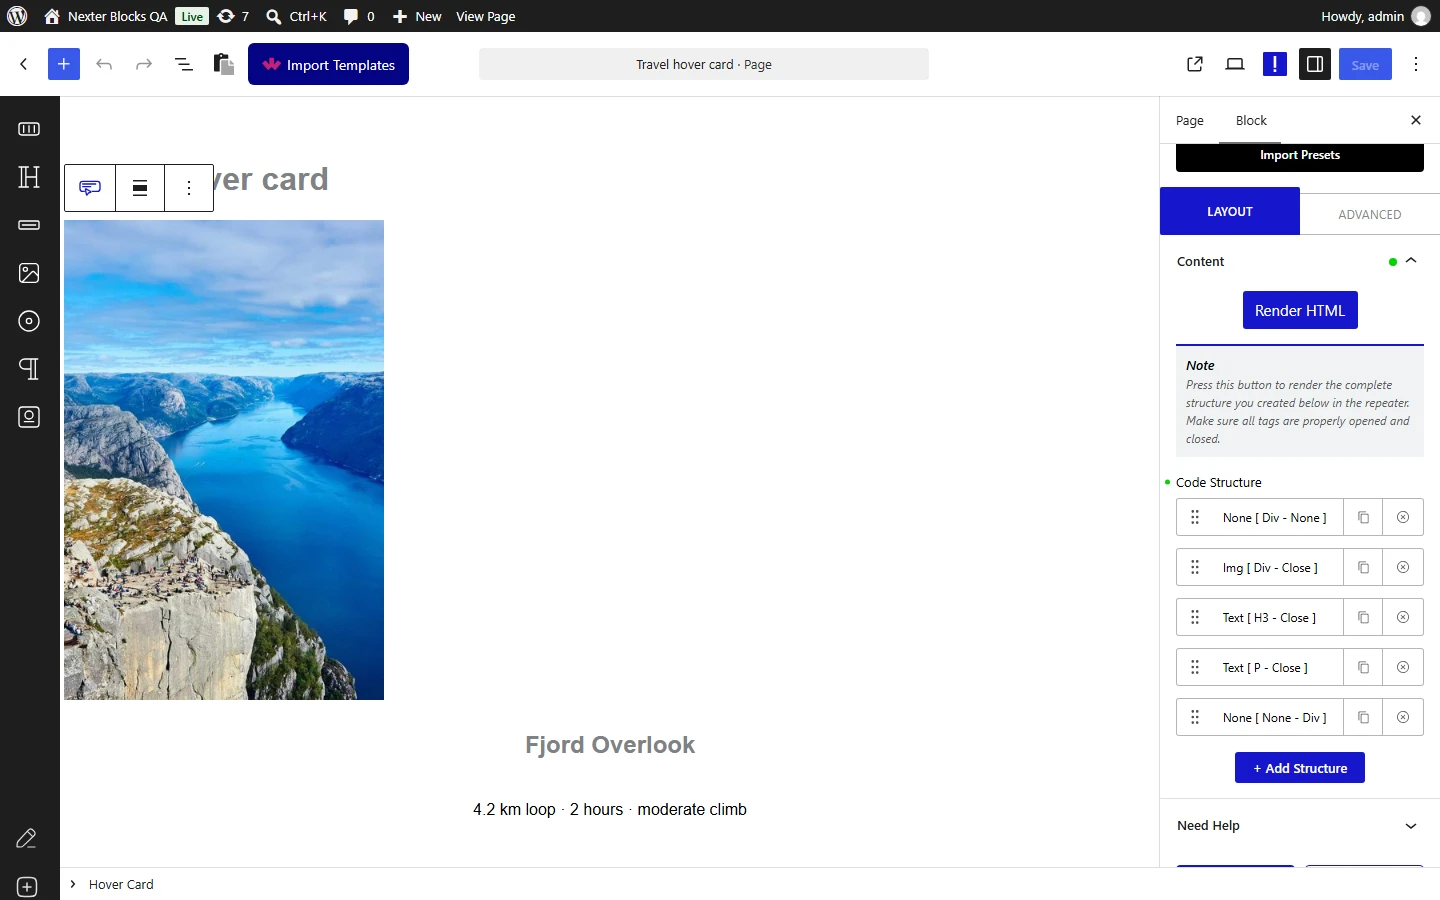
Steps
- Add the Hover Card block to your page.
- Open the row already waiting under Code Structure, or press + Add Structure for another one.
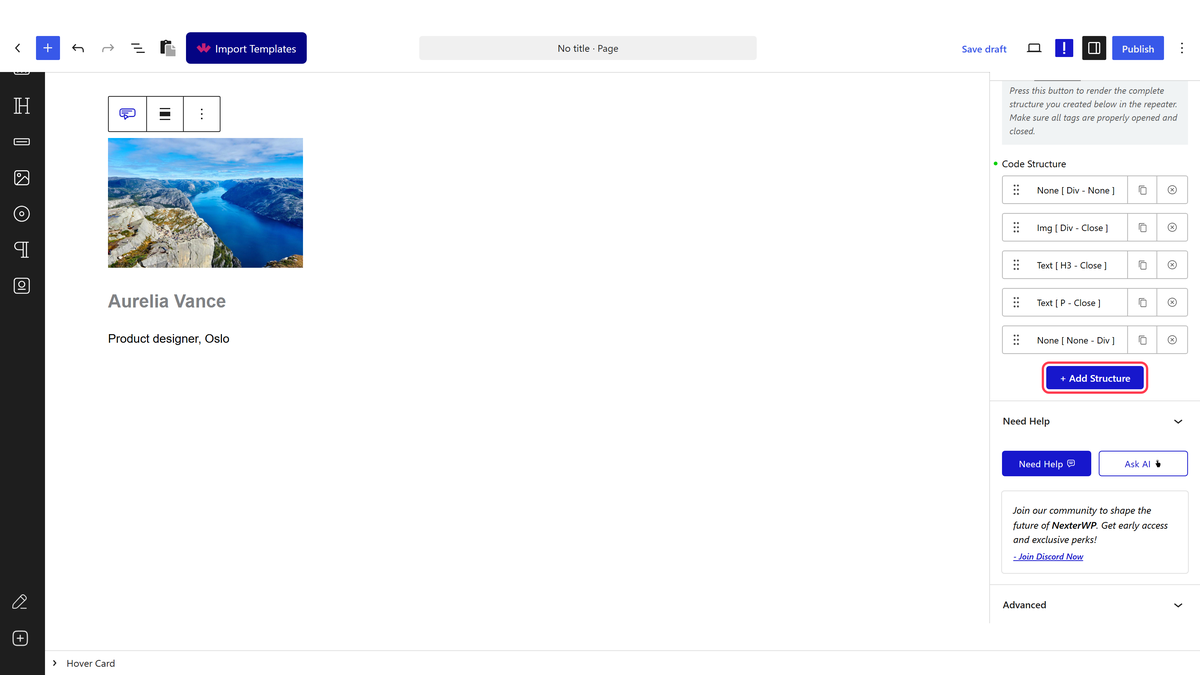
- Choose the wrapper in Open Tag, and close it in Close Tag.
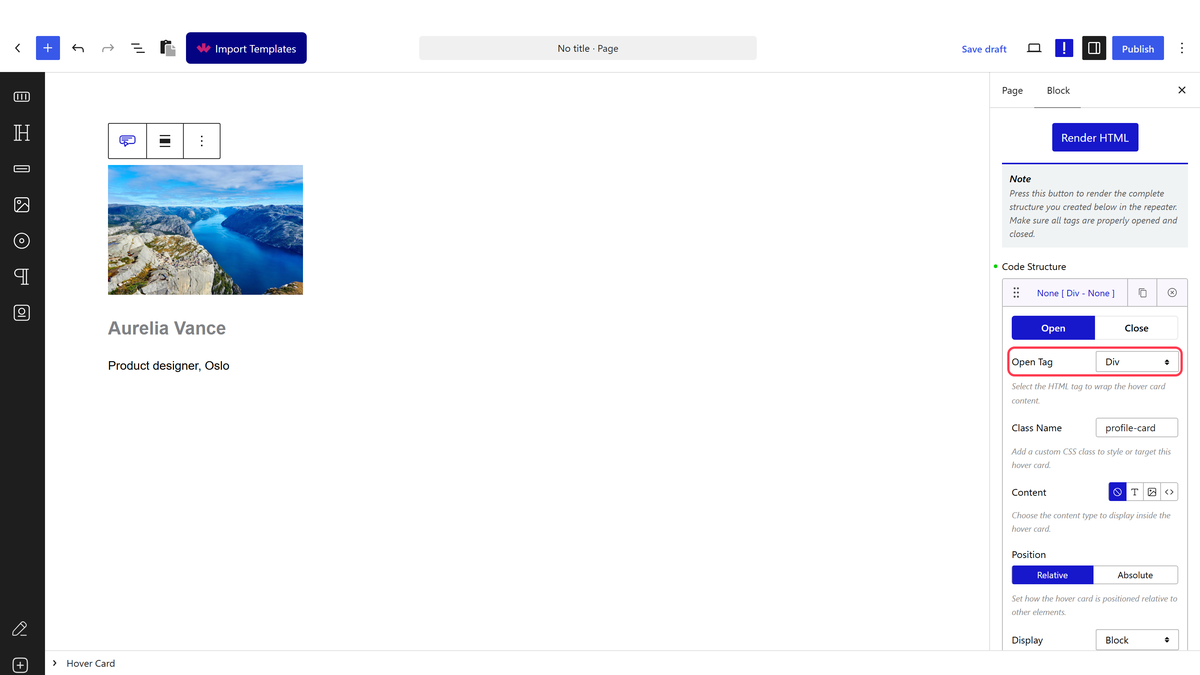
- On the first row set Open Tag to Div, Close Tag to None, and give it a class. This is the container.
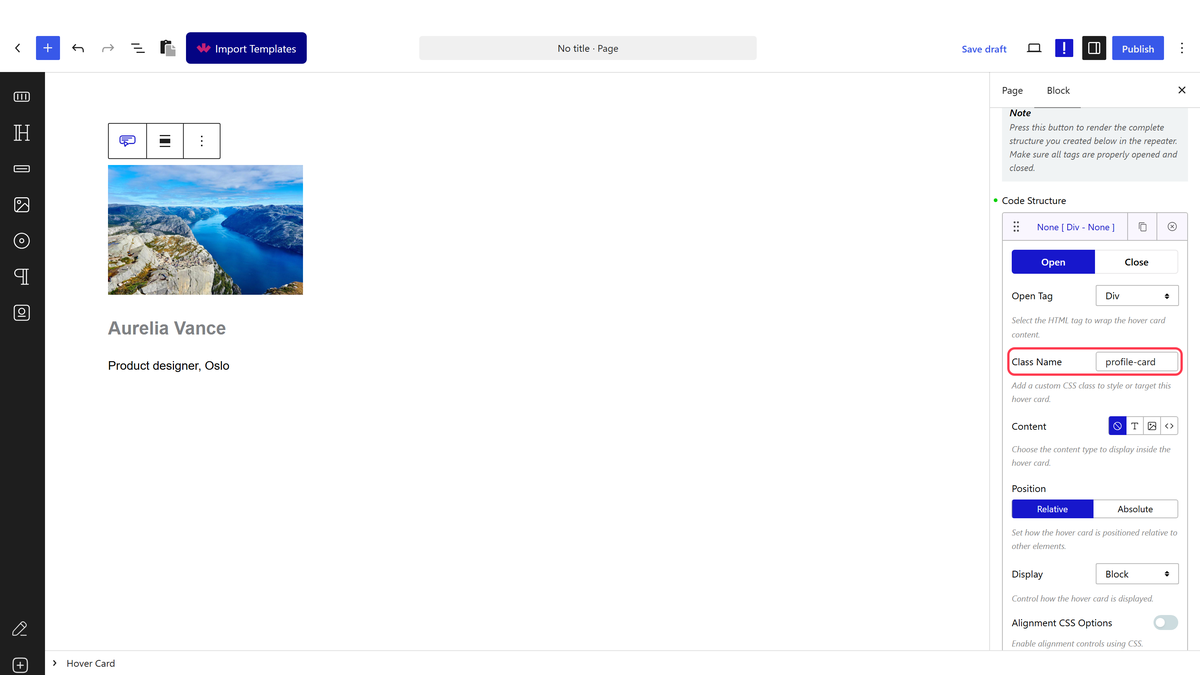
- Add a row for each thing that goes inside, with its own tag and content.
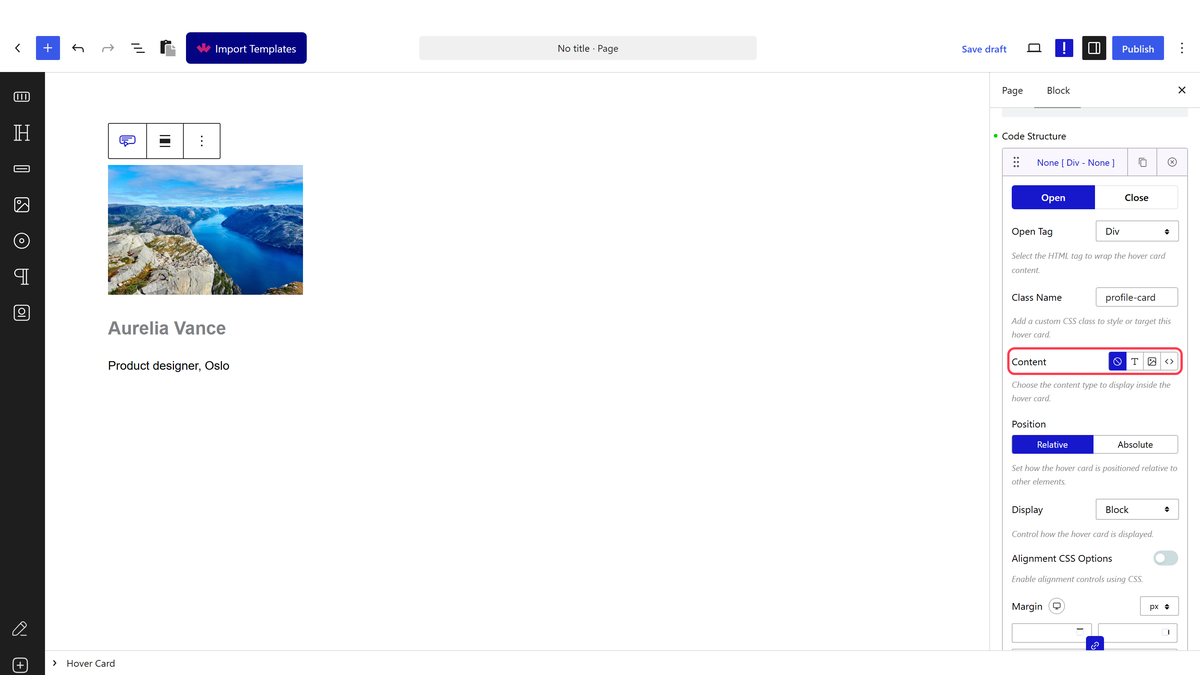
- Add a last row with Open Tag set to None and Close Tag set to Div. This closes the container.
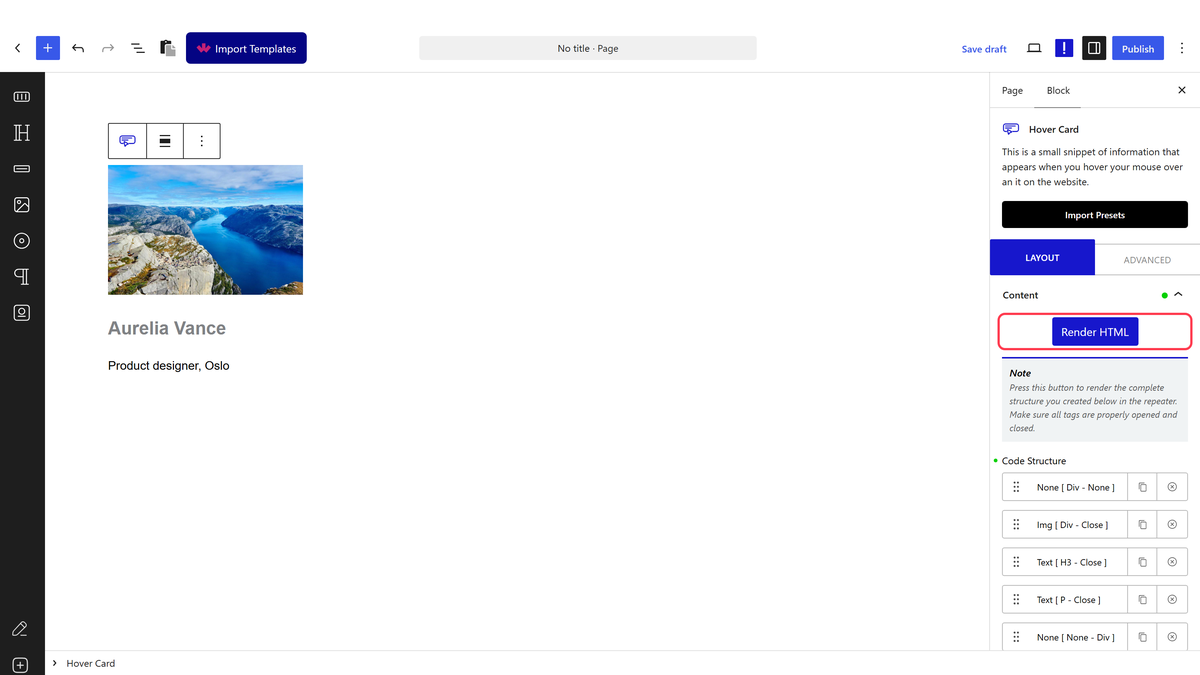
- Press Render HTML to draw the structure, then publish.
Close Tag = None means “stay open”. Everything after that row is inside it until a later row closes it.
A Worked Example
| Row | Open Tag | Close Tag | Content |
|---|---|---|---|
| 1 | Div | None | None — the wrapper |
| 2 | H3 | Close | Text |
| 3 | P | Close | Text |
| 4 | None | Div | None — closes the wrapper |
Measured, that renders as one div containing an h3 and a p — which is a card you can style as a unit and hover as a unit.
How It Behaves
- Rows render in order, so the order in the repeater is the order of your markup. Drag a row and the structure changes with it.
- Close Tag = Close closes the same tag that row opened — the everyday case for a heading or a paragraph.
- Wrappers are what make hover effects possible. A container with a class is exactly what Custom Hover needs to watch.
- You can nest as deep as you like, as long as every open tag gets a later closing row.
- Only 21 tags are accepted — div, h1 to h6, a, span, p, header, footer, article, aside, main, nav, section, tr, th and td. Anything else is silently turned into a
div, measured.
Limitations
- Nothing checks your tags. An unclosed container silently swallows whatever follows it.
- There is no visual nesting in the repeater — the rows are a flat list, and the tags do the nesting.
- Nothing appears until Render HTML is pressed.
Troubleshooting
Everything after my card ended up inside it
A container was never closed. Add a row with Open Tag None and Close Tag set to the tag you opened.
My elements are side by side and I wanted them stacked
Set Display on the container row — Block stacks, Flex puts them in a line, and the Alignment CSS Options underneath control how they line up.
I lost track of my structure
Each row’s title reads content [ open tag — close tag ], so the repeater list itself is a summary of the markup you have built.
