












Key Takeaways
- A custom post type (CPT) is a content type you add to WordPress beyond the built-in Posts and Pages, for content like portfolios, events, testimonials, or products that deserves its own section.
- WordPress already runs on post types. Posts, Pages, media attachments, revisions, and menu items are all post types under the hood, so a custom post type simply adds your own.
- You can create one without code using a plugin like Custom Post Type UI, or with a few lines of PHP using the register_post_type() function on the init hook.
- Registering a custom post type does not display it. You surface it on the front end with an archive page, the core Query Loop block, or a Post block from a free library like Nexter Blocks.
A while back, a client came to me frustrated. They ran a consulting site and wanted to publish case studies, but every case study was going out as a regular blog post. So their case studies were mixed in with company news, how-to articles, and the occasional hiring announcement, all in one messy feed. They asked a fair question: why can case studies not have their own place, the way posts and pages do? They can. That is exactly what a custom post type is for.
If you have ever felt that Posts and Pages are not enough to organize your content, this guide is for you. We will cover what a custom post type in WordPress actually is, when you need one, how to create it with or without code, and the step most tutorials skip: how to display it on the front end.
What Is a Custom Post Type in WordPress?
A custom post type is a content type you define yourself, separate from the default ones WordPress ships with. To understand it, it helps to know that WordPress is built on post types already.
When you install WordPress, it comes with a handful of built-in post types. The ones you see every day are Posts and Pages, but there are others working quietly in the background. According to the WordPress developer documentation, the default post types include post, page, attachment (your media library items), revision, and nav_menu_item (each item in your menus).
The word post is a little misleading here. A post type is not always a blog post. It is just a label WordPress uses to group a kind of content, along with the settings and screens that come with it. A custom post type is one you register yourself, for example Case Study, Recipe, Event, or Product, so that content gets its own admin menu, its own editing screen, and its own place on your site.
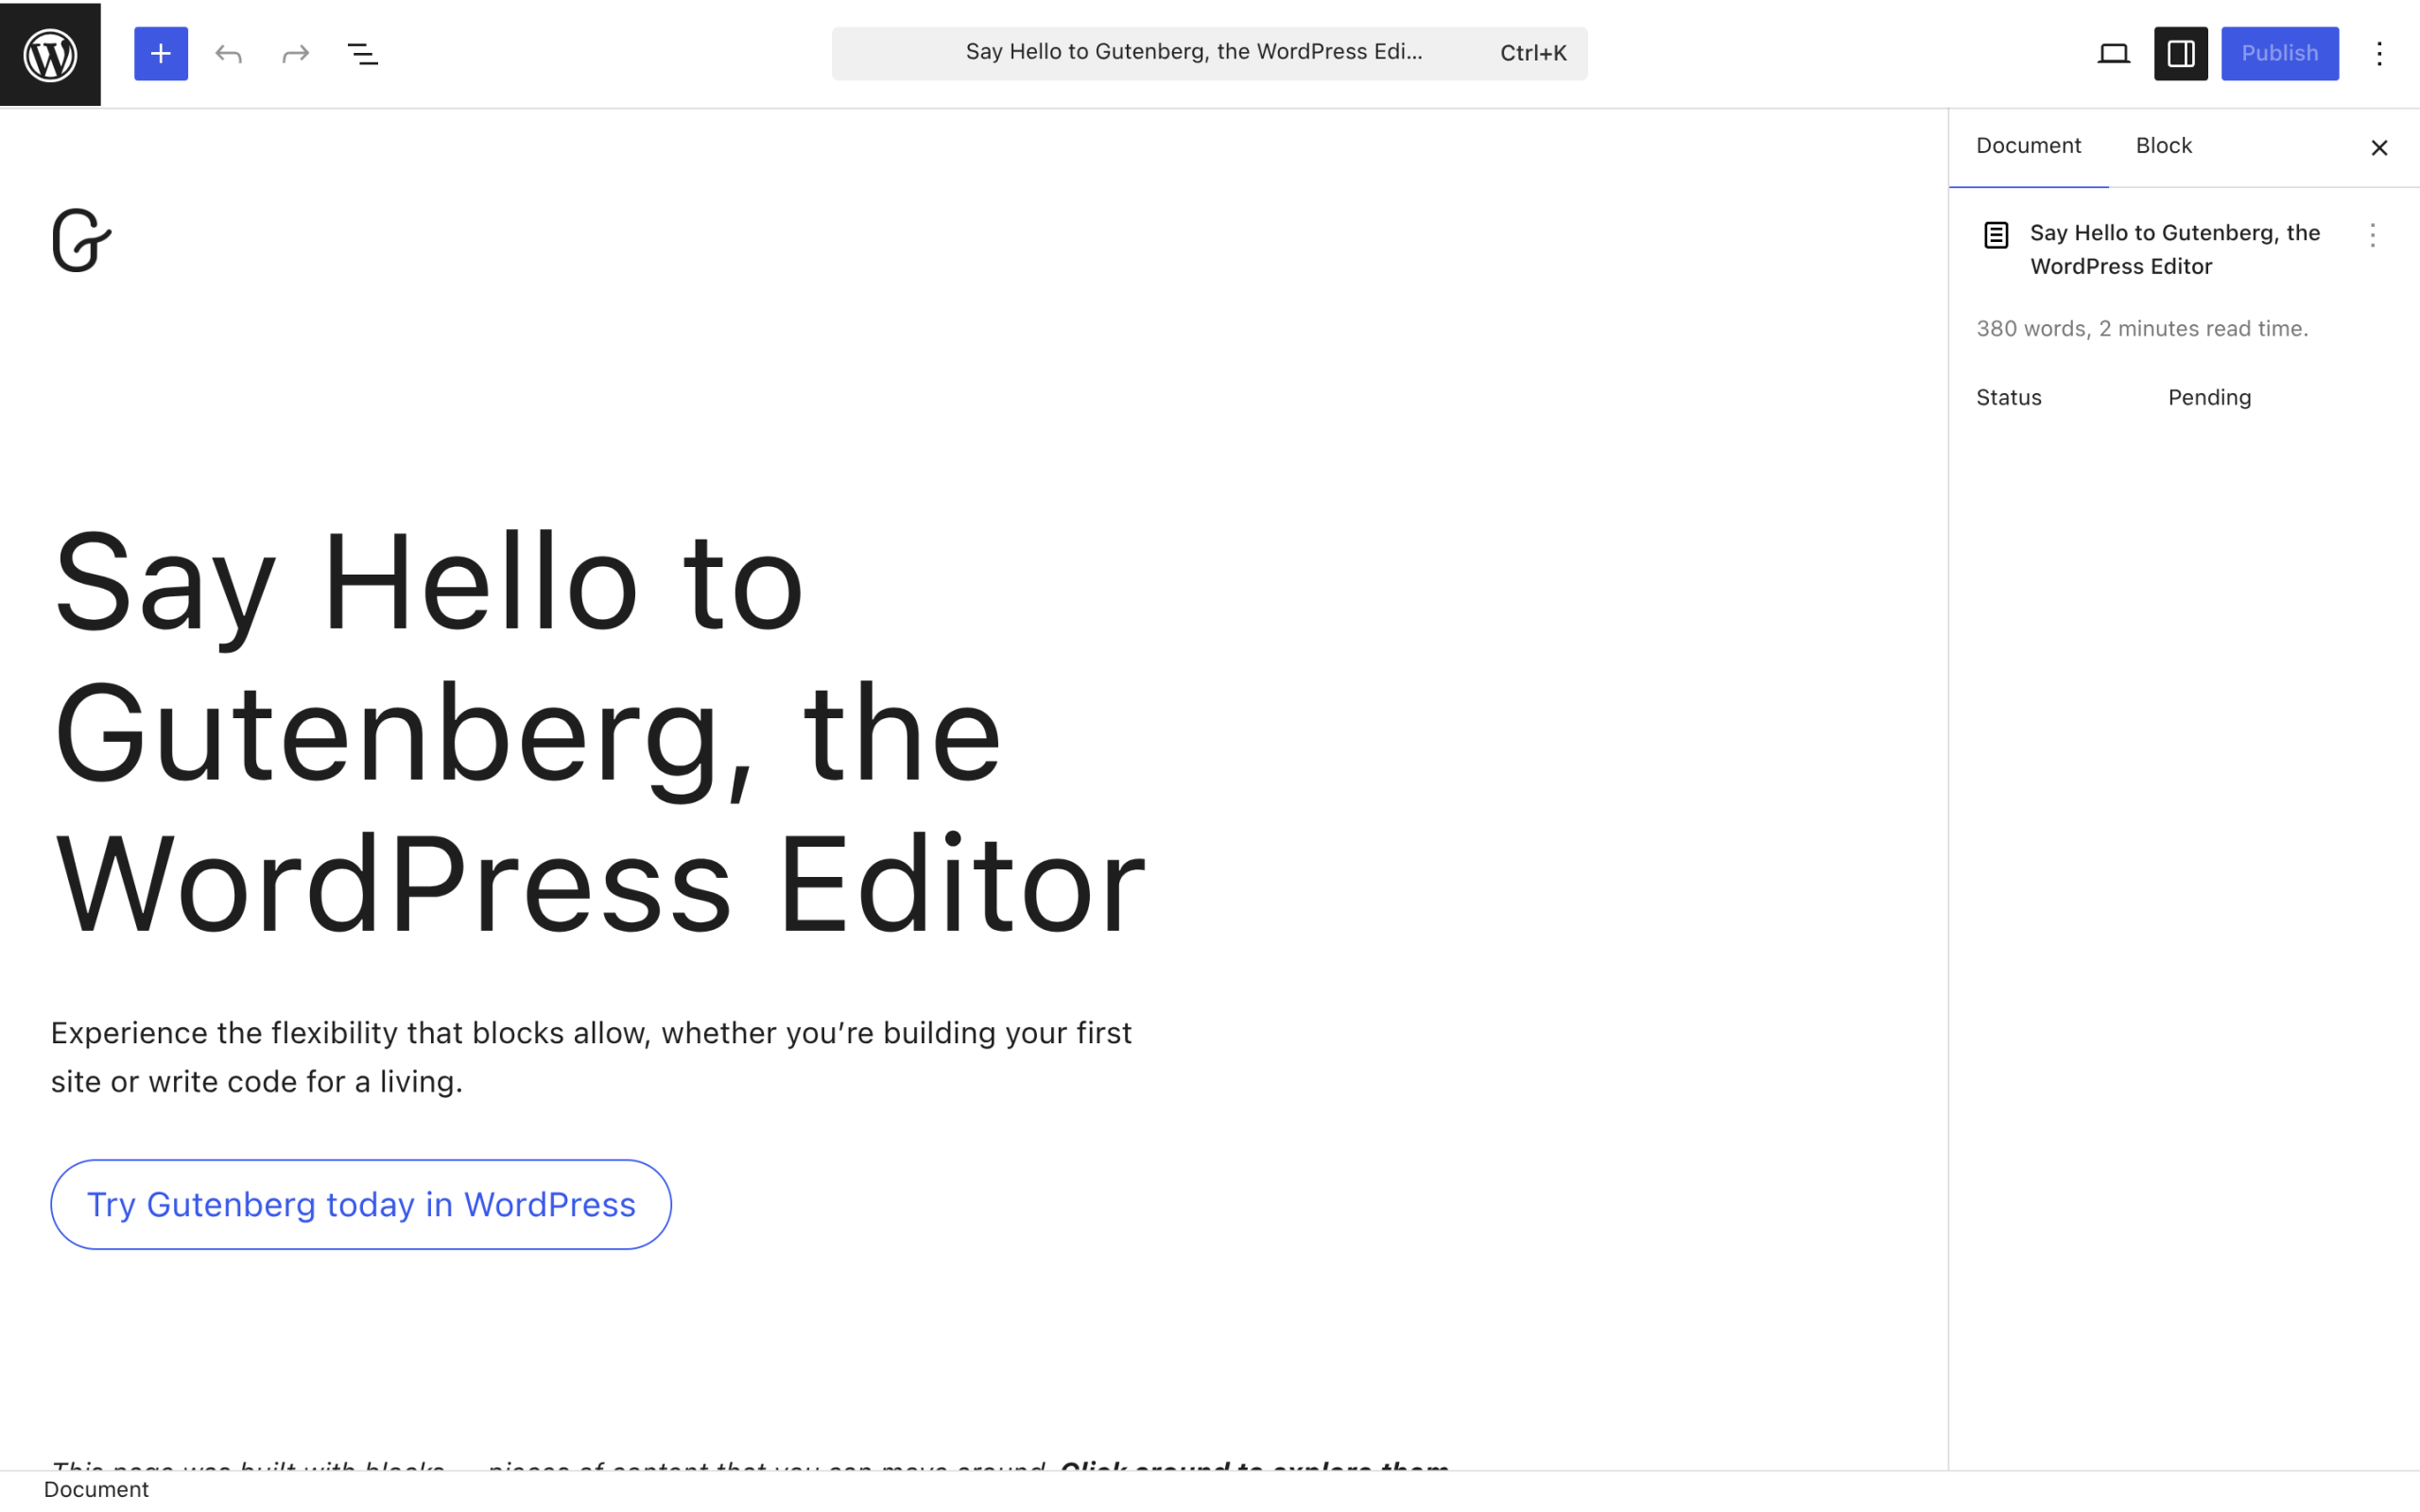
If you already run WooCommerce, you have used a custom post type without realizing it. Every product in a WooCommerce store is stored as a product custom post type. The block editor you write in, the WordPress block editor known as Gutenberg, works with these types too, which matters later when we create one.
Posts vs Pages vs Custom Post Types
Before you create a custom post type, it is worth being sure you actually need one. Most content fits neatly into the two built-in types:
- Posts are time-based and social. They have dates, categories, and tags, and they show up in your blog feed. Good for news and articles.
- Pages are static and standalone. No dates or categories, often arranged in a hierarchy of parent and child pages. Good for an About or Contact page.
A custom post type is the right call when your content is neither a rolling blog feed nor a one-off page, and when it deserves its own list, its own URL pattern, and often its own fields.
| Posts | Pages | Custom Post Types | |
|---|---|---|---|
| Purpose | Dated articles | Static content | A specific content type you define |
| Has dates | Yes | No | Your choice |
| Categories and tags | Yes | No | Optional (custom taxonomies) |
| Hierarchical | No | Yes | Your choice |
| In the blog feed | Yes | No | No, unless you add it |
| Example | News post | About page | Case study, event, recipe |
Why Would You Use a Custom Post Type?
The moment your content has a clear shape that repeats, a custom post type keeps it organized instead of dumping everything into the blog. Common real-world uses include:
- Portfolios or case studies (a list of projects)
- Testimonials or customer reviews
- Events, with their own date and venue details
- Products or a catalog
- Team members or a staff directory
- Recipes, property listings, job openings, or courses
The payoff is organization. A custom post type gives that content a dedicated admin menu instead of burying it inside Posts, its own URL structure (like yoursite.com/case-studies/), the option to add taxonomies that actually fit it, and a listing that stays separate from your blog.
Also Read: How to Add Custom Fields in Gutenberg since a custom post type often pairs with custom fields to store extra details like a client name or an event date.
How to Create a Custom Post Type in WordPress
There are two main routes: a plugin (no code) or a few lines of PHP. Pick the one that matches your comfort level.
Method 1: Create a Custom Post Type With a Plugin (No Code)
If you are not comfortable editing code, a plugin is the safe route. The most established option is Custom Post Type UI by WebDevStudios, a free plugin with over 1 million active installations, currently at version 1.19.2 and rated 4.6 out of 5 stars, tested up to WordPress 7.0. It gives you a simple form where you enter your post type name and settings, then registers the type for you with no coding required. You can create custom post types and custom taxonomies from the same screen.
Method 2: Register a Custom Post Type With Code
If you are comfortable with a little PHP, you can register a custom post type directly. This is the method the WordPress developer documentation recommends, using the register_post_type() function hooked to the init action. Here is a working example for a Case Study type:
function nexter_register_case_study() {
    $args = array(
        'labels' => array(
            'name'          => 'Case Studies',
            'singular_name' => 'Case Study',
        ),
        'public'       => true,
        'has_archive'  => true,
        'show_in_rest' => true,
        'menu_icon'    => 'dashicons-portfolio',
        'supports'     => array( 'title', 'editor', 'thumbnail', 'excerpt' ),
        'rewrite'      => array( 'slug' => 'case-studies' ),
    );
    register_post_type( 'case_study', $args );
}
add_action( 'init', 'nexter_register_case_study' );
Here is what the main arguments do:
- labels control the text shown in the admin (the menu name and singular name).
- public set to true makes the type visible on your site and in the admin.
- has_archive set to true gives the type an automatic archive page.
- show_in_rest set to true is required for the block editor to work with your post type.
- supports chooses which editing features appear (title, editor, featured image, excerpt).
- rewrite sets the URL base for the type through its
slug.
Three rules come straight from the WordPress documentation, and skipping them causes most beginner problems:
- Keep the identifier short. The post type name (here
case_study) must not exceed 20 characters, because the database column that stores it is a VARCHAR of that length. - Do not use the
wp_prefix. It is reserved for WordPress core. - Register on
init. Callregister_post_type()on the init hook, and avoid generic names likeproductthat can clash with plugins such as WooCommerce.
Put this snippet in a small custom plugin or your child theme’s functions.php. One tip that saves a lot of confusion: after adding a post type with has_archive, visit Settings then Permalinks once to flush the rewrite rules, or your new archive URL may return a 404.
How to Display a Custom Post Type on the Front End
Here is the part that trips people up. You register a custom post type, add a few entries, then visit your site and cannot find them anywhere. Registering a post type creates the content and the admin screens, but it does not automatically build a listing on your site. You have three main ways to display it.
1. The automatic archive page. If you set has_archive to true, WordPress gives your post type an archive at a URL based on its slug, for example yoursite.com/case-studies/. How that page looks depends on your theme’s archive template.
2. The core Query Loop block. WordPress ships with a Query Loop block that lists content without any code. In the block settings, change the Query type from Default to Custom, and a Post type option appears. As the WordPress documentation puts it, “WordPress contains different types of content, and they are divided into collections called Post types… Other content types may be displayed here if your site includes plugins or custom post types.” Choose your custom post type there and the block lists its entries.
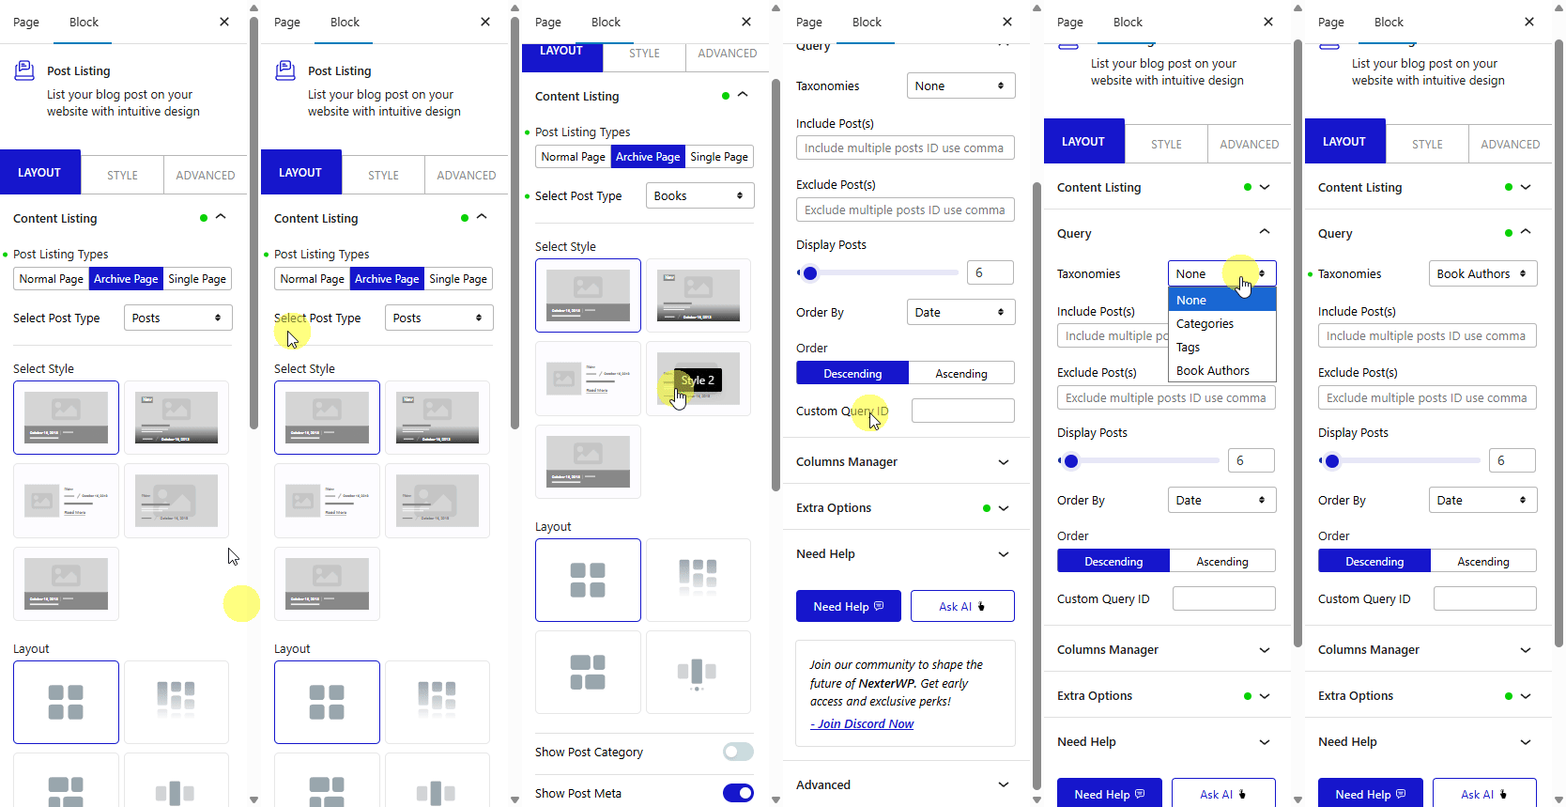
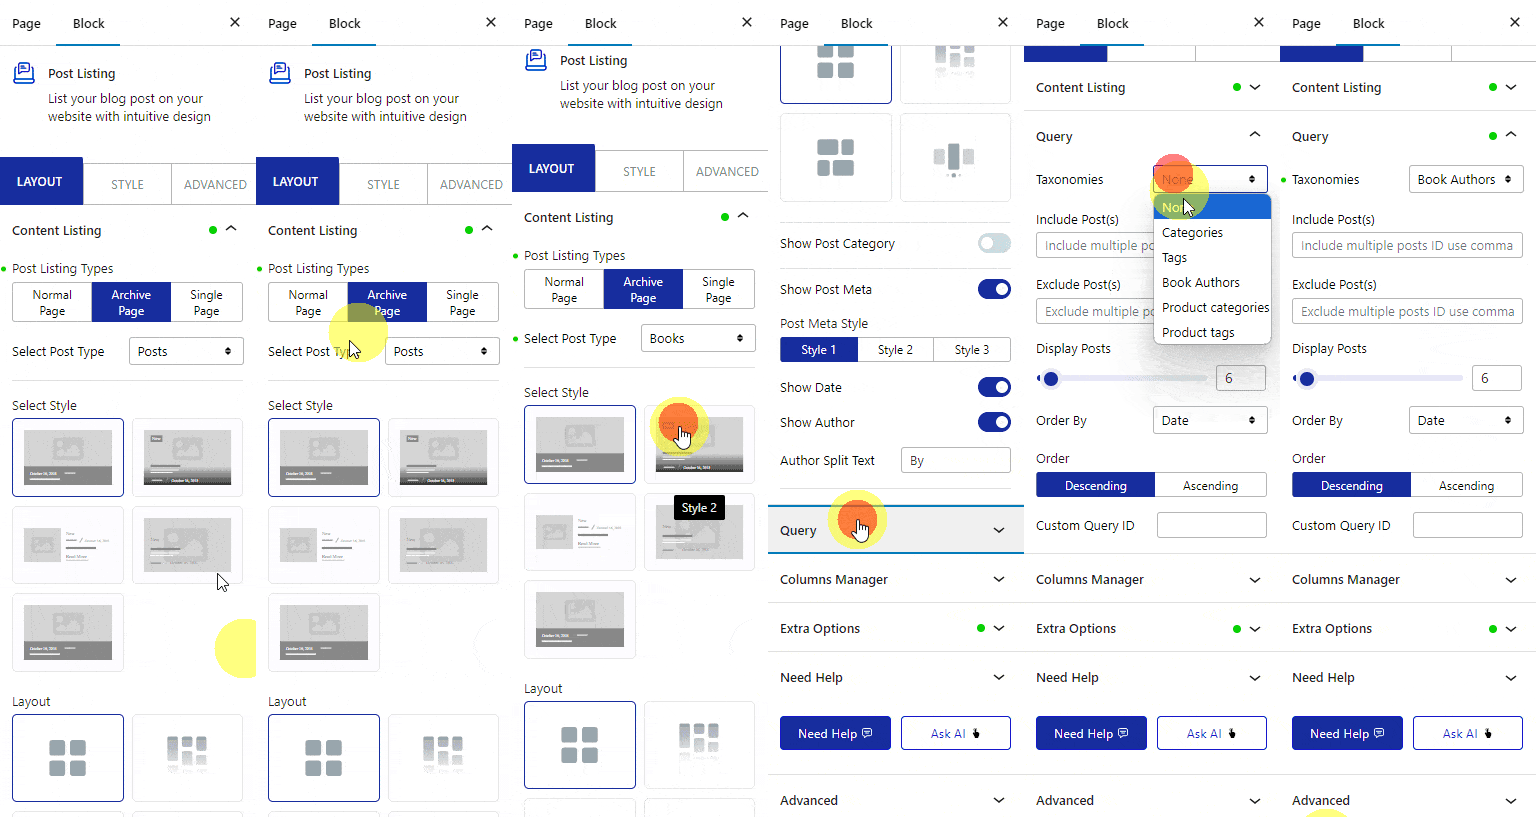
3. A dedicated Post block from a block library. The Query Loop is flexible but fiddly, because you build the layout from nested blocks. If you want a designed listing (a grid, carousel, or masonry layout) without wrestling with templates, a free block library helps. Nexter Blocks is a free toolkit on WordPress.org with 90+ Gutenberg blocks, and its Post and CPT block group (Post Grid, Post Carousel, Post Masonry, and more) is built to display post-type content, including custom post types, with filtering and pagination options.
Also Read: Best Gutenberg Plugins for WordPress if you build with the block editor often, since a good block library adds far more than post listings.
Custom Post Types and Custom Fields
Custom post types and custom fields are often confused, but they solve different problems. A custom post type is the container, for example a Case Study. Custom fields store the extra details inside each entry, such as the client name, the project date, or the result. Together they let you build a structured content type that captures exactly the data you need. If you want to add those extra fields in the block editor, our guide on how to add custom fields in Gutenberg walks through it step by step.
Common Mistakes and Best Practices
- Register on the init hook. Registering earlier or later in the load order can cause errors.
- Flush your permalinks. After adding
has_archive, visit Settings then Permalinks once so your archive URL works instead of returning a 404. - Keep the name under 20 characters and skip the
wp_prefix. Both come straight from the WordPress documentation. - Set
show_in_restto true. Without it, your custom post type will not open in the block editor. - Use
supportsdeliberately. Turn on only the features that type needs, such as title, editor, thumbnail, or excerpt. - Do not register the same type twice. If you created it with a plugin, do not also add code for it.
Frequently Asked Questions
What is the difference between a post and a custom post type?
A post is one of WordPress’s built-in post types, meant for dated blog content that appears in your feed with categories and tags. A custom post type is one you create for a specific kind of content, like case studies or events, that gets its own admin menu, URL structure, and listing, kept separate from your blog.
Do I need to know how to code to create a custom post type?
No. A plugin like Custom Post Type UI lets you create custom post types and taxonomies from a settings form with no code. Writing code gives you more control and no plugin dependency, but it is optional.
Where do custom post types appear on my website?
They do not appear automatically beyond their own admin menu. You display them using an archive page (if has_archive is on), the core Query Loop block set to your post type, or a Post block from a library like Nexter Blocks.
Wrapping Up
A custom post type is one of those WordPress features that feels advanced until you use it once, and then you wonder how you managed without it. It turns a messy pile of posts into clean, purpose-built sections that your visitors, and your future self, will thank you for. Decide whether your content truly needs its own type, create it with Custom Post Type UI or a short code snippet, and remember the step most people miss: choose how you will display it. If you want a designed listing without the template wrangling, the Post blocks in Nexter Blocks are a quick, free way to put your custom post type on the page.
Suggested Reading
- What Is Gutenberg? The WordPress Block Editor Explained
- How to Add Custom Fields in Gutenberg
- Best Gutenberg Plugins for WordPress
- How to Add a Table of Contents in WordPress
- Common WordPress Mistakes to Avoid
