












A store owner opens analytics and sees the same shape every week. People add to cart. They land on the cart page. A slice of them never reaches checkout at all. The obvious fix sounds like a one-page checkout, and the first page of Google agrees: every result recommends a different plugin to build one.
Here is what almost none of those results mention. If your store runs a reasonably current version of WooCommerce, you already have a single-page checkout. What you are actually missing is one redirect and some design control, and neither of those requires a checkout plugin.
This guide covers what a one-page checkout really means, what WooCommerce already gives you, the free way to remove the cart step, and where a block library earns its place.
What “One-Page Checkout” Actually Means (Two Different Things)
The phrase gets used for two completely different builds, which is why so much advice about it misses.
The first meaning is a product-selection page. Customers pick products and pay without ever leaving that page. This is what WooCommerce’s own paid extension does. Its product page describes it as a way to “Create special pages where customers can choose products, check out, and pay, all on one page.” It ships product table, product list, single product, pricing table, and custom templates.
The second meaning is a compressed buying flow. No separate cart page, no multi-step wizard. Add to cart, then one screen with contact details, shipping, payment, and the order summary.
Most store owners searching for this want the second one. Most articles about it sell the first one. Sorting out which you need saves you a purchase you may not have to make.
You Probably Already Have Half of It
WooCommerce replaced the old shortcode checkout with a block-based one. The official documentation on the Cart and Checkout blocks states that “For WooCommerce stores started after the release of version 8.3 in November 2023, the Cart and Checkout blocks are the default experience, no setup is required.” It adds that “No customization is required for the block cart and checkout to function.”
That block checkout already puts contact information, shipping, payment, and the order summary on a single screen. It is not a multi-step wizard. So if your store is on WooCommerce 8.3 or later and using the block checkout, the checkout itself is already one page.
The friction people actually feel is the cart page sitting in front of it. That is a separate problem with a separate fix, covered in the next section.
One honest caveat before you rebuild anything. The same WooCommerce documentation notes that “Extensibility interfaces for the Cart and Checkout Blocks are still under active development,” and warns that “Incompatible extensions may cause elements of the checkout to not be available as expected.” If your store leans on payment or shipping extensions, test the block checkout on staging before switching.
Also Read: WooCommerce blocks for Gutenberg covers the full set of store blocks, including cart, checkout, and thank-you pages.
The Setting That Does Not Exist
Here is where a lot of popular advice is simply wrong, and it is worth being precise about it.
Several widely shared guides tell you to go to WooCommerce, then Settings, then Products, and tick a box labelled “Redirect to the checkout page after successful addition.” That checkbox is not in WooCommerce core. It does not exist.
WooCommerce core registers exactly two options under Add to cart behaviour:
- “Redirect to the cart page after successful addition”
- “Enable AJAX add to cart buttons on archives”
Read the first one again. It says cart, not checkout. Ticking it sends people to the cart page faster, which is the opposite of what you want if your goal is removing the cart step.
The supported way to send shoppers straight to checkout is a filter that WooCommerce provides for exactly this purpose, woocommerce_add_to_cart_redirect. Add this to a site-specific plugin or your child theme’s functions file:
add_filter( 'woocommerce_add_to_cart_redirect', function () {
    return wc_get_checkout_url();
} );
That is the entire “skip the cart” feature that plugins charge for. It is four lines and it uses a hook WooCommerce ships on purpose.
Whether you should use it depends on your catalogue. For a store selling one main product, a course, or a single bundle, removing the cart review is usually a win. For a store where people genuinely buy five things at once, taking away the page where they check quantities can cost you more than the extra click did.
Also Read: Set up a WordPress staging site before you touch checkout code on a live store.
Build the One-Page Checkout, Step by Step
1. Confirm You Are on the Block Checkout
Edit your Checkout page in the block editor. If you see a Checkout block with inner blocks you can select, you are on the block checkout. If you see a single shortcode block containing the old checkout shortcode, you are on the classic one. WooCommerce offers to switch, and older stores that upgraded will often still be on the shortcode.
2. Remove the Cart Detour
Add the filter from the previous section. Add to cart now lands people directly on checkout.
3. Give Them a Mini Cart Instead
Removing the cart page does not mean removing cart visibility. A Mini Cart in the header lets shoppers see and adjust what they are buying without a dedicated page. This is the piece people skip, and it is why some one-page checkout experiments quietly lose money.
4. Turn On Guest Checkout
Under Settings, then Accounts and Privacy, allow customers to place orders without an account. Forcing account creation in front of payment undoes most of what you just gained. Offer the account as an option after the order is placed.
5. Cut the Fields You Do Not Need
A digital product does not need a shipping address. A local pickup order may not need a company field. Every field you remove is one less reason to abandon.
6. Keep the Order Summary Visible
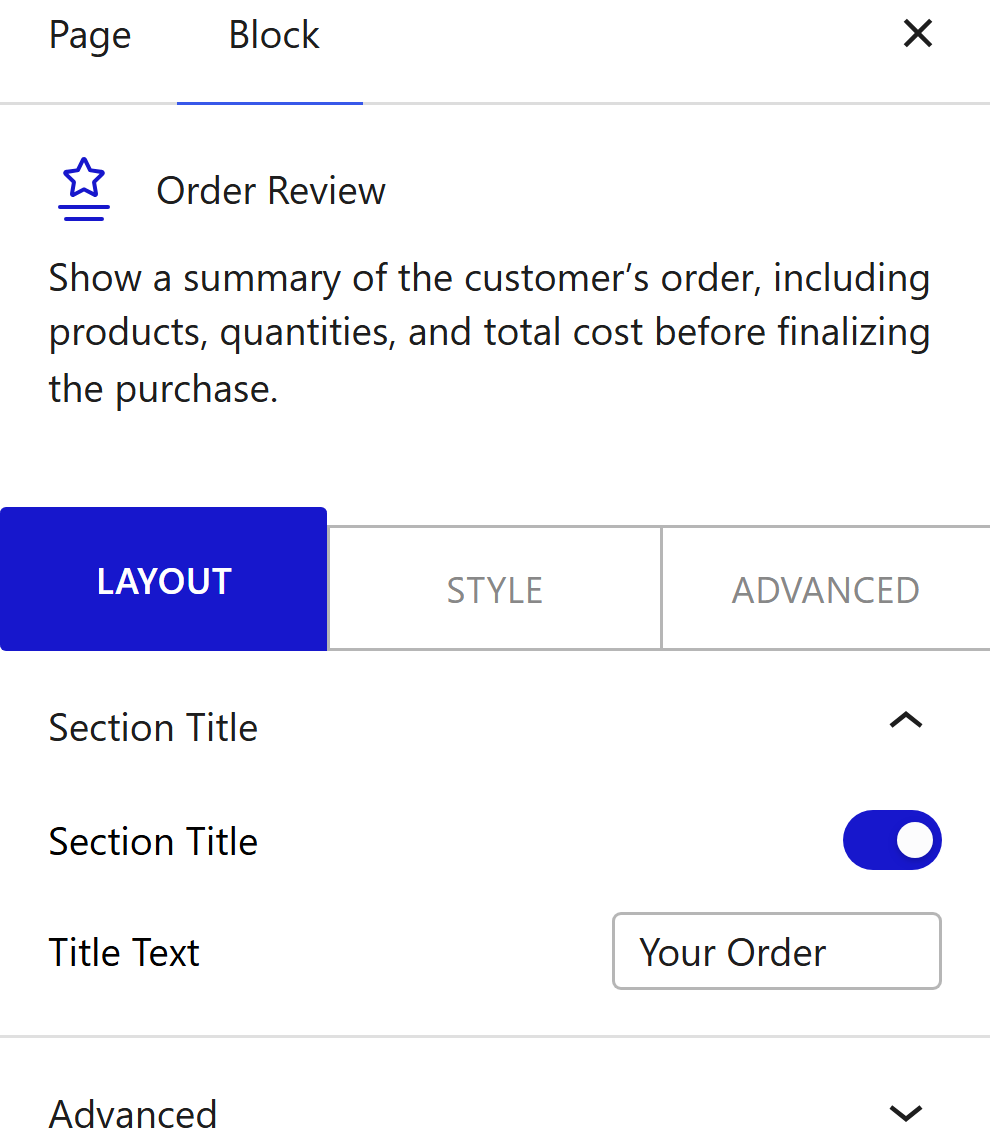
Compressing the flow is not a reason to hide what someone is about to pay for. Nexter’s documentation makes the point plainly about the Order Review block: “Without it, customers cannot see what they are purchasing before they pay.”
Also Read: A faster store converts better too. See how to speed up a WooCommerce store without a page builder.
Where Core Blocks Stop: Design Control
The core block checkout works. What it does not give you is much control over how each part of it looks. You get the block’s own styling options and whatever your theme applies, and that is roughly it. This is the point where most people go looking for a checkout plugin.
A block library is the other route. Nexter Blocks splits the checkout into separately editable pieces rather than treating it as one opaque block. Its documentation puts it directly: “Nexter Blocks breaks the checkout into seven separately stylable blocks.” Those are Checkout Login, Billing Address, Shipping Address, Additional Information, Apply Coupon, Payment Method, and Order Review.
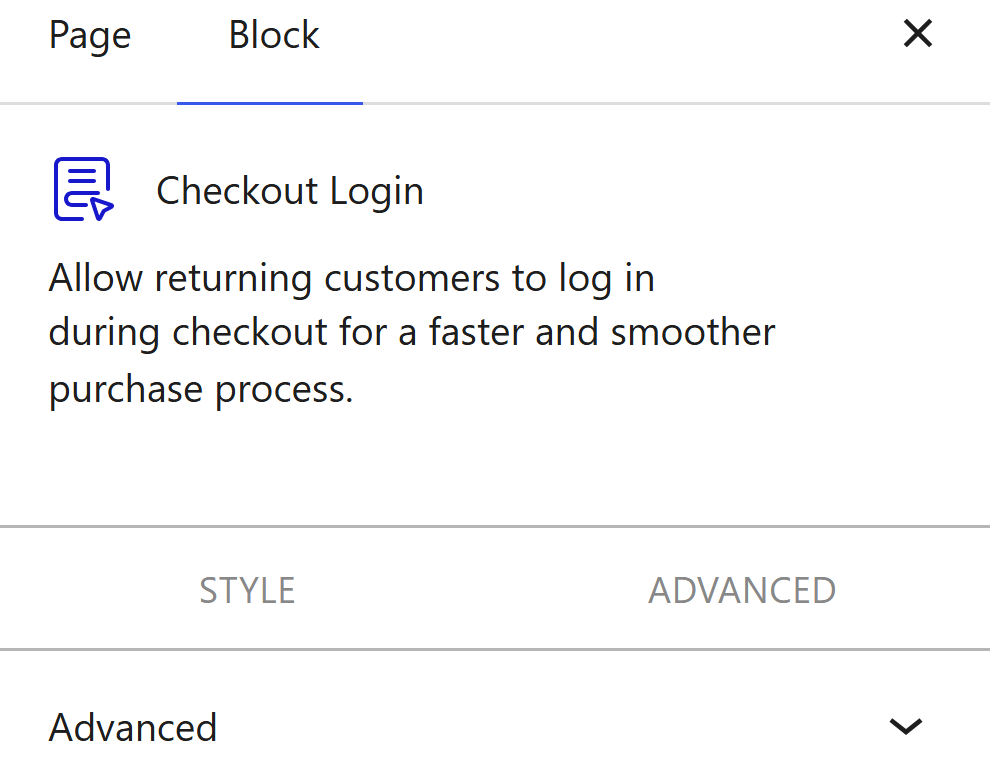
Because each section is its own block, you arrange them in whatever order suits your store and style them one at a time. The Order Review block is the one worth spending time on, since it carries the summary customers check before paying.
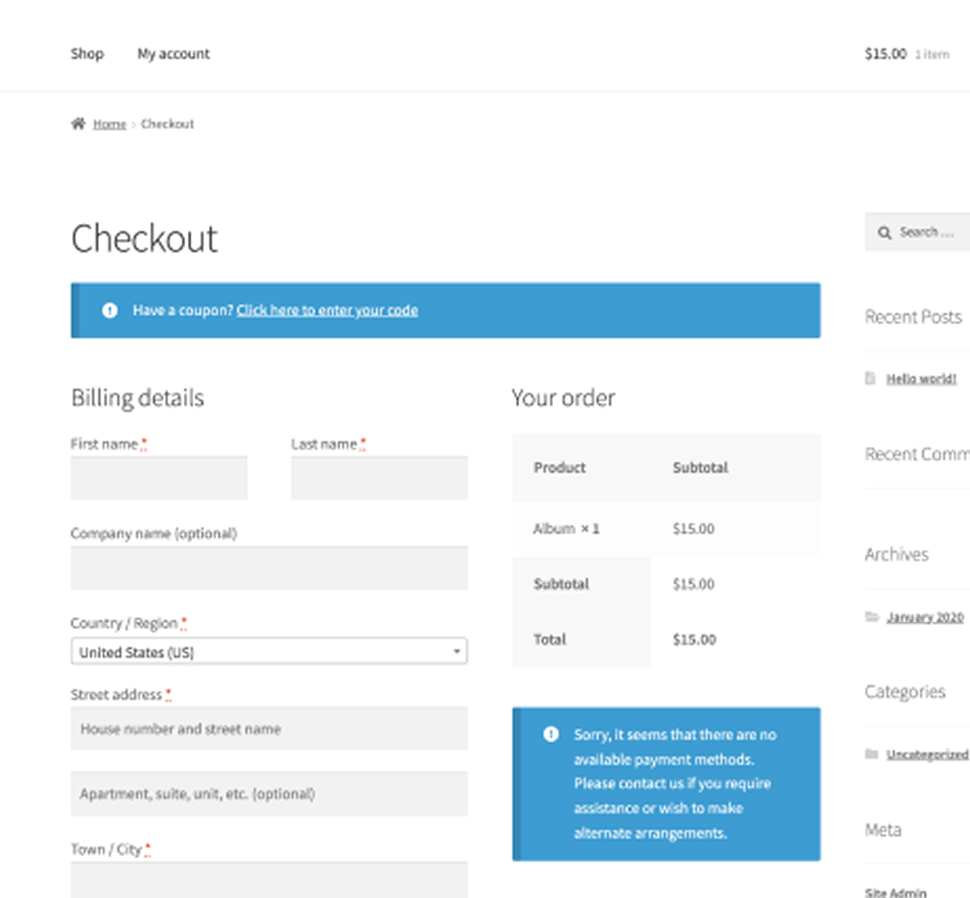
The practical difference shows up in the layout itself. A default checkout and a restyled one carry the same fields and the same order data. What changes is spacing, hierarchy, and how much work the customer does to find the pay button.
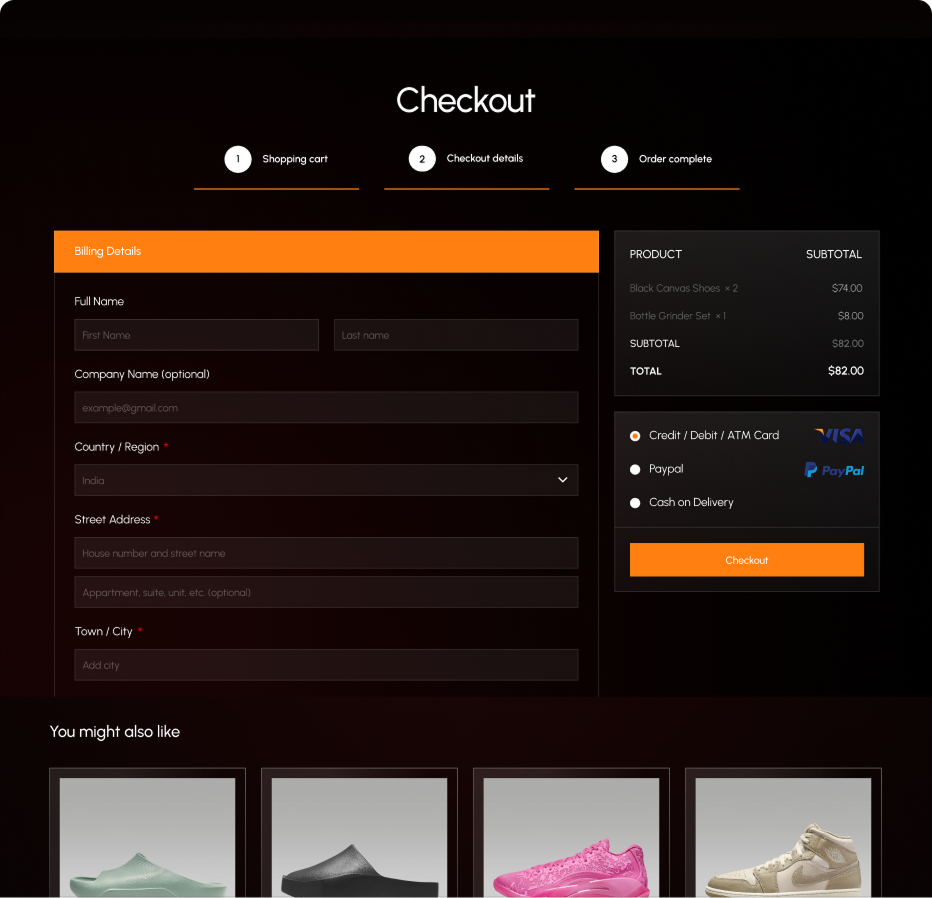
Two things to be straight about. The WooCommerce Builder in Nexter Blocks is a Pro feature, so the checkout blocks are not part of the free tier. And a block library is not a conversion tool. It gives you design control over a checkout you still have to think through.
The step-by-step build is written up in the documentation for building a WooCommerce checkout page, including where to enable the checkout blocks before they appear in the inserter.
When You Genuinely Need the Paid Extension
Everything above addresses the compressed-flow version. If you want the other meaning, where customers choose products and pay on the same page, core blocks will not do it and neither will a block library. That is a genuinely different pattern.
WooCommerce’s One Page Checkout extension exists for that case. It offers product table, product list, single product, pricing table, and custom templates, and it can turn an individual product page into a checkout page. It is a paid extension with a subscription.
It fits single-offer landing pages, course sign-ups, bundle promotions, and campaigns where you are sending paid traffic to one specific thing. It is the wrong tool for shaving a step off a normal multi-product store, which the filter and the block checkout already handle for free.
Test It Before You Ship
Checkout is the one page where a mistake costs money immediately. Run through this on staging first:
- Complete a real test purchase end to end, then repeat it on a phone
- Confirm guest checkout works without an account
- Apply a coupon and check the total updates
- Change the shipping country and confirm rates recalculate
- Confirm every payment method renders, given the extensibility caveat above
- Add two different products and check the Mini Cart reflects both
Then measure. Baymard Institute puts the average documented online shopping cart abandonment rate at 70.22%, calculated across 50 different studies. That number gets quoted as though a shorter checkout will fix it, which is not what it says. Some of that abandonment is people comparison shopping who were never going to buy. A shorter checkout is one lever among several, and the only way to know what yours did is to compare your own numbers before and after.
Also Read: Checkout is changing again. Here is how to prepare a store for agentic commerce and AI checkout.
Frequently Asked Questions
Does WooCommerce Have a One-Page Checkout Built In?
Partly. The block checkout that ships as the default for stores created after WooCommerce 8.3 already presents contact, shipping, payment, and order summary on a single page. What is not built in is a setting to skip the cart page, or a way to combine product selection with checkout.
How Do I Skip the Cart Page Without a Plugin?
Use the woocommerce_add_to_cart_redirect filter to return the checkout URL. There is no core setting for this, despite what several guides claim. The only redirect option in core settings sends people to the cart, not the checkout.
Will a One-Page Checkout Increase Conversions?
It can, and it depends on your catalogue. Stores selling a single main product usually benefit from removing the cart step. Stores where customers buy several items at once may lose more from the missing review step than they gain from the shorter path. Test it against your own numbers.
Do I Need a Page Builder to Customise WooCommerce Checkout?
No. The checkout can be built and styled entirely in the WordPress block editor, either with core blocks or with a block library that breaks the checkout into individually stylable sections.
Suggested Reading
- WooCommerce Blocks for Gutenberg: Build Your Whole Store Without a Page Builder
- How to Speed Up a WooCommerce Store (Without a Page Builder)
- 6 Best WooCommerce WordPress Themes Compared
- WooCommerce vs WordPress: What Is the Difference and Which Do You Need?
- 5 Best Coupon Code Plugins for WordPress Compared
