












Key Takeaways
- You can create a WordPress popup two ways: hand-coded with a Custom HTML block, or with a no-code block builder like Nexter Blocks.
- The no-plugin code method is free and lightweight, but it only opens on a click, with no exit intent, targeting, or frequency control.
- A block builder adds triggers like exit intent, on scroll, and on page load, plus targeting by page, device, and user, and ready-made templates.
- Pick the trigger with care: fire on scroll, on exit intent, or after a short delay, never the instant a visitor lands.
- Keep popups off the full mobile screen, make them easy to close, and cap how often they show, to protect both SEO and user experience.
A while back, a store owner in our community told me she was losing almost every email signup she could have collected. Her WordPress site pulled in a few thousand visitors a month, and her newsletter box sat in the footer where nobody scrolled. The fix was not a redesign. It was one popup that asked for an email at the right moment, and her signups jumped that same week.
Popups get a bad reputation, and often for good reason. Done badly, they annoy people and can hurt your rankings. Done well, they are one of the simplest ways to grow an email list, announce a sale, or recover a visitor who is about to leave.
This guide shows you how to create a popup in WordPress two ways. First the no-plugin route with a little custom code, so you understand what a popup actually is. Then the block-builder route that gives you triggers, targeting, and ready-made designs without touching code.
By the end you will know which method fits your site, how to trigger a popup so it converts, and how to keep Google happy while you do it.
When (and When Not) to Use a WordPress Popup
Before you build anything, get clear on the job the popup is doing. A popup is an interruption, so it needs to earn that interruption with something the visitor actually wants. Here are the types that tend to work:
- Email or newsletter signup: the most common use, usually offering a discount, a checklist, or a free download in exchange for an address.
- Exit-intent offer: shows when the cursor moves to close the tab, a last chance to keep someone who is leaving.
- Announcement: a sale, a new product, an event, or a shipping deadline.
- Content upgrade: a bonus resource tied to the exact post someone is reading.
- Cookie or age consent: the kind you are legally required to show.
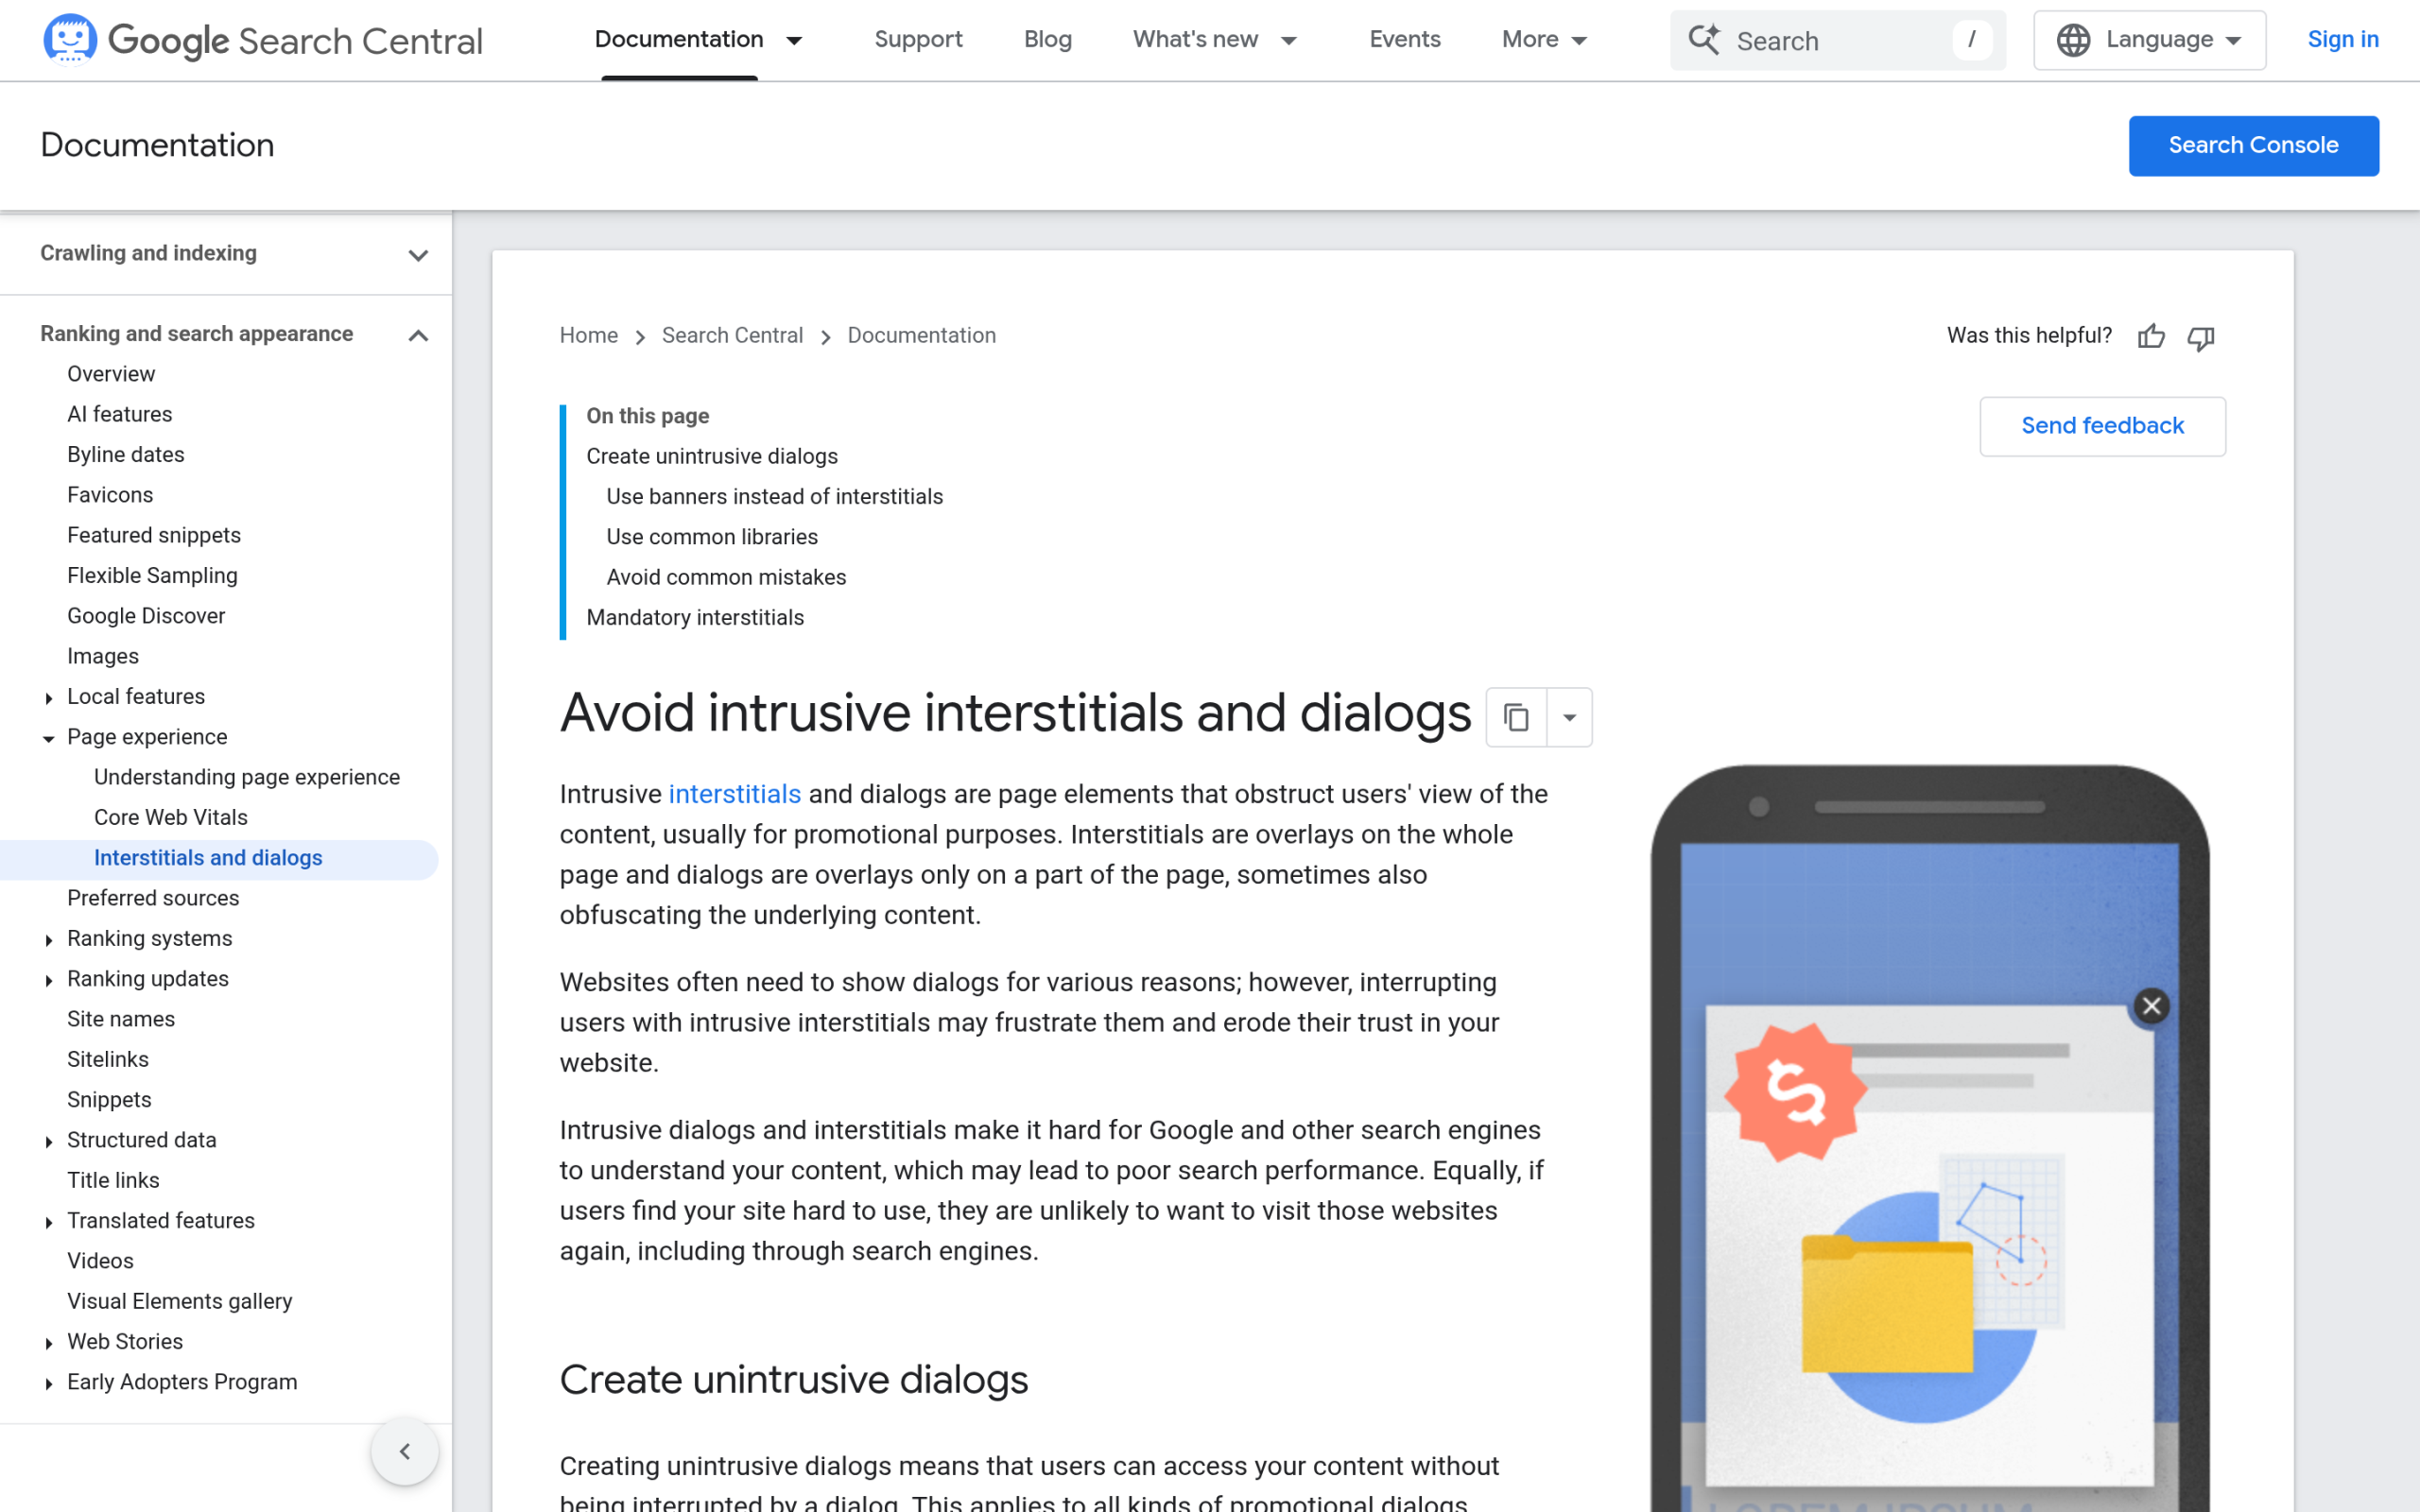
Now the part most tutorials skip. Google has clear guidance on this. Its advice on intrusive interstitials says do not obscure the entire page with a popup that a mobile visitor has to dismiss before they can read anything, and do not redirect people to a separate page just to collect consent. Popups that use a reasonable slice of the screen are fine, and dialogs that are legally required, such as cookie or age consent, or login prompts on gated content, are treated as acceptable.
In plain terms: a small, easy-to-close popup on desktop is safe. A full-screen wall that blocks your content on mobile the second someone lands is the pattern to avoid.
Also Read: If you would rather compare ready-made tools first, here are the best popup plugins for WordPress with pricing and features side by side.
Method 1: Create a Popup Without a Plugin (Custom Code)
WordPress does not ship with a native popup block, and neither does the standard block editor. So the no-plugin route means adding a bit of HTML, CSS, and JavaScript yourself. This is a good option if you want one simple popup, you care about keeping your site lightweight, and you are comfortable pasting code.
The quickest version uses a Custom HTML block. In the block editor, click the plus button, search for Custom HTML, and paste this in:
<button id="open-popup">Get 10% Off</button>

<div id="my-popup" class="popup-overlay">
  <div class="popup-box">
    <span id="close-popup" class="popup-close">×</span>
    <h3>Join our list</h3>
    <p>Get 10% off your first order.</p>
    <a href="/signup" class="popup-btn">Claim my discount</a>
  </div>
</div>

<style>
.popup-overlay{display:none;position:fixed;inset:0;background:rgba(0,0,0,.6);z-index:9999;}
.popup-box{background:#fff;max-width:420px;margin:12vh auto;padding:30px;border-radius:8px;position:relative;text-align:center;}
.popup-close{position:absolute;top:10px;right:16px;font-size:24px;cursor:pointer;}
.popup-btn{display:inline-block;margin-top:12px;padding:10px 20px;background:#1717cc;color:#fff;border-radius:6px;text-decoration:none;}
</style>

<script>
const p=document.getElementById('my-popup');
document.getElementById('open-popup').onclick=()=>p.style.display='block';
document.getElementById('close-popup').onclick=()=>p.style.display='none';
p.onclick=e=>{if(e.target===p)p.style.display='none';};
</script>
That gives you a working popup that opens on a button click and closes with the X or a click outside the box. If you want it to appear on every page instead of one, move the same HTML and script into your child theme using the wp_footer hook, and the CSS into wp_head, through your theme’s functions file.
Here is the honest limit. This method shows a popup, and that is about all it does. There is no exit-intent detection, no rule to show it once per visitor, no scheduling, and no targeting by page or device without writing a lot more JavaScript. For a single button-triggered box it is perfect. For anything smarter, you will fight the code more than it is worth.
Method 2: Create a Popup With a Block Builder (Nexter Blocks)
If you want triggers, targeting, and designs without code, a block builder is the easier path. Nexter Blocks is a free WordPress plugin with over 90 Gutenberg blocks, and it works in the native block editor with any theme, so you do not need a separate page builder. Its Popup Builder, part of the Pro upgrade, is built for exactly this job and ships with 50+ pre-designed popup templates.
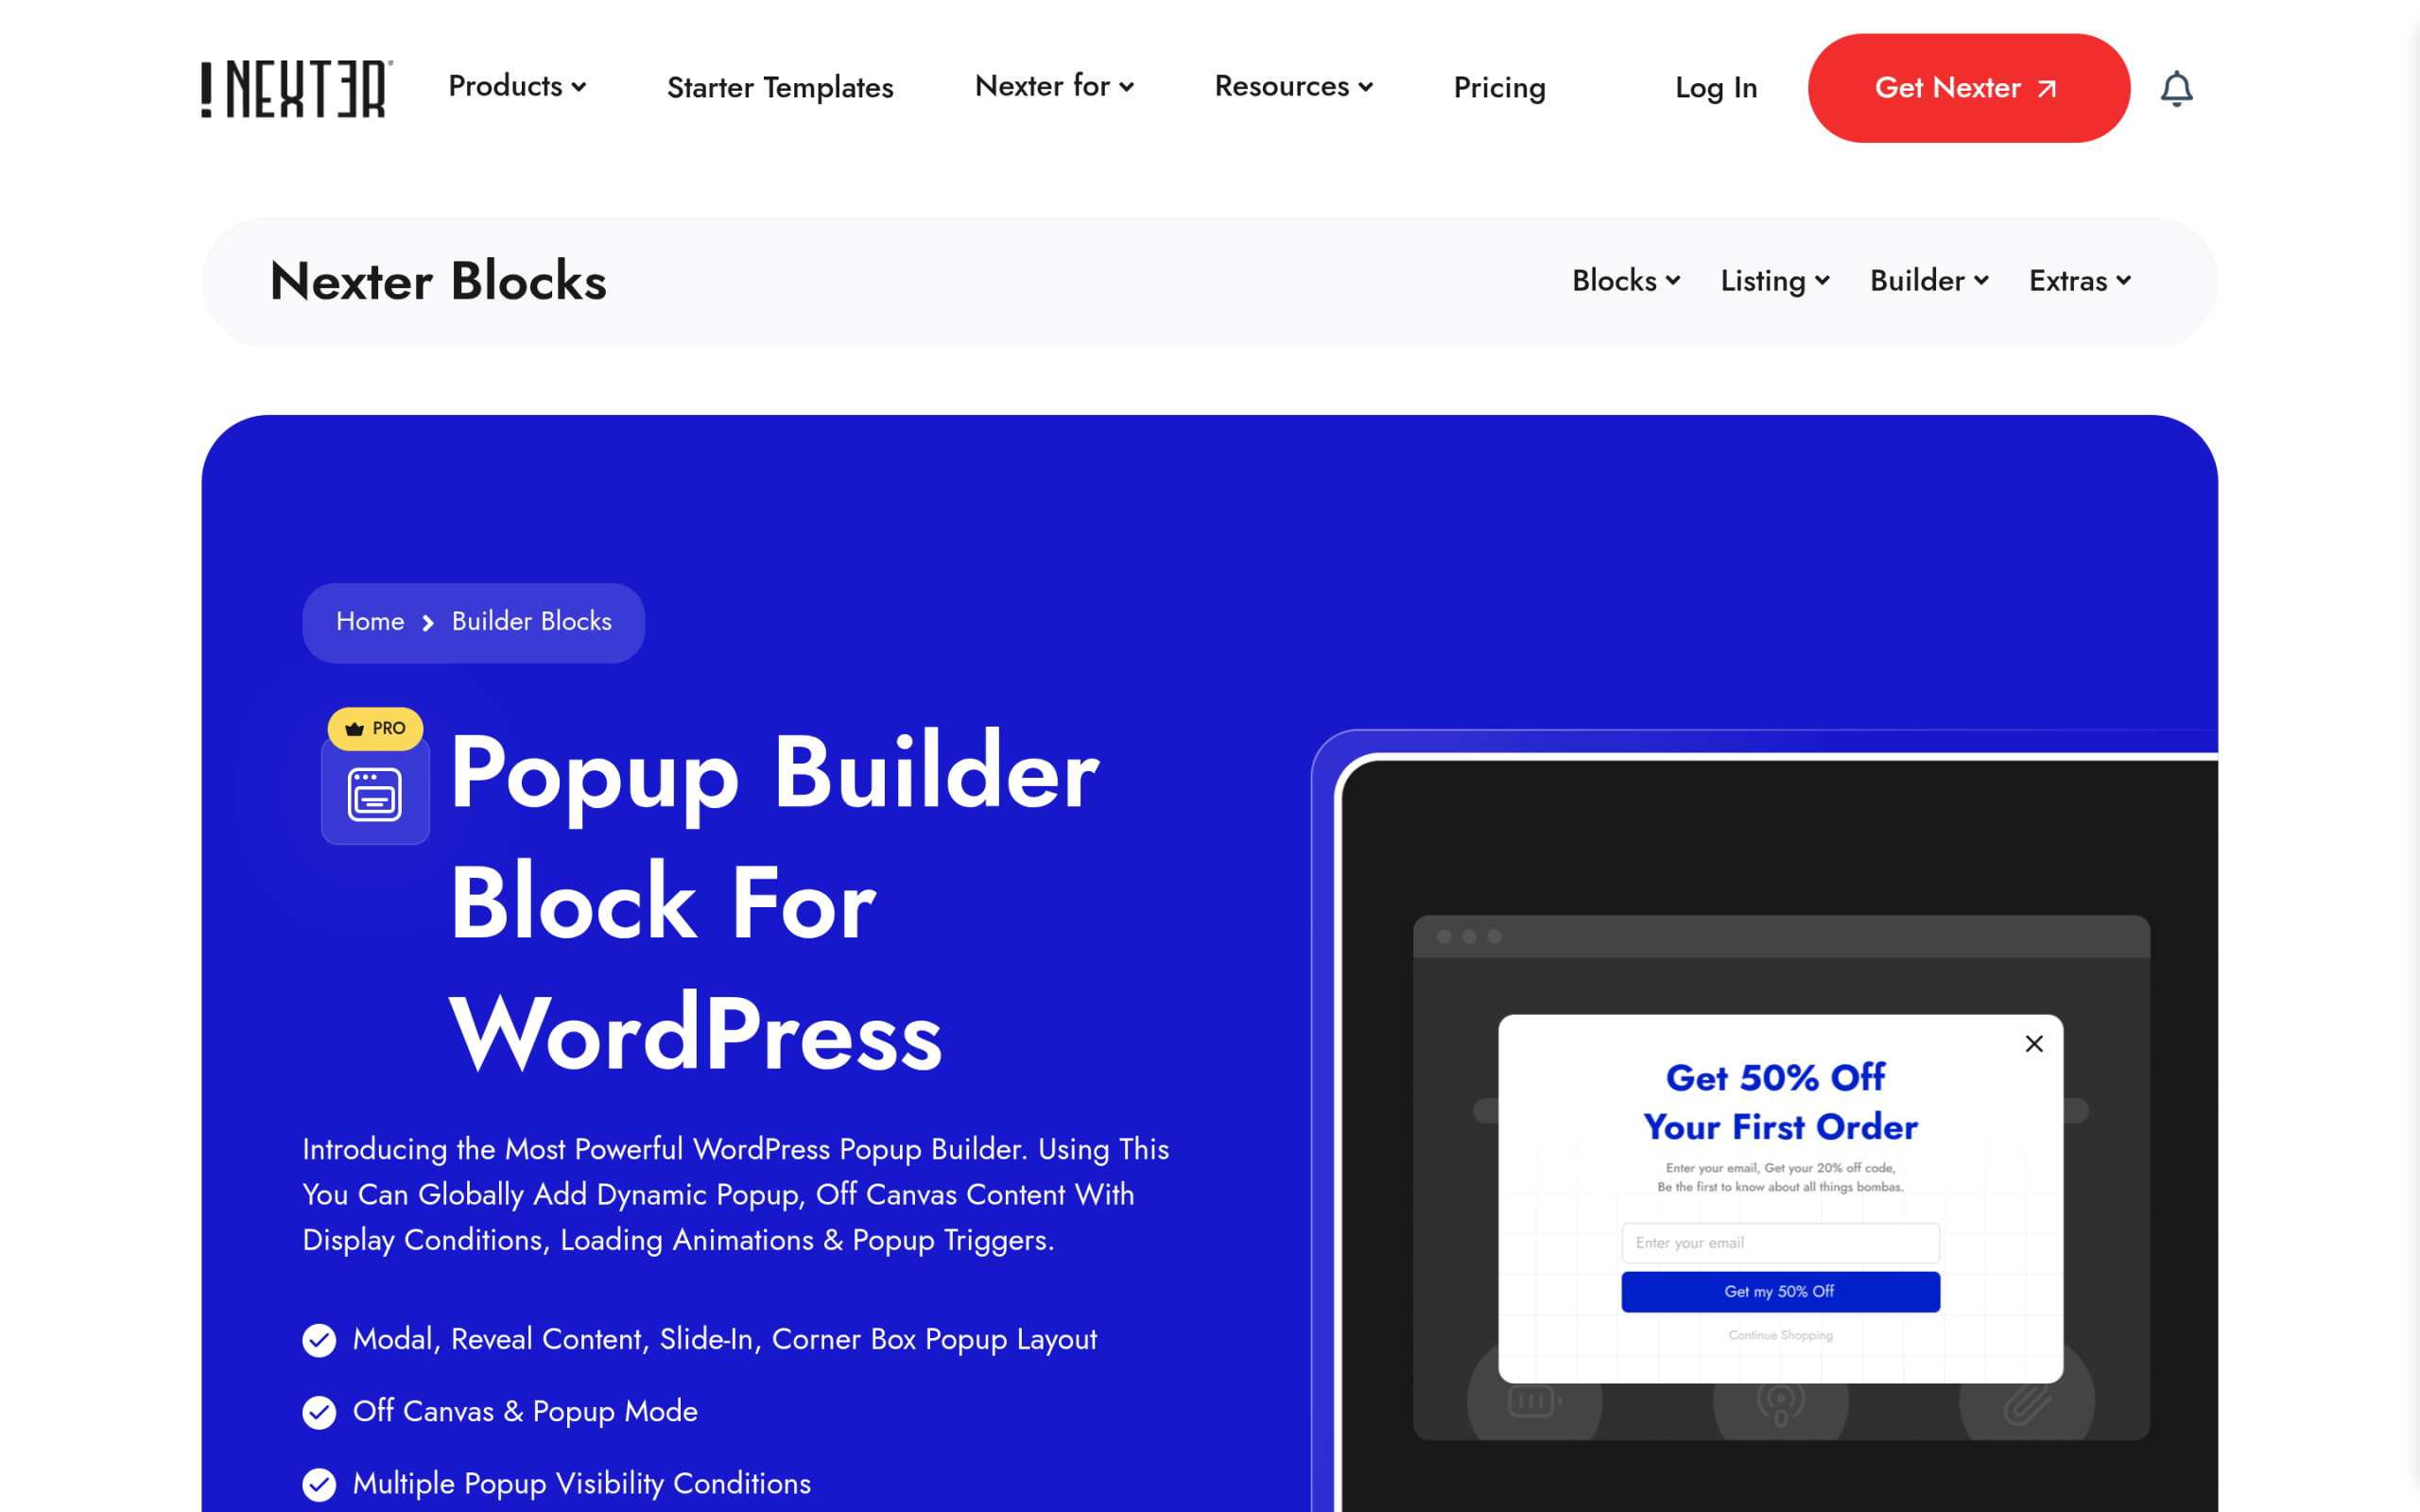
Here is how the flow works once the plugin is active:
Step 1: Add the Popup Builder block
Open a page or the global popup area, click the plus button, and add the Popup Builder block. Pick a starting layout. The builder offers a standard Popup, a Slide panel, Push Content, Slide Along Content, and a Corner Box, so you can match the style to how bold you want the interruption to be.
Step 2: Design the content
Start from one of the pre-designed templates or build your own. Because it is a Gutenberg block, you drop in headings, images, buttons, or a signup form and style them visually with live edits. If you plan to reuse the same design, save it as a reusable block in WordPress so you are not rebuilding it each time.
Step 3: Set the trigger and targeting
This is where a builder pulls ahead of the code method. Open the Display Conditions tab and choose when the popup fires. You can then use the targeting rules to control who sees it, by login status, user role, device, date and time, or the specific pages and posts it should appear on.
Save, and the popup goes live with the trigger and rules you set. No code, and you can edit any of it later from the same block.
Also Read: Building a legally required consent box instead? See the best WordPress cookie consent plugins for GDPR and Consent Mode v2.
Popup Triggers and Targeting That Actually Convert
The trigger decides whether your popup helps or annoys. A signup box that fires the instant someone lands rarely works, because the visitor has not seen anything worth signing up for yet. These are the trigger options in the Nexter Blocks Popup Builder and when each one fits:
- On Button Click and On Any Other Element’s Click: the least intrusive option, the visitor asks for it.
- On Page Load: use a short delay rather than firing at zero seconds, and reserve it for high-value announcements.
- On Scroll: fires after someone has read part of the page, which means they are already engaged.
- Exit Intent: triggers as the cursor heads for the close button, ideal for a last offer without interrupting the visit.
- After Inactivity and After X Page Views: wait for a signal that someone is interested before you ask for anything.
- Arriving From Specific URL: show a tailored message to visitors coming from an ad, an email, or a campaign link.
- Show For Specific Time and Show X Times per User: schedule a campaign and cap how often one person sees it, so you never nag.
If you take one thing from this section, make it frequency capping. Showing the same popup on every page view is the fastest way to turn a helpful offer into an irritation people bounce from.
Popup Best Practices (So You Don’t Hurt SEO or UX)
A converting popup and a compliant popup are usually the same popup. Keep these rules in mind whichever method you pick:
- Go easy on mobile. This is where Google’s interstitial guidance bites. Use a small banner or a delayed box, never a full-screen block on entry.
- Make the close obvious. A clear X, an outer-click close, and an Escape-key close all reduce frustration. The Popup Builder includes Esc and outer-click close options for this.
- Cap the frequency. Once per visitor, or once per session, is plenty for most offers.
- Ask for one thing. An email address converts far better than a five-field form.
- Match the offer to the page. A reader on a pricing post and a reader on a blog post want different things.
Test the popup on a real phone before you call it done, then check back after a week to see whether it is converting or just collecting dismissals.
Which Method Should You Use?
If you need one simple, button-triggered popup and you do not mind a little code, Method 1 keeps your site lean and costs nothing. If you want exit-intent, scheduling, targeting, and templates without maintaining scripts, the Nexter Blocks Popup Builder does the heavy lifting and stays inside the block editor you already use.
Either way, the popup itself is the easy part. Getting the trigger and the offer right is what turns it from an interruption into a result.
Suggested Reading
- 5 Best Popup Plugins for WordPress Compared
- Best WordPress Cookie Consent Plugins (GDPR + Consent Mode v2)
- How to Create a Donation Form in WordPress
- How to Create a Reusable Block in WordPress
- Gutenberg vs Elementor: An Honest Comparison
