












Key Takeaways
- WordPress does not have one cache. It caches at several layers (caching plugin, object cache, host or server cache, CDN, PHP OPcache, browser, and your page builder), and a change that will not show is stuck behind one of them.
- Clear from the origin outward: your caching plugin, then your host cache, then your CDN, then the browser last. Each layer closer to the visitor refills from the one beneath it.
- The caching plugin button (WP Rocket, LiteSpeed Cache, WP Fastest Cache, W3 Total Cache) is the layer most people mean, but it is only one of several.
- Never run two caching plugins at once. Their cache clearing fights, which causes the exact stale-content problem you are trying to fix.
- A lighter site needs less caching to feel fast. A lean theme like Nexter is a good foundation, though it is not a caching tool and does not replace one.
You update a page in WordPress, hit save, open it in a new tab, and the site still shows the old version. You clear your caching plugin, refresh, and it is still there. This is one of the most common and most confusing WordPress problems, and it almost always comes down to the same thing: WordPress does not have a single cache. It has several, stacked on top of each other, and the change you made is stuck behind one of them.
The pattern we see over and over is that people clear the one layer they know about, usually the caching plugin, and assume that is the whole job. It rarely is. A content delivery network, your host’s server cache, an object cache, PHP’s own OPcache, and your browser can each be holding a copy of the old page. Clear them in the wrong order and the empty layers just refill from the full ones.
The quick answer: clear your cache from the origin outward. Start with your caching plugin, then your host or server cache, then purge your CDN, and do a browser hard refresh last. If you only have time for one, clear the caching plugin, because that is the layer that changes most often. The rest of this guide walks through every layer in order, with the exact button to click for the popular tools.
The cache layers in WordPress (and why order matters)
Before you start clearing things at random, it helps to see the full stack. A single request for one of your pages can pass through as many as seven caches on its way to a visitor:
- Caching plugin (page cache): stores a ready-made HTML copy of each page so WordPress does not have to build it on every visit. This is WP Rocket, LiteSpeed Cache, WP Fastest Cache, W3 Total Cache, and similar.
- Object cache: stores the results of database queries (Redis or Memcached), so repeated lookups do not hit the database.
- Host or server cache: many managed hosts add their own full-page cache in front of WordPress, using Varnish or NGINX.
- CDN cache: a network like Cloudflare keeps copies of your files on servers around the world, close to your visitors.
- OPcache: PHP compiles your code and keeps the compiled version in memory. This matters when you change code, not content.
- Browser cache: the visitor’s own browser stores files locally so the site loads faster on the next visit.
- Page builder or theme cache: tools like Elementor generate and cache their own CSS files.
Here is the rule that saves the most time: clear from the origin outward, and leave the browser for last. Every layer closer to the visitor refills from the layer beneath it. If you purge Cloudflare while your caching plugin is still holding the old page, Cloudflare simply fetches that old page again and caches it right back. Clear the caching plugin first, then the host cache, then the CDN, and the fresh page flows all the way out.
Layer 1: Clear your caching plugin
This is the layer nearly everyone means when they say “clear my WordPress cache,” and it is the right place to start. A caching plugin saves a static HTML version of each page. When you edit content, the plugin usually clears the affected pages on its own, but redirects, CSS changes, and template edits often need a manual purge. Here is where the button lives in the four most popular plugins.
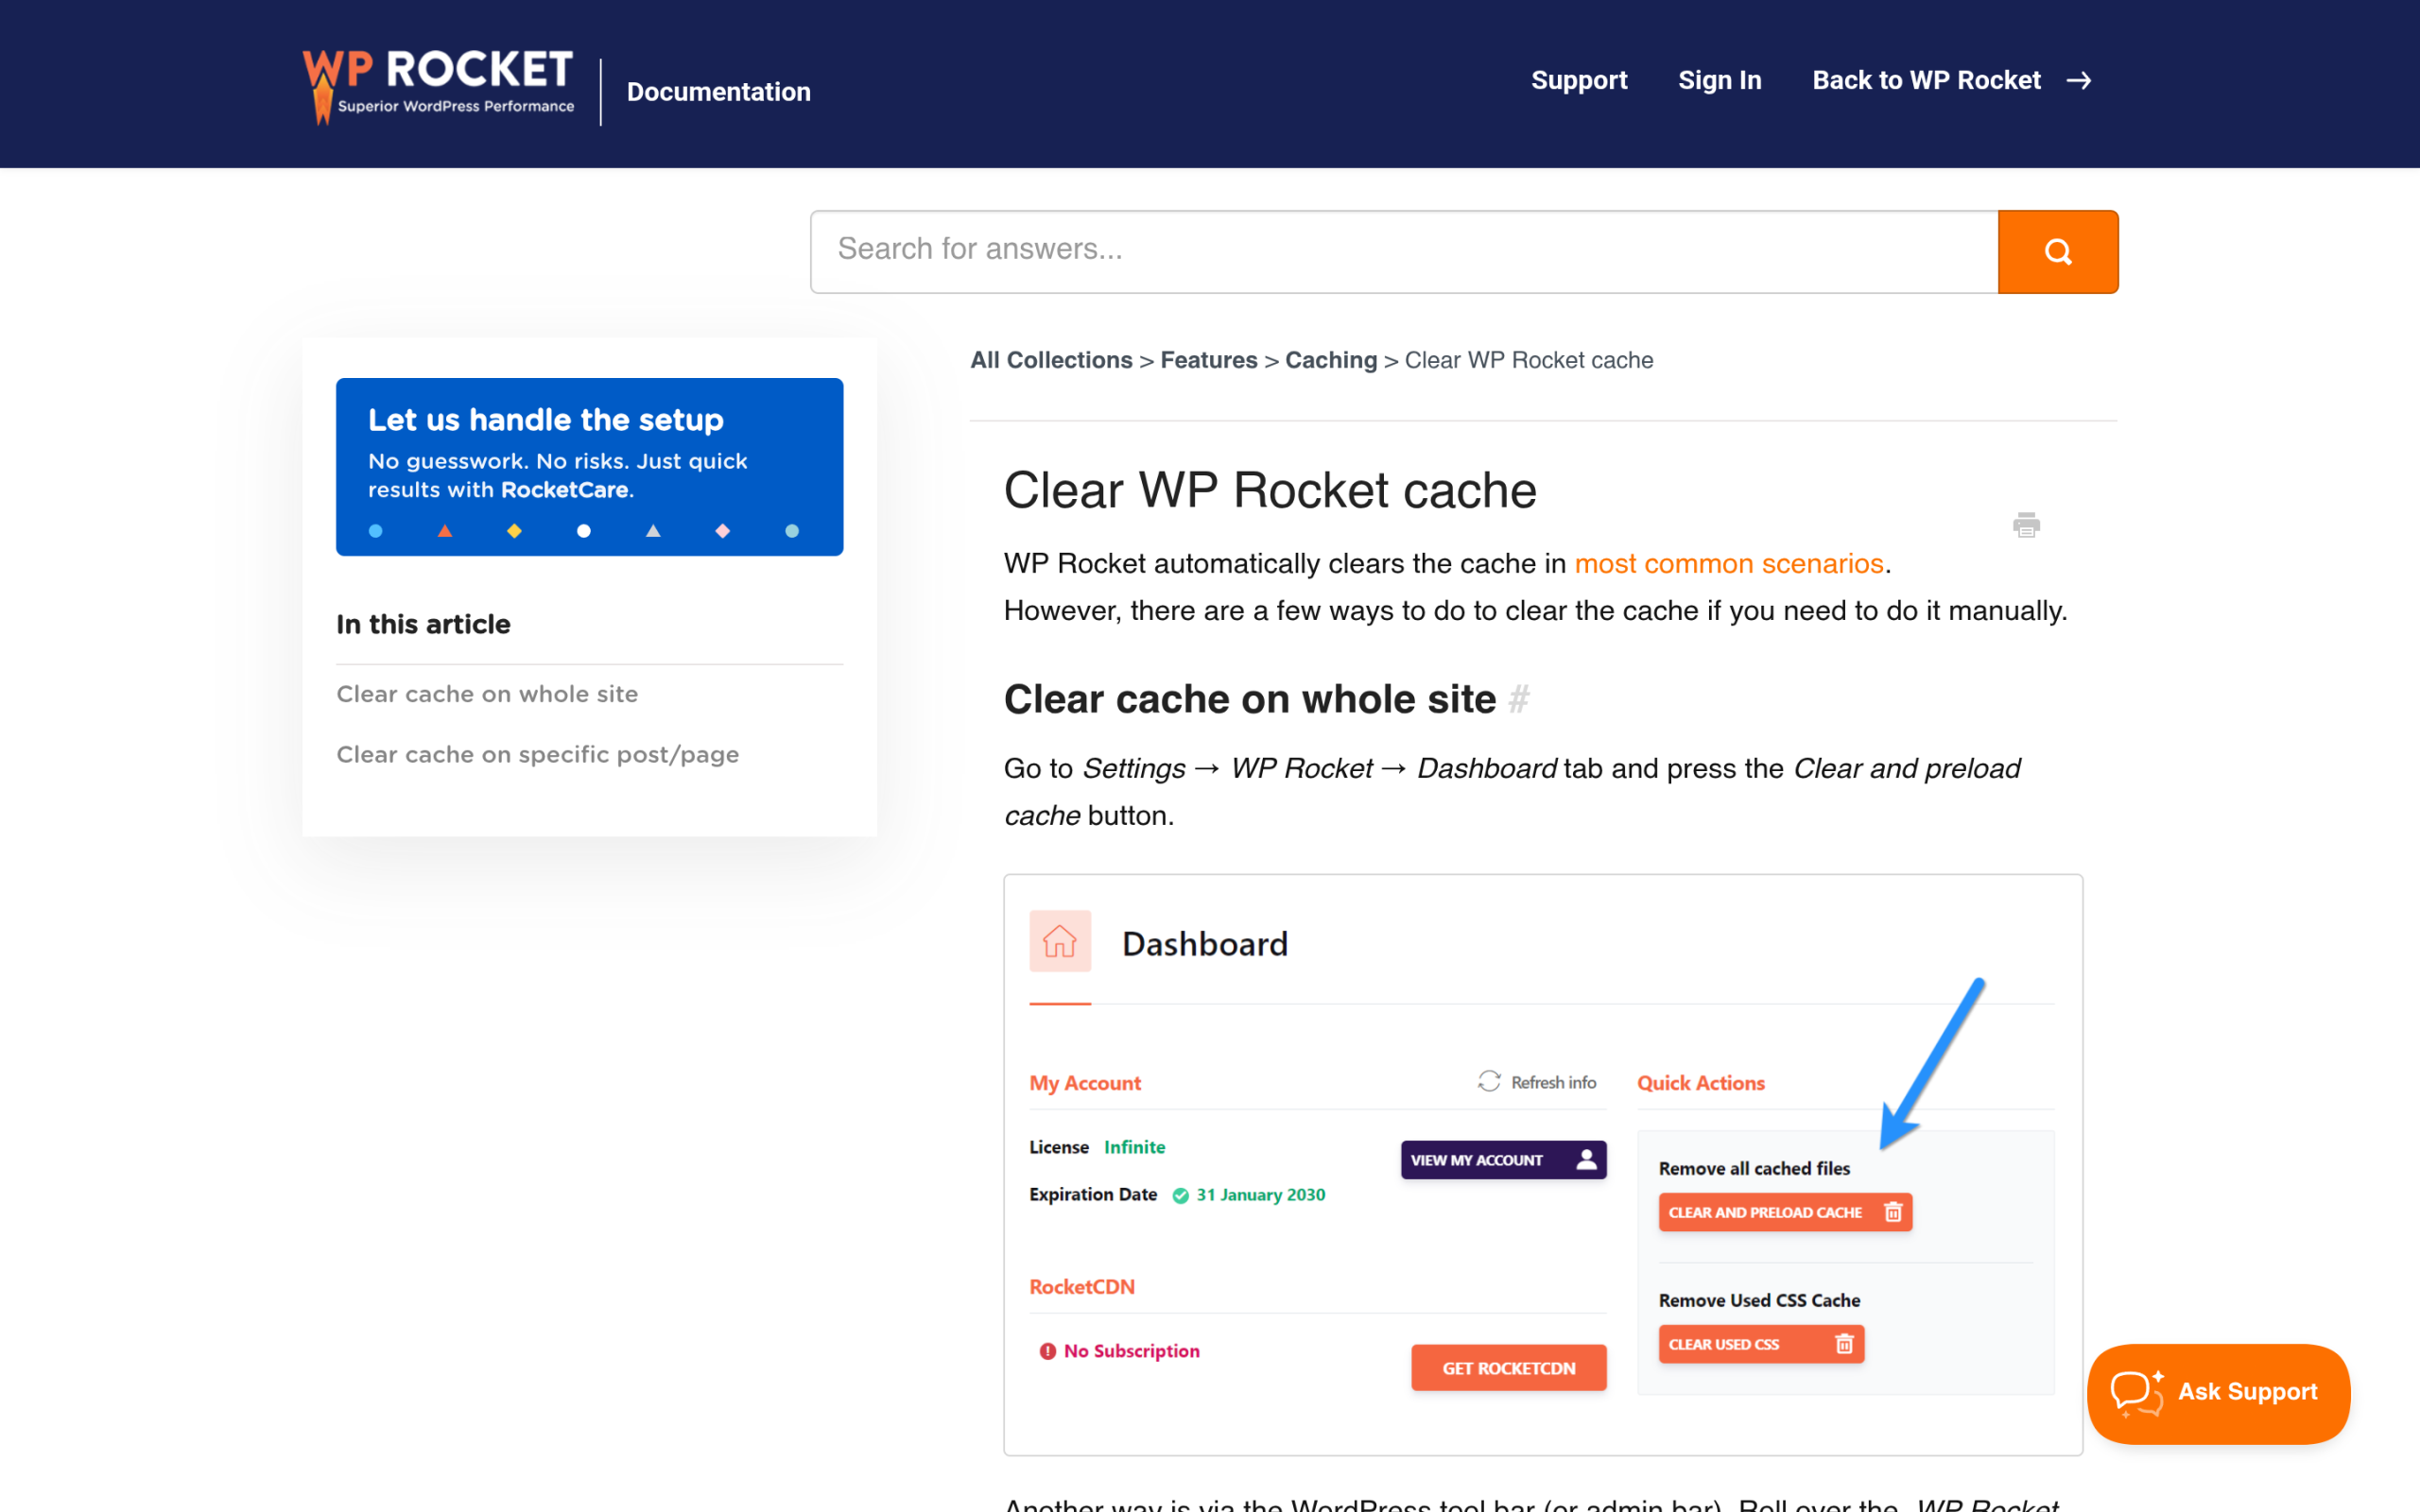
- WP Rocket: go to Settings, then WP Rocket, then the Dashboard tab, and press Clear and preload cache. The same action sits in the WP Rocket menu in your admin bar, so you can run it from any screen.
- LiteSpeed Cache: open LiteSpeed Cache, then Toolbox, then the Purge tab, and click Purge All. There is also an Empty Entire Cache button that clears everything, including entries from other applications on the server.
- WP Fastest Cache: open the plugin’s options page and use the Delete Cache tab, or use the quick clear option in the admin toolbar.
- W3 Total Cache: use the Purge All Caches option in the admin bar, or open Performance and empty the caches from the dashboard.
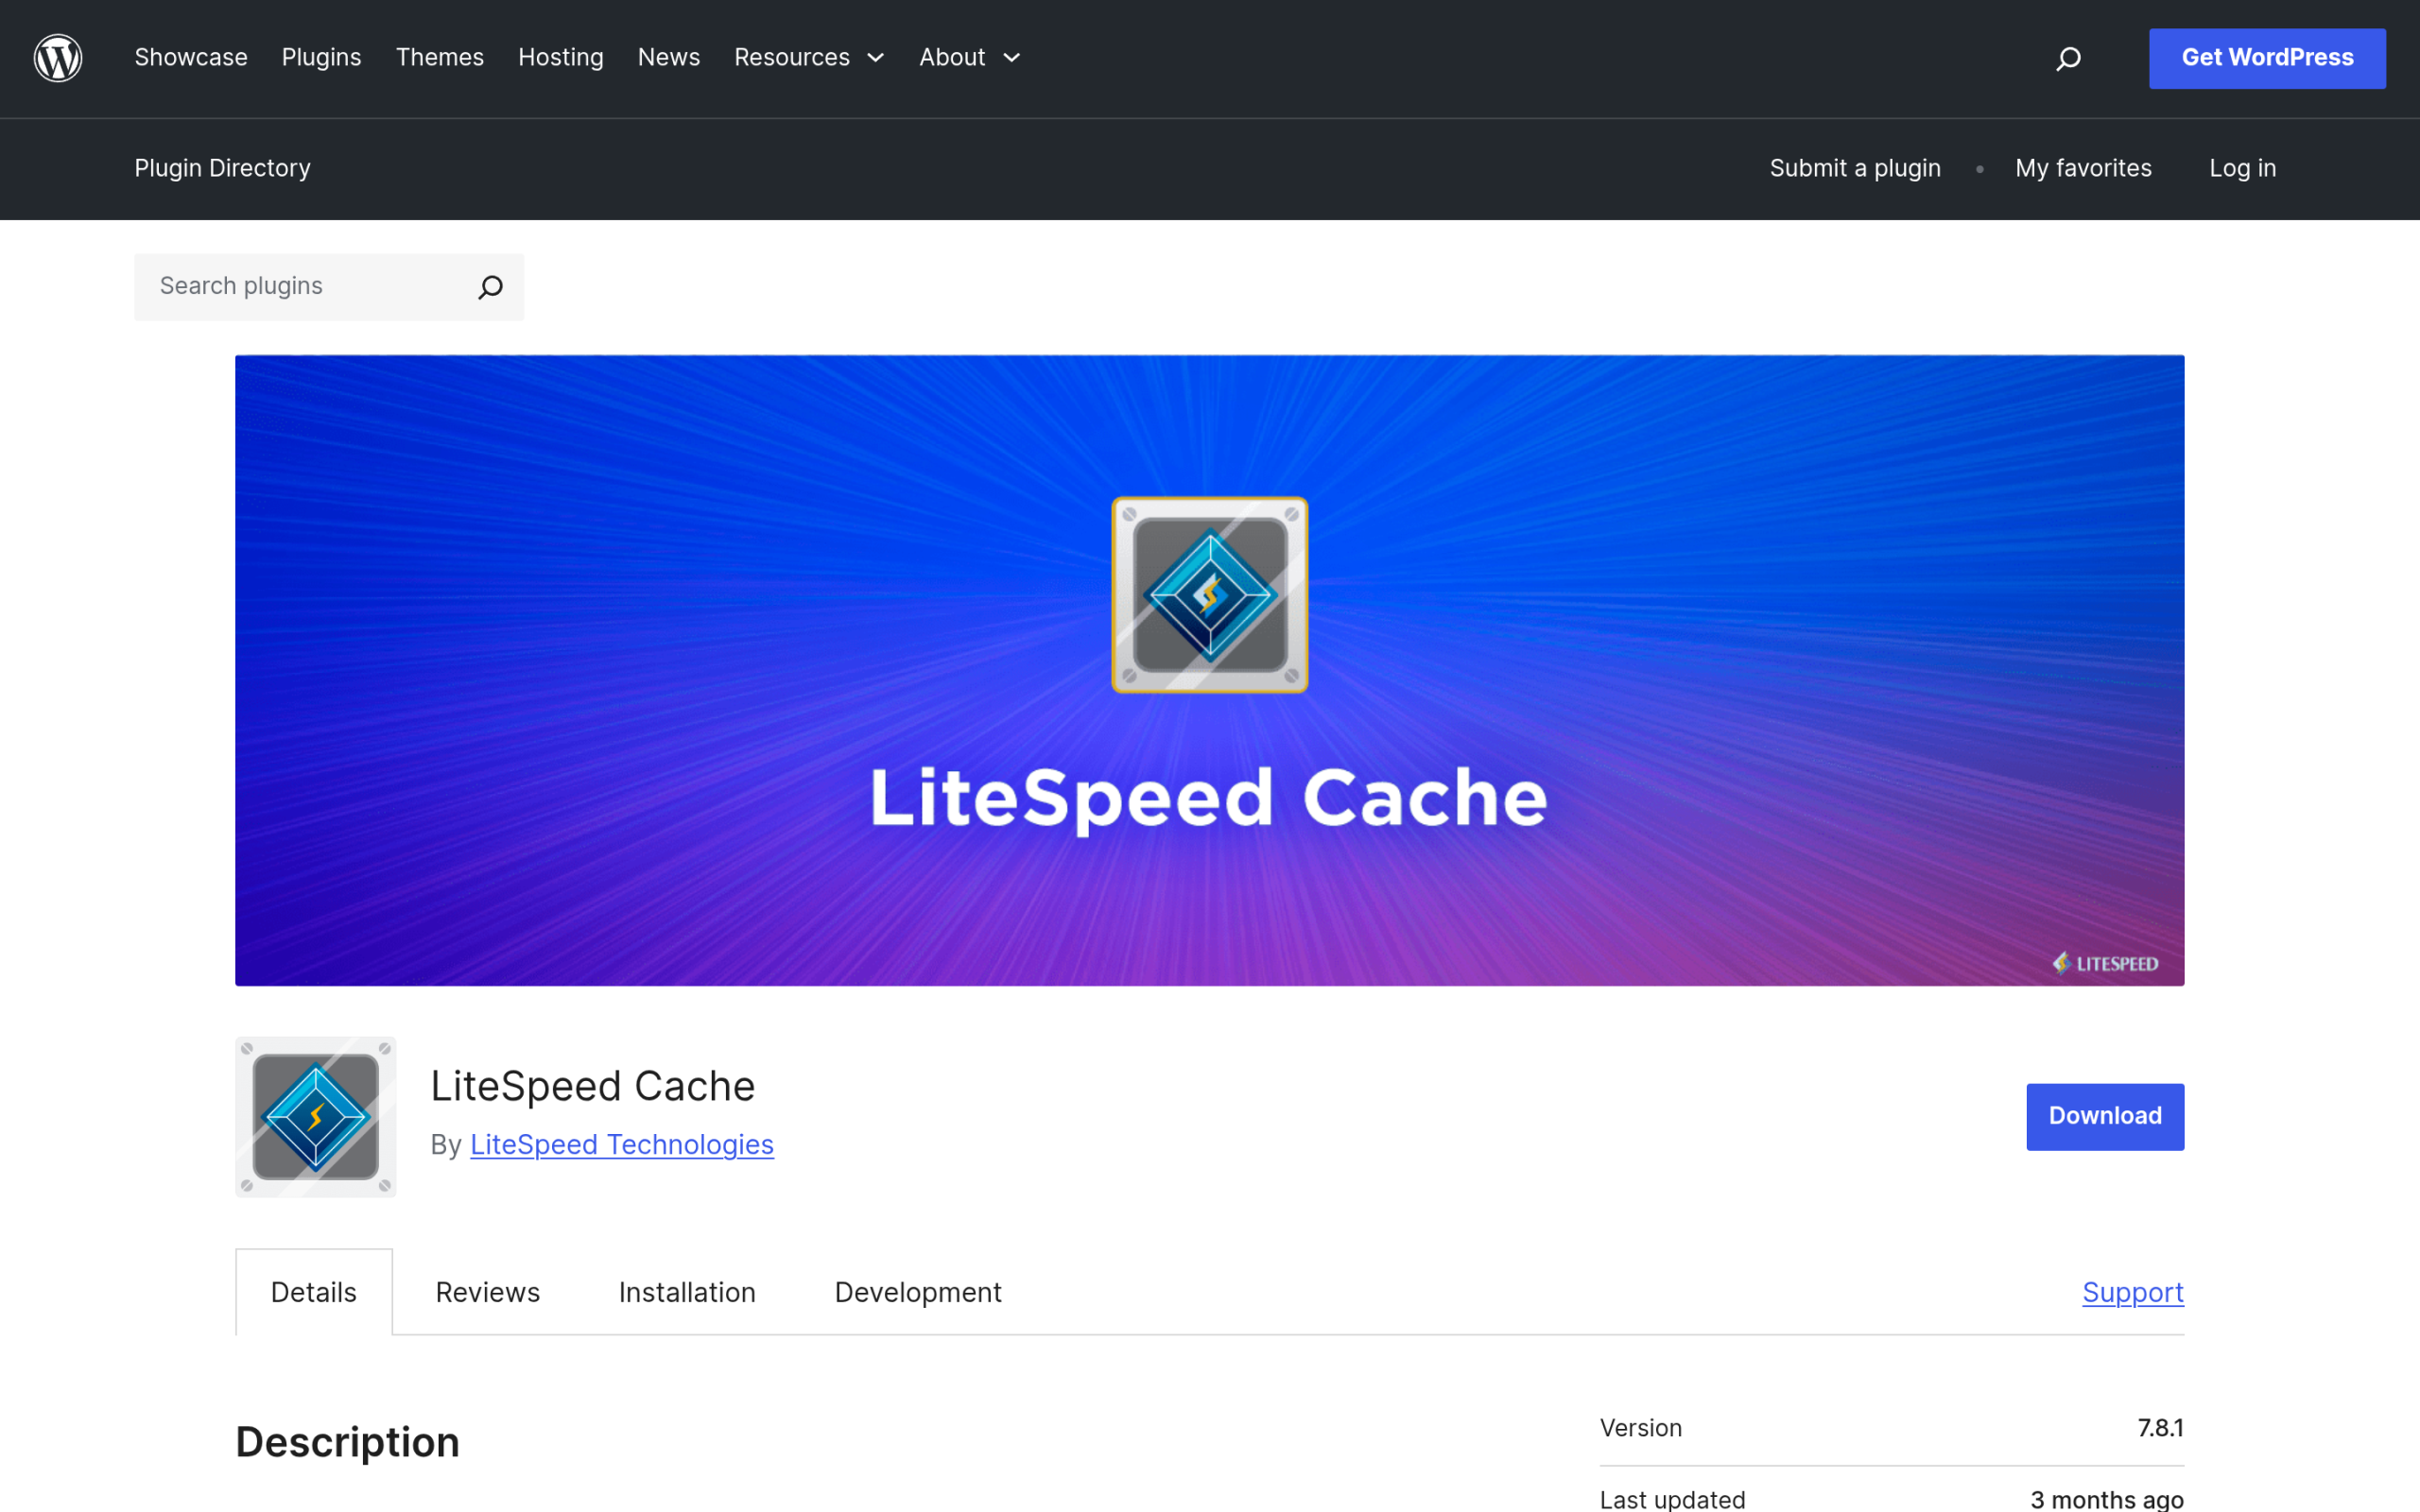
Also Read: 5 Best WordPress Cache Plugins if you have not picked one yet, or you are wondering whether your current plugin is the right fit for your host.
One warning that saves a lot of grief: run only one caching plugin. Two page-cache plugins active at the same time will each cache the other’s output and fight over what to clear, which produces the stale, half-updated pages you are trying to get rid of. Pick one, and deactivate the rest.
Layer 2: Clear your host or server cache
Managed WordPress hosts usually run their own full-page cache in front of your site for speed. It sits closer to the visitor than your plugin, so even after you purge the plugin, the host cache can keep serving the old copy. This is the layer people most often forget. Here is where to clear it on a few common hosts.
- Kinsta: open your site in MyKinsta, go to the Caching tab, and click Clear all caches. If you use the Kinsta MU plugin, a Clear Caches button also appears in your WordPress admin bar.
- WP Engine: in wp-admin, open the WP Engine menu, then Caching, and click Clear All Caches. You can also clear it from the WP Engine User Portal under your site’s Cache section.
- SiteGround: install the Speed Optimizer plugin, then use the Purge SG Cache button in the admin bar or the plugin’s Caching tab. On the command line, the command is
wp sg purge.
If your host is not on this list, look for a caching or performance panel in your hosting dashboard, or a purge button their plugin adds to your admin bar. When in doubt, your host’s support team can tell you exactly which cache they run and how to flush it.
Layer 3: Purge your CDN (Cloudflare and others)
A content delivery network stores copies of your pages and files on servers around the world so visitors load them from a nearby location. That is great for speed, but it means the CDN can serve a cached copy long after your origin is updated. Purge it after you have cleared the plugin and the host cache, so it pulls a fresh copy.
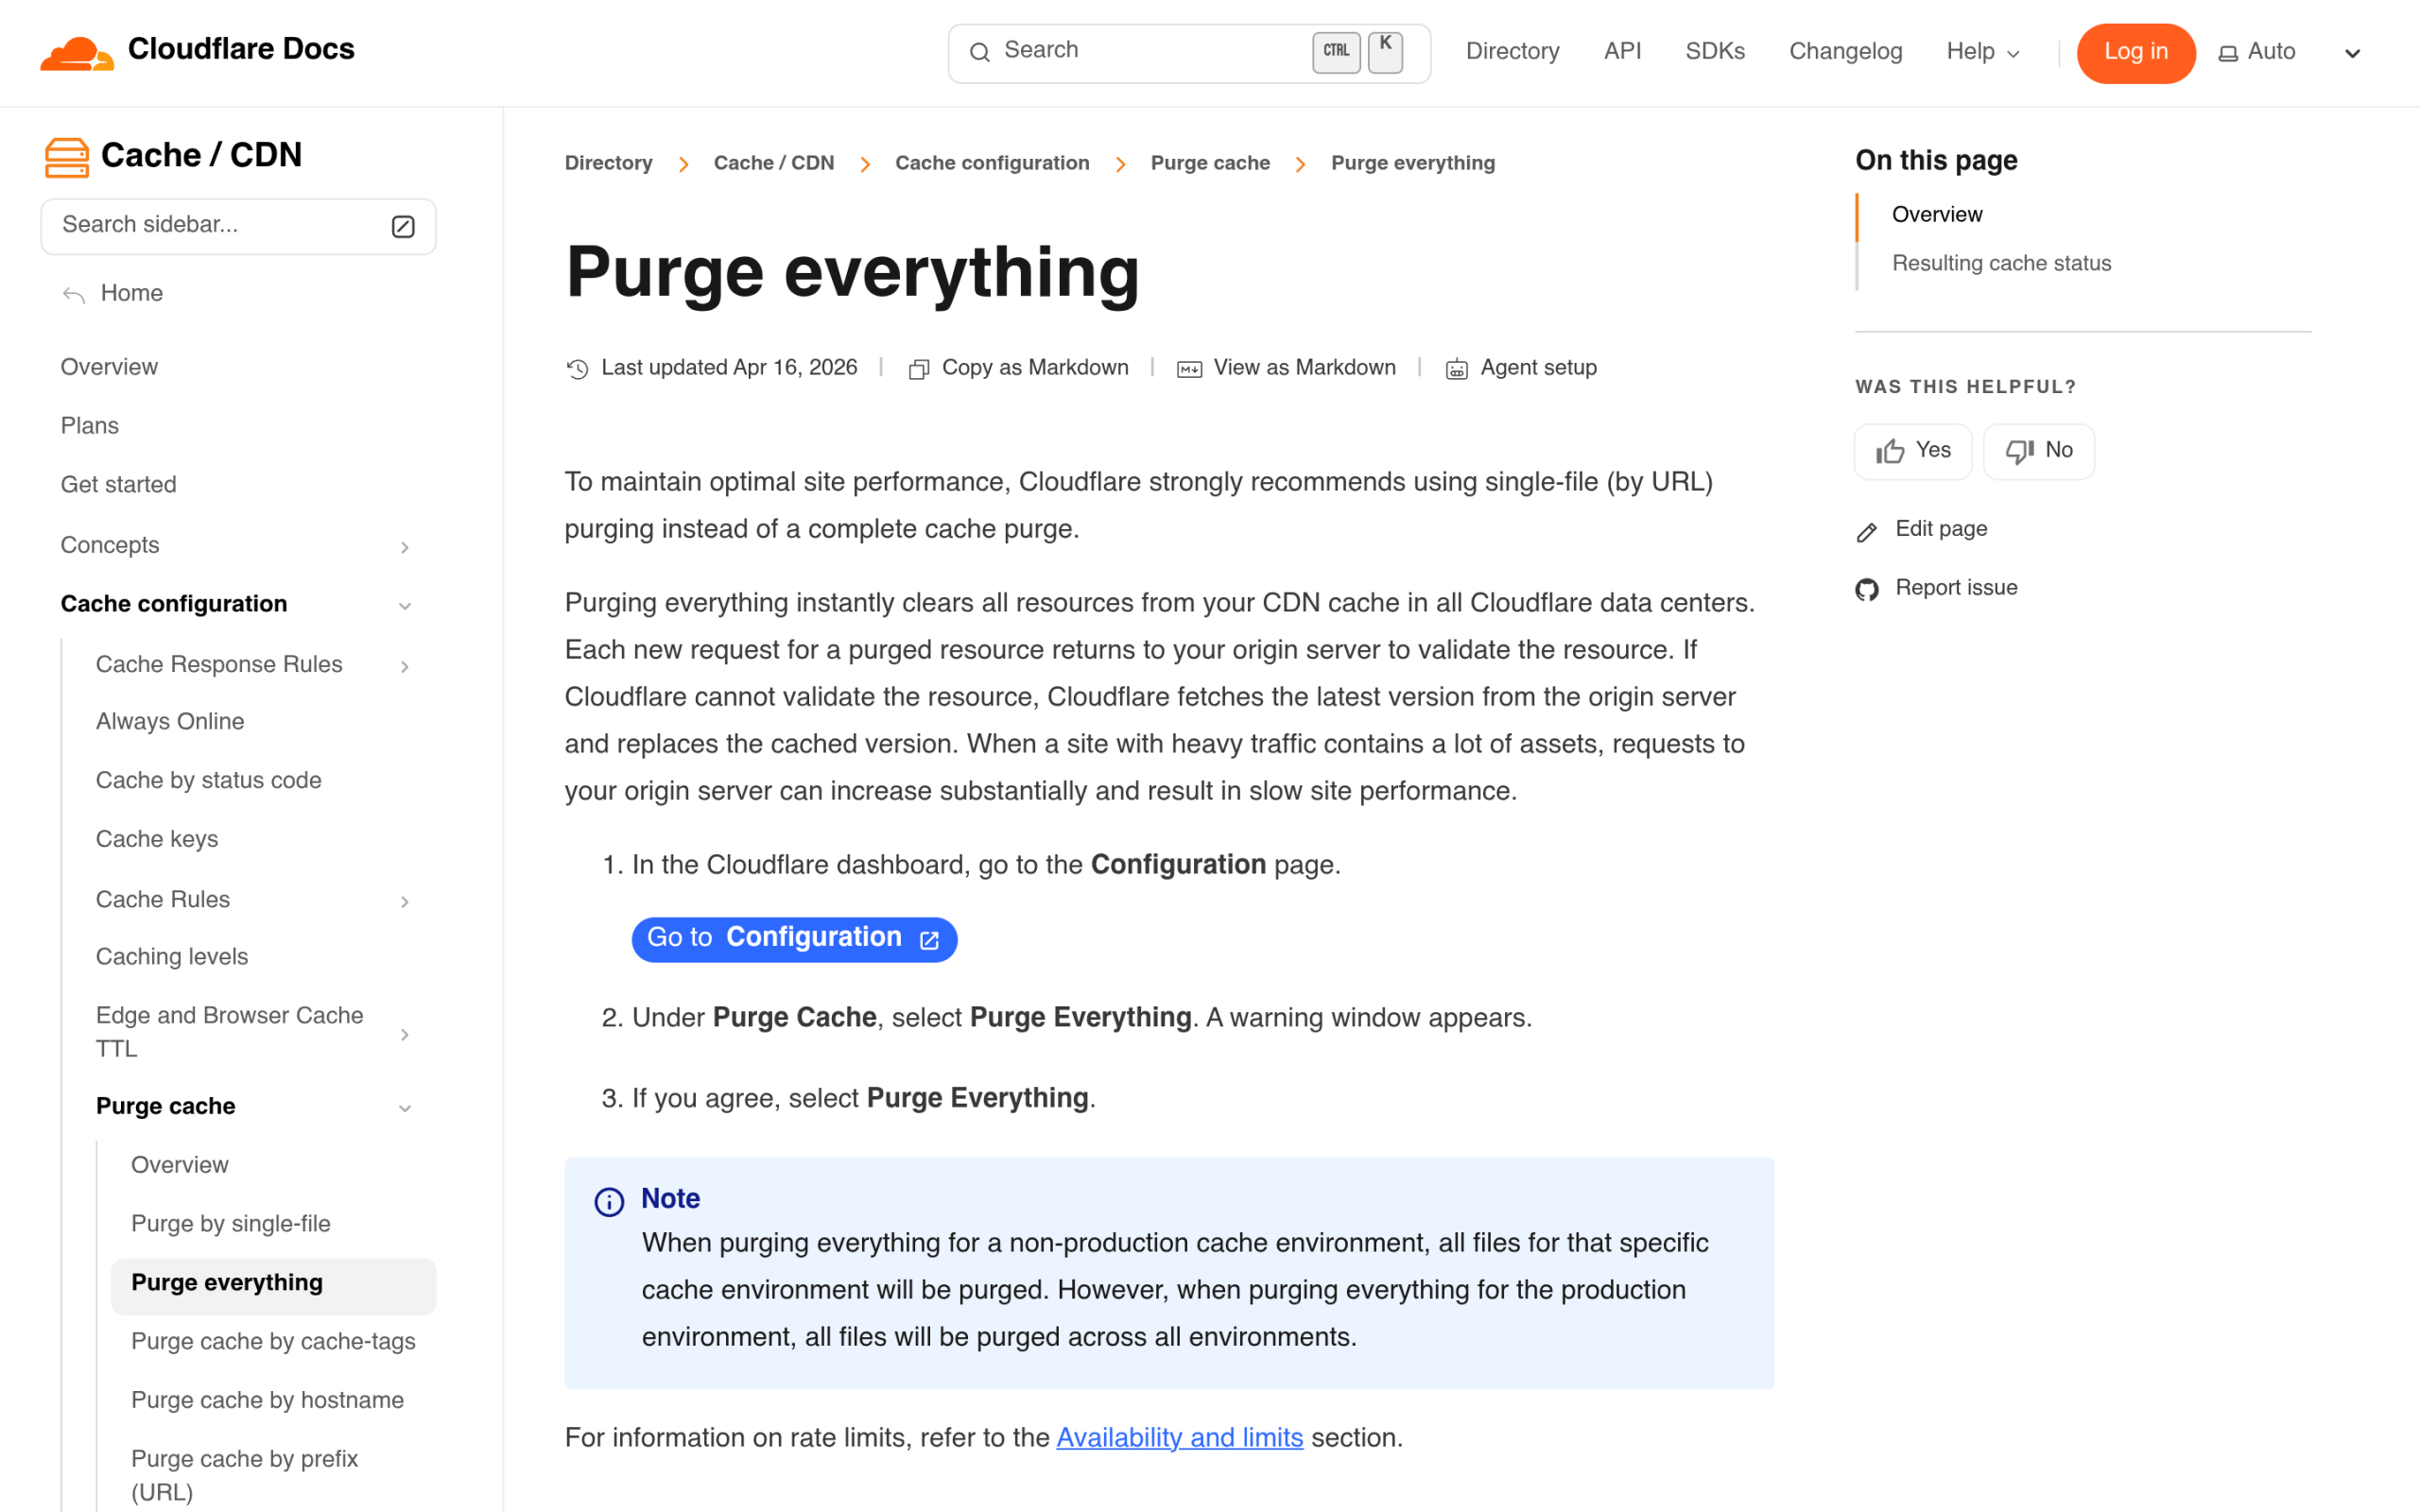
In Cloudflare, open the Caching section, then Configuration, find the Purge Cache area, and choose Purge Everything. A confirmation window appears, and you select Purge Everything again to finish. This clears every cached resource across all Cloudflare data centers instantly. On a high-traffic site, Cloudflare suggests purging single files instead when you only changed a few, since a full purge briefly sends more requests back to your origin.
Other CDNs follow the same idea. Look for a “purge,” “flush,” or “clear cache” control in the CDN dashboard, and prefer clearing a specific URL when you only changed one page.
Layer 4: Do a browser hard refresh (last)
Once every server-side layer is clear, the last place an old copy can hide is your own browser. This is why a page can look fixed to your visitors while it still looks broken to you. A normal refresh often reloads the cached files, so use a hard refresh instead, which forces the browser to download everything again.
- Windows (Chrome, Edge, Firefox): press Ctrl + F5 or Ctrl + Shift + R.
- Mac (Chrome, Firefox): press Cmd + Shift + R. In Safari, hold Option and choose Empty Caches from the Develop menu.
- Still stuck? open the page in a private or incognito window, which ignores your normal browser cache entirely. If it looks correct there, the site is fixed and only your browser was holding the old version.
Layer 5: Clear the object cache (Redis or Memcached)
An object cache stores the results of database queries in memory so WordPress does not repeat the same lookups. It sits beneath your page cache, so if you run a persistent object cache, clear it around the same time as your caching plugin. Most managed hosts clear the object cache when you use their main clear-cache button, so you may not need to touch this separately.
If you run the Redis Object Cache plugin, it adds a Flush Cache button in its settings screen and a flush option in the admin bar. Clearing the object cache mostly matters when you see old data rather than an old layout, for example a product price or a menu that will not update even after the page cache is gone.
Layer 6: Clear OPcache (for code changes, not content)
OPcache is a part of PHP that keeps a compiled copy of your code in memory so it does not recompile on every request. It only affects code, so you will not normally touch it for a content edit. It matters after you update a plugin, edit a theme file, or change a code snippet and the change does not take effect.
The cleanest way to clear OPcache is to restart PHP, which most managed hosts do automatically when you deploy code, or offer as a button in your hosting panel. Some caching and hosting plugins also expose an OPcache reset. If you are not making code changes, you can safely skip this layer.
Layer 7: Clear your page builder or theme cache
If you build pages with Elementor, it generates its own CSS files and caches them. When a design change will not appear even after every other layer is clear, regenerate those files: in wp-admin go to Elementor, then Tools, and use Regenerate Files & Data. Other page builders have a similar option in their tools or settings screen.
Also Read: Gutenberg Core Web Vitals: How to Speed Up a Block-Theme WordPress Site if you have moved to a block theme and want the caching and performance picture that comes with it.
Block themes lean less on builder-generated CSS, so there is usually less of this layer to clear. If you use a full site editing theme, most of your caching attention goes back to the plugin, host, and CDN layers above.
Still seeing the old version? A quick checklist
If you have cleared every layer and the old content is still there, the problem is usually not a cache at all. Run through these before you start over:
- Are you editing the right site? It is easy to change a staging site and check the live one, or the other way around. Confirm the URL in your address bar matches the site you edited.
- Are you logged in? Many caching setups show logged-in users a live, uncached view and everyone else the cached version. Check the page in a private window to see what visitors actually get.
- Did the change save? Reopen the page in the editor and confirm your edit is really there before blaming a cache.
- Is a plugin conflict involved? Two caching plugins, or a caching plugin plus a host cache that do not talk to each other, can keep refilling each other. Simplify to one page-cache tool.
Work the layers from the origin outward, check in a private window, and nine times out of ten the stale page clears up.
Fewer cache headaches start with a lighter site
Caching exists to hide the cost of a heavy site. The more work your server has to do to build a page, the more you lean on cache to make it feel fast, and the more layers you have to clear when something changes. A lighter foundation means less of that pressure in the first place.
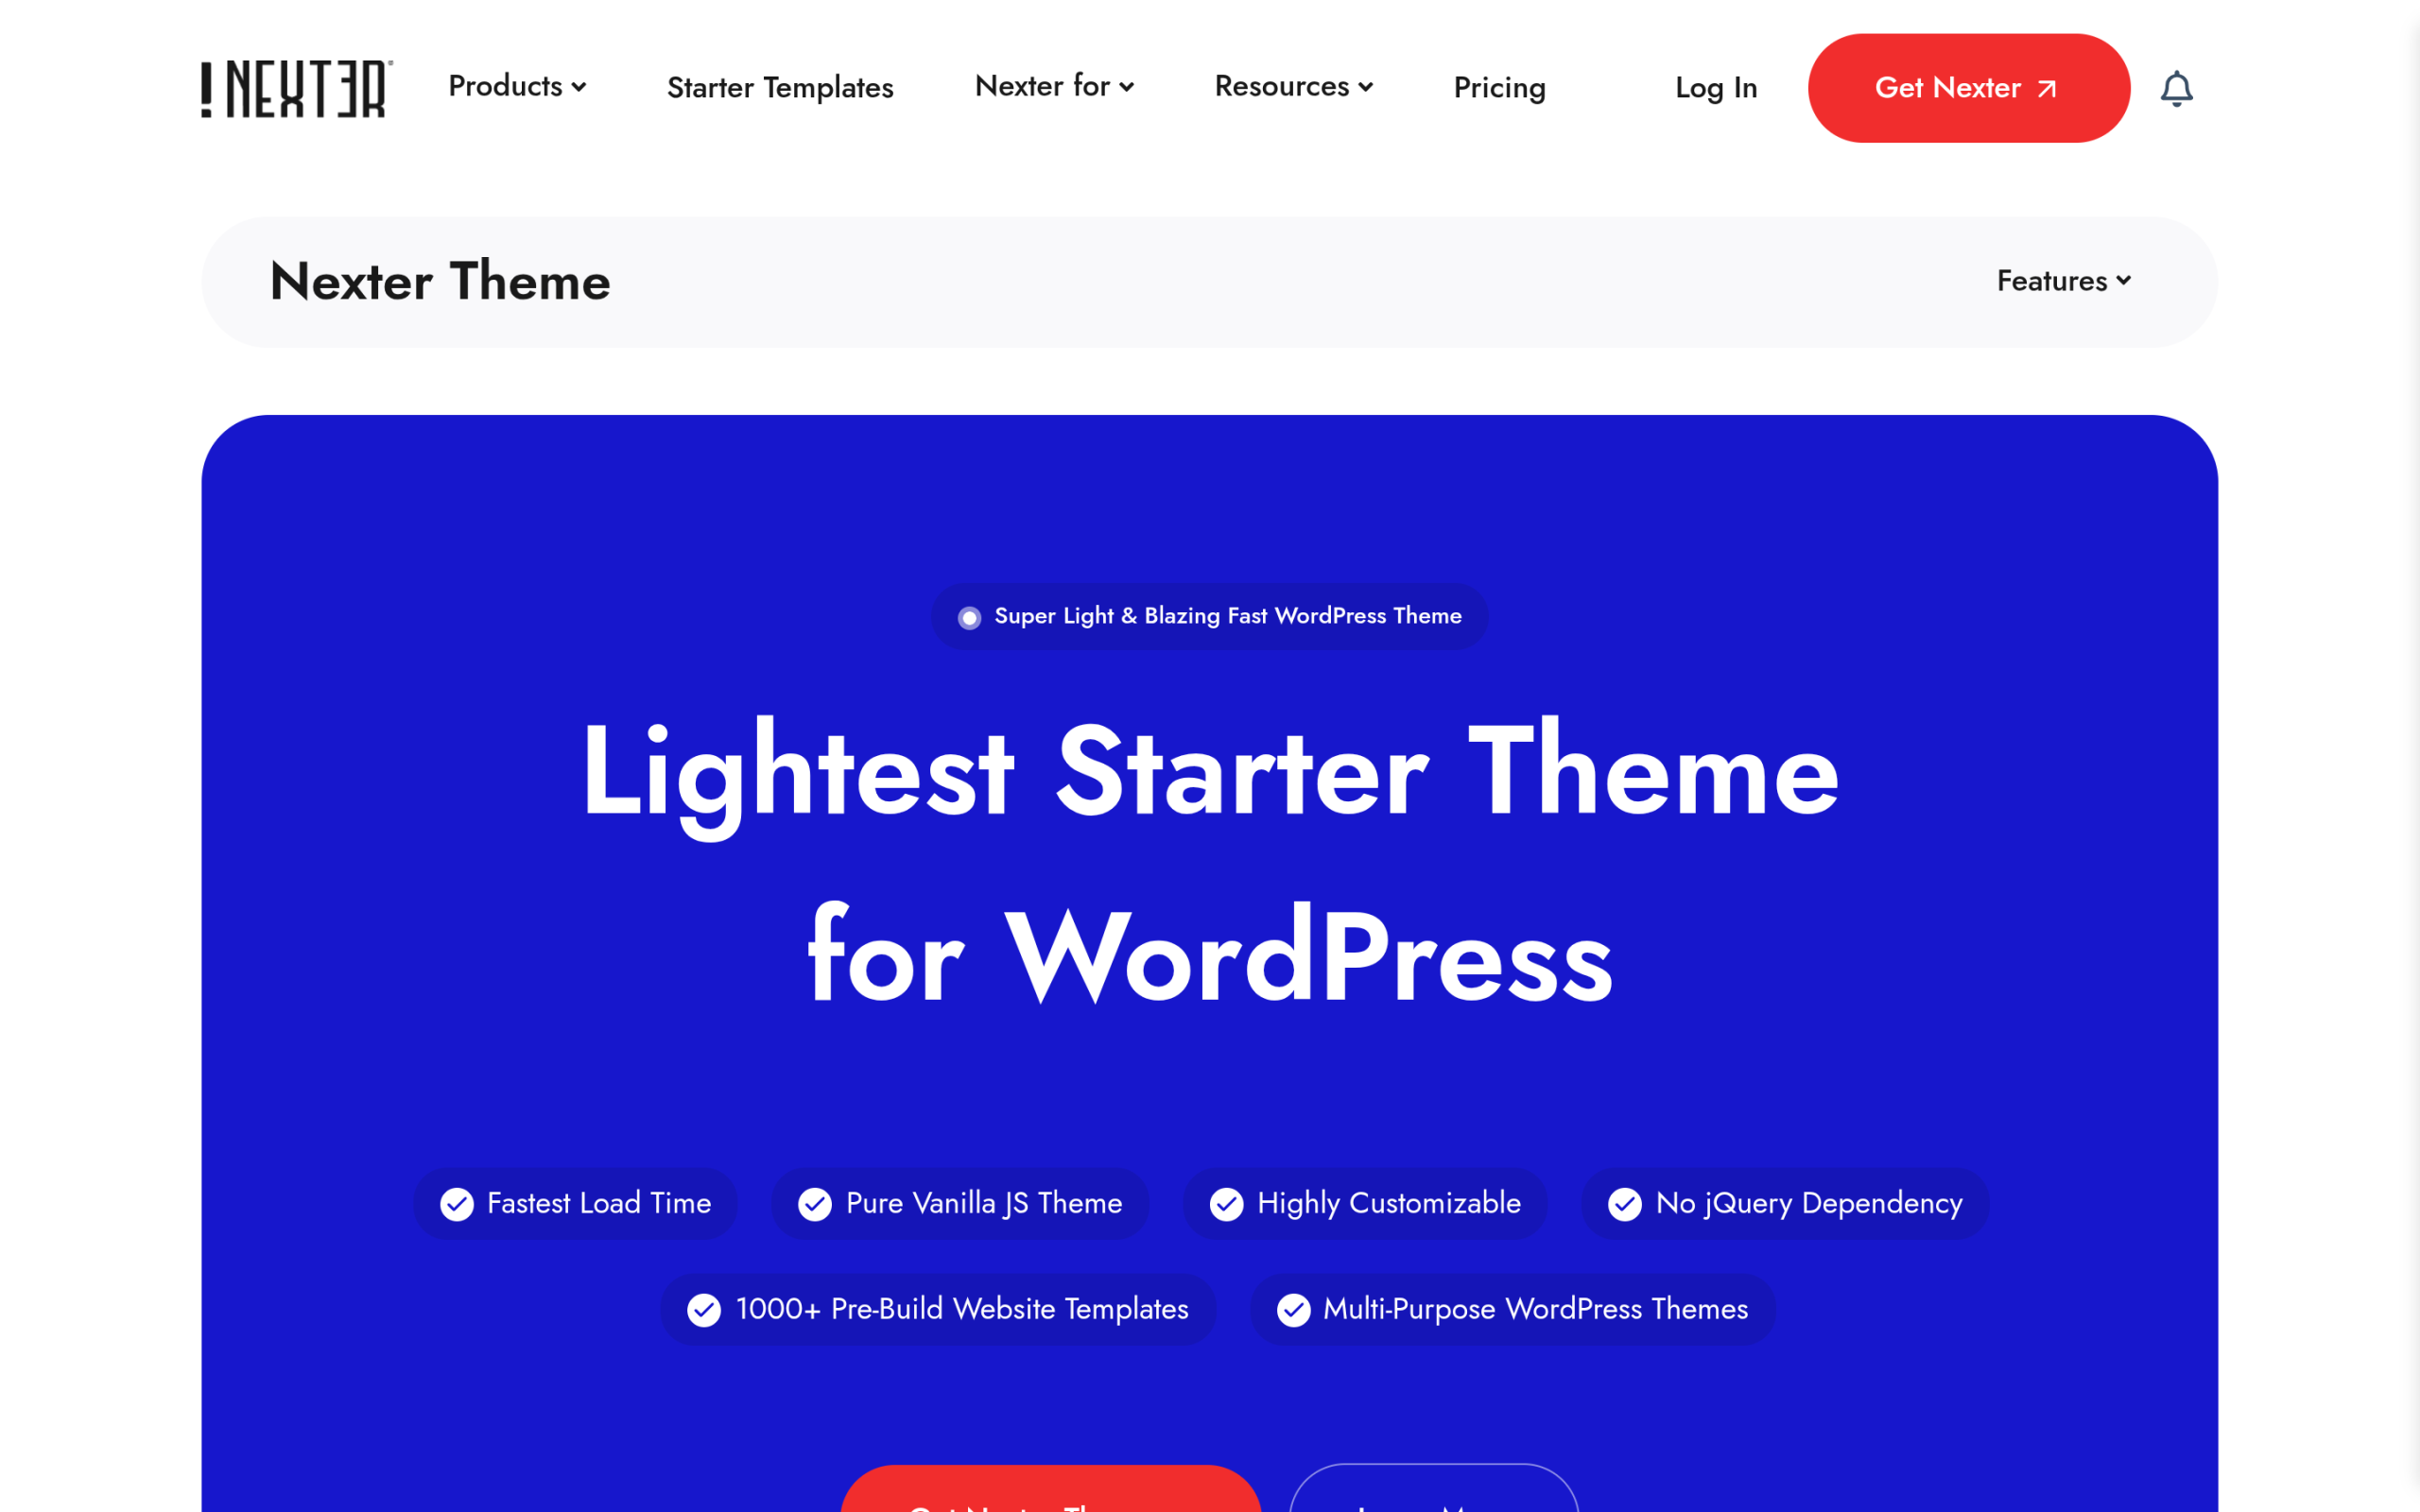
This is where a lean theme helps. Nexter is a starter theme that describes itself as “less than 20Kb” and “pure Vanilla JS” with no jQuery dependency, so pages ship less code to begin with. It is not a caching tool and it does not replace one, but a lighter base means your caching plugin has less to do and fewer moving parts to clear when you make a change. Pair a lean theme with a single, well-configured caching plugin and the whole stale-content problem gets a lot smaller.
Suggested Reading
- 5 Best WordPress Cache Plugins [Speed Up Websites]
- Gutenberg Core Web Vitals: How to Speed Up a Block-Theme WordPress Site
- How to Remove Unused JavaScript in WordPress
- How to Host Google Fonts Locally in WordPress
- 7 Best WordPress Hosting Providers [Compared]
