












Key Takeaways
- Cloudflare’s CDN caches your site across data centers in over 330 cities, so pages load from a server near the visitor instead of only from your origin.
- The Cloudflare Free plan already includes the CDN, Universal SSL, and unmetered DDoS protection, so a basic setup costs nothing.
- There are two ways in: change your nameservers for the full setup, or start with the official Cloudflare for WordPress plugin.
- APO caches your HTML at the edge too, but it is a $5 add-on on the free plan and included on Pro and Business.
- A CDN speeds up delivery, not a slow origin. Pair it with a cache plugin and origin cleanup for the real gain.
Your WordPress site feels quick from your desk in, say, London, and then a visitor in Sydney waits three seconds for the same page to show up. That gap is mostly distance. Every request has to travel to wherever your server physically sits, and the farther away the visitor is, the longer they wait.
A content delivery network closes that gap by keeping copies of your site close to people. Cloudflare is the most common way WordPress owners add one, partly because the basic plan is free and partly because you do not have to move your hosting to use it. This guide covers what the CDN actually does, the two ways to connect it, the handful of settings that matter, and the mistakes that quietly break sites.
What a Cloudflare CDN actually does (and what it does not)
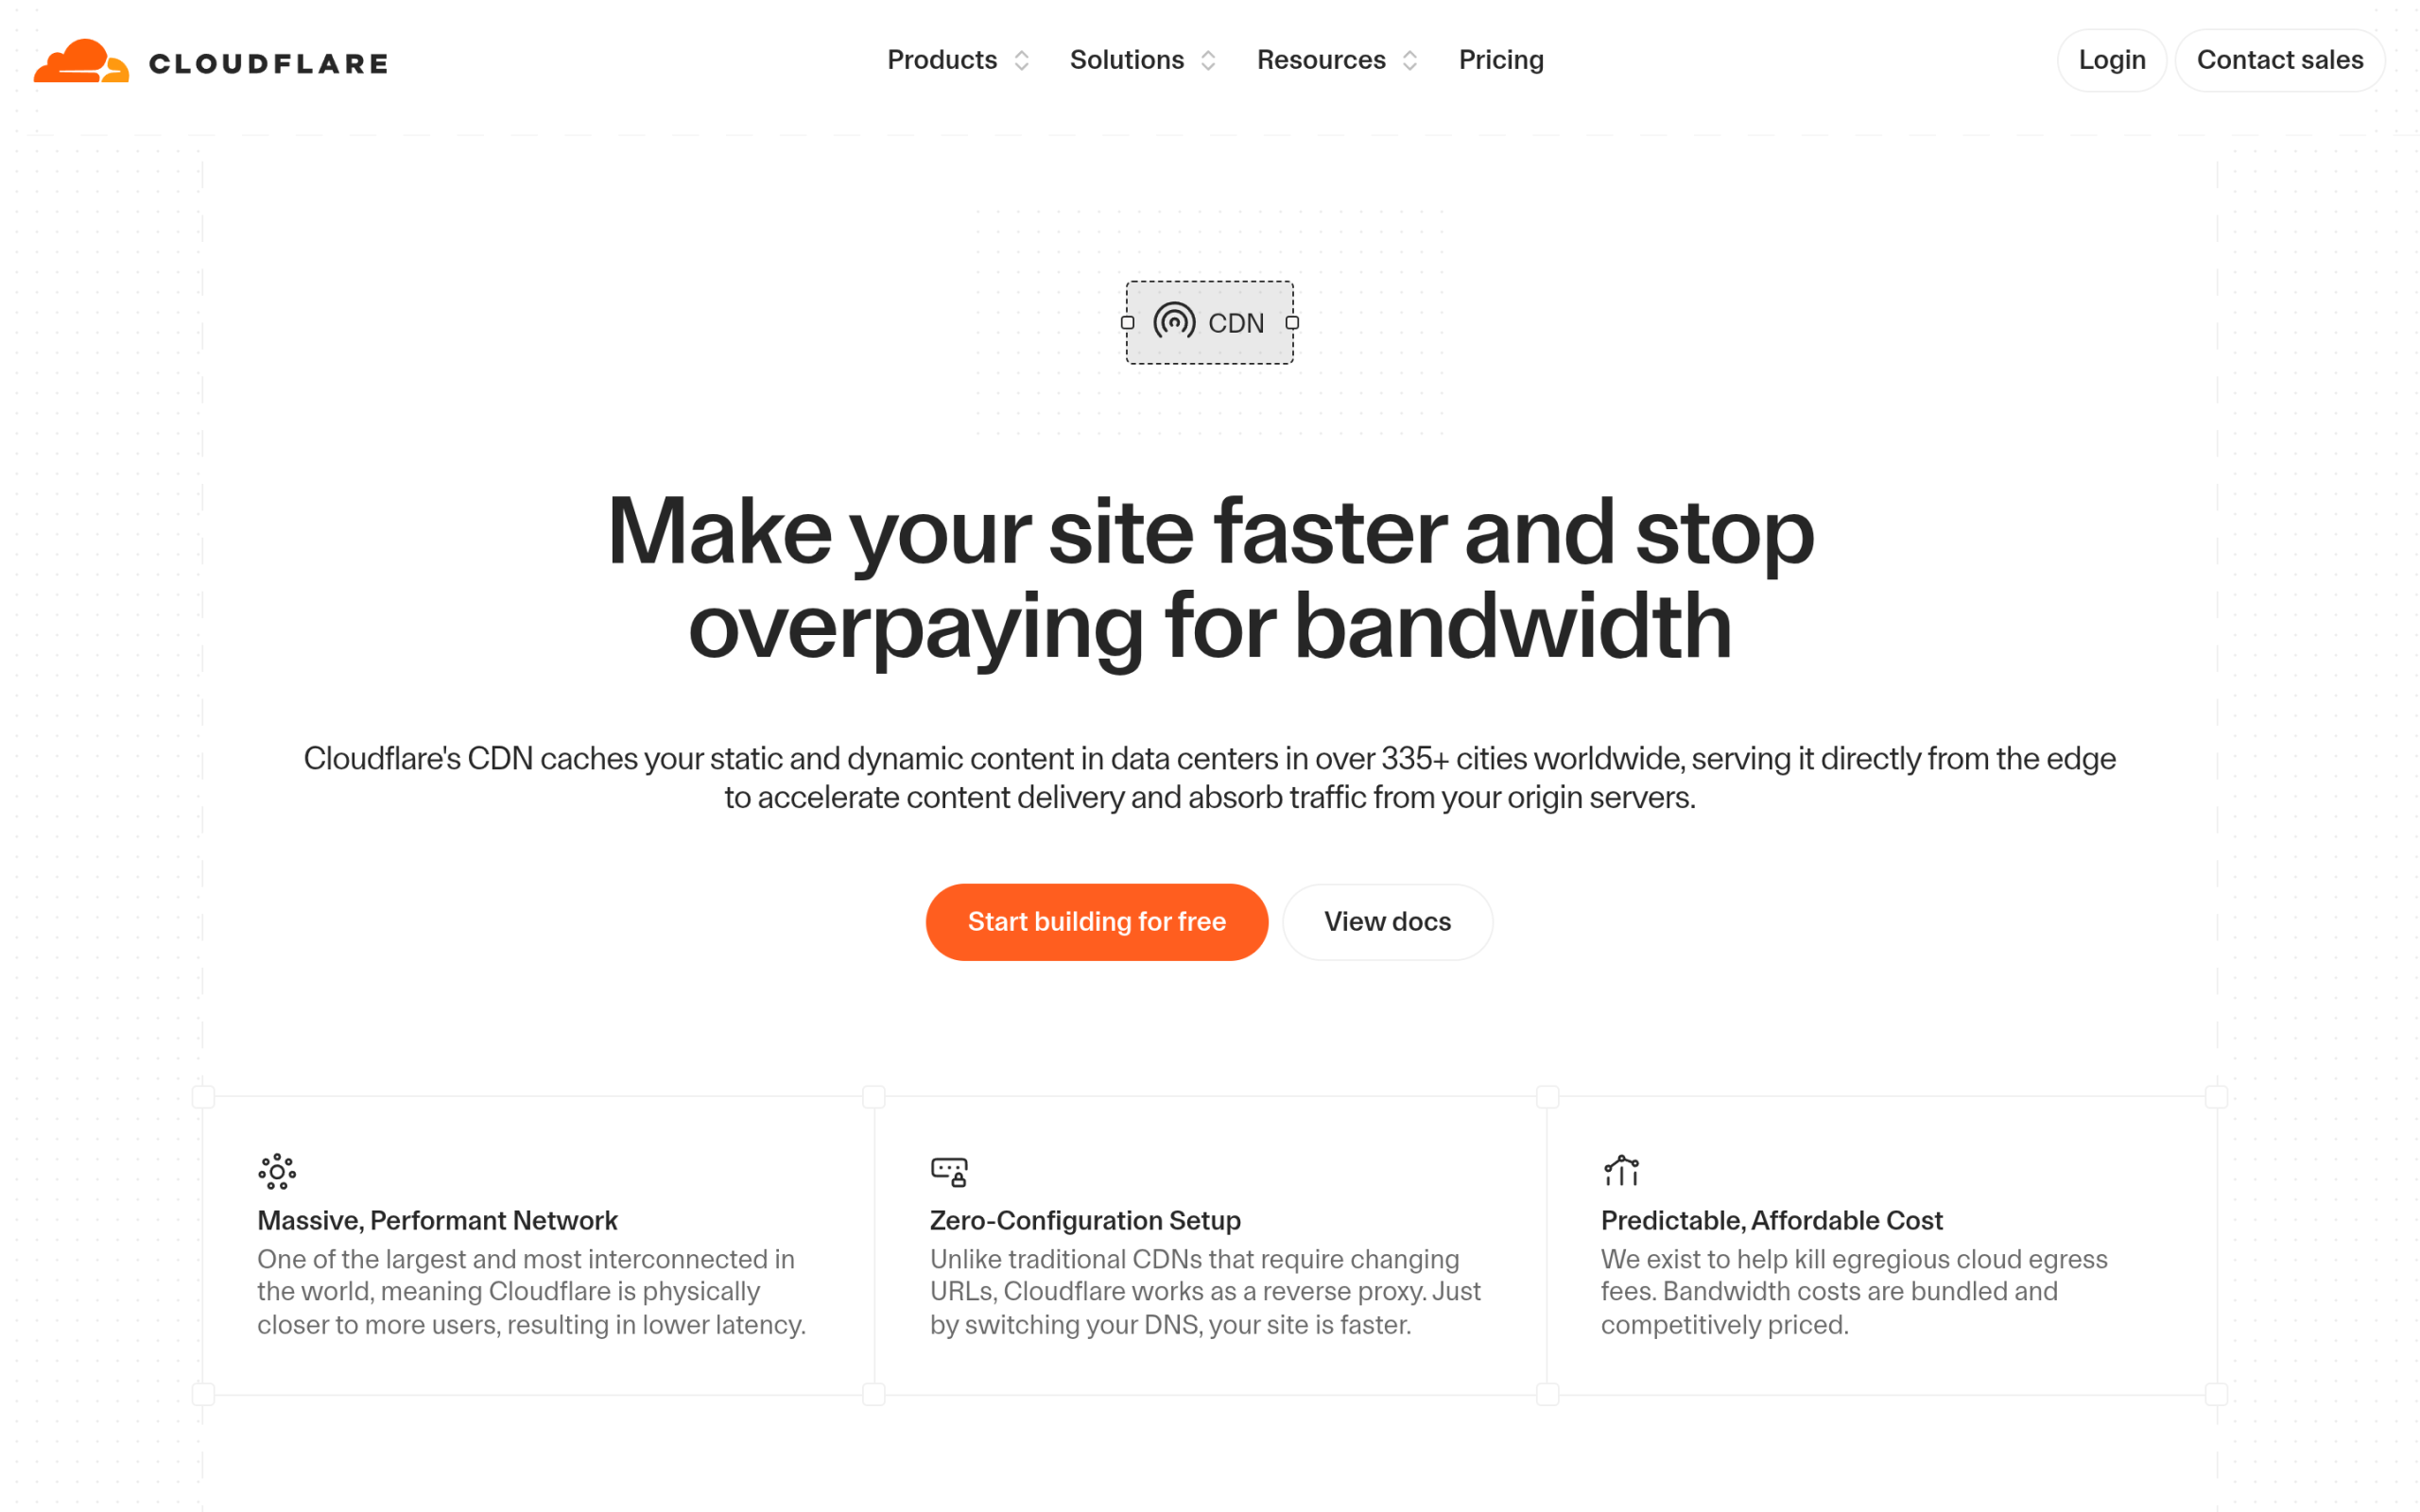
Cloudflare describes its CDN as a service that caches “your static and dynamic content in data centers in over 330 cities worldwide, serving it directly from the edge to accelerate content delivery.” In practice, that means your images, CSS, and JavaScript get stored on Cloudflare’s network, which the company calls “one of the largest and most interconnected in the world,” so it is “physically closer to more users, resulting in lower latency.”
It works as a reverse proxy. Cloudflare routes your traffic through its network after you “switch your DNS settings rather than change URLs,” so your theme, plugins, and media library stay exactly where they are. Nothing about your WordPress install moves.
Here is the part most guides skip: a CDN does not fix a slow origin. If your server takes two seconds to build a page the first time, or your homepage ships a pile of unused code, the network cannot rewrite that for you. It speeds up delivery, not generation. That is why the last section of this guide is about the origin, and why it is worth pairing Cloudflare with a plan to remove unused JavaScript in WordPress and tighten your Core Web Vitals on a block theme.
Before you start
You need three things, and about fifteen minutes:
- A free Cloudflare account.
- Your domain registrar login, meaning wherever you bought the domain (GoDaddy, Namecheap, Google Domains, and so on).
- One heads-up from Cloudflare’s own docs: if your domain uses DNSSEC, “you must turn it off at your registrar before changing nameservers.” Skipping that step is a common reason a switchover stalls.
Route A: Full setup by changing your nameservers
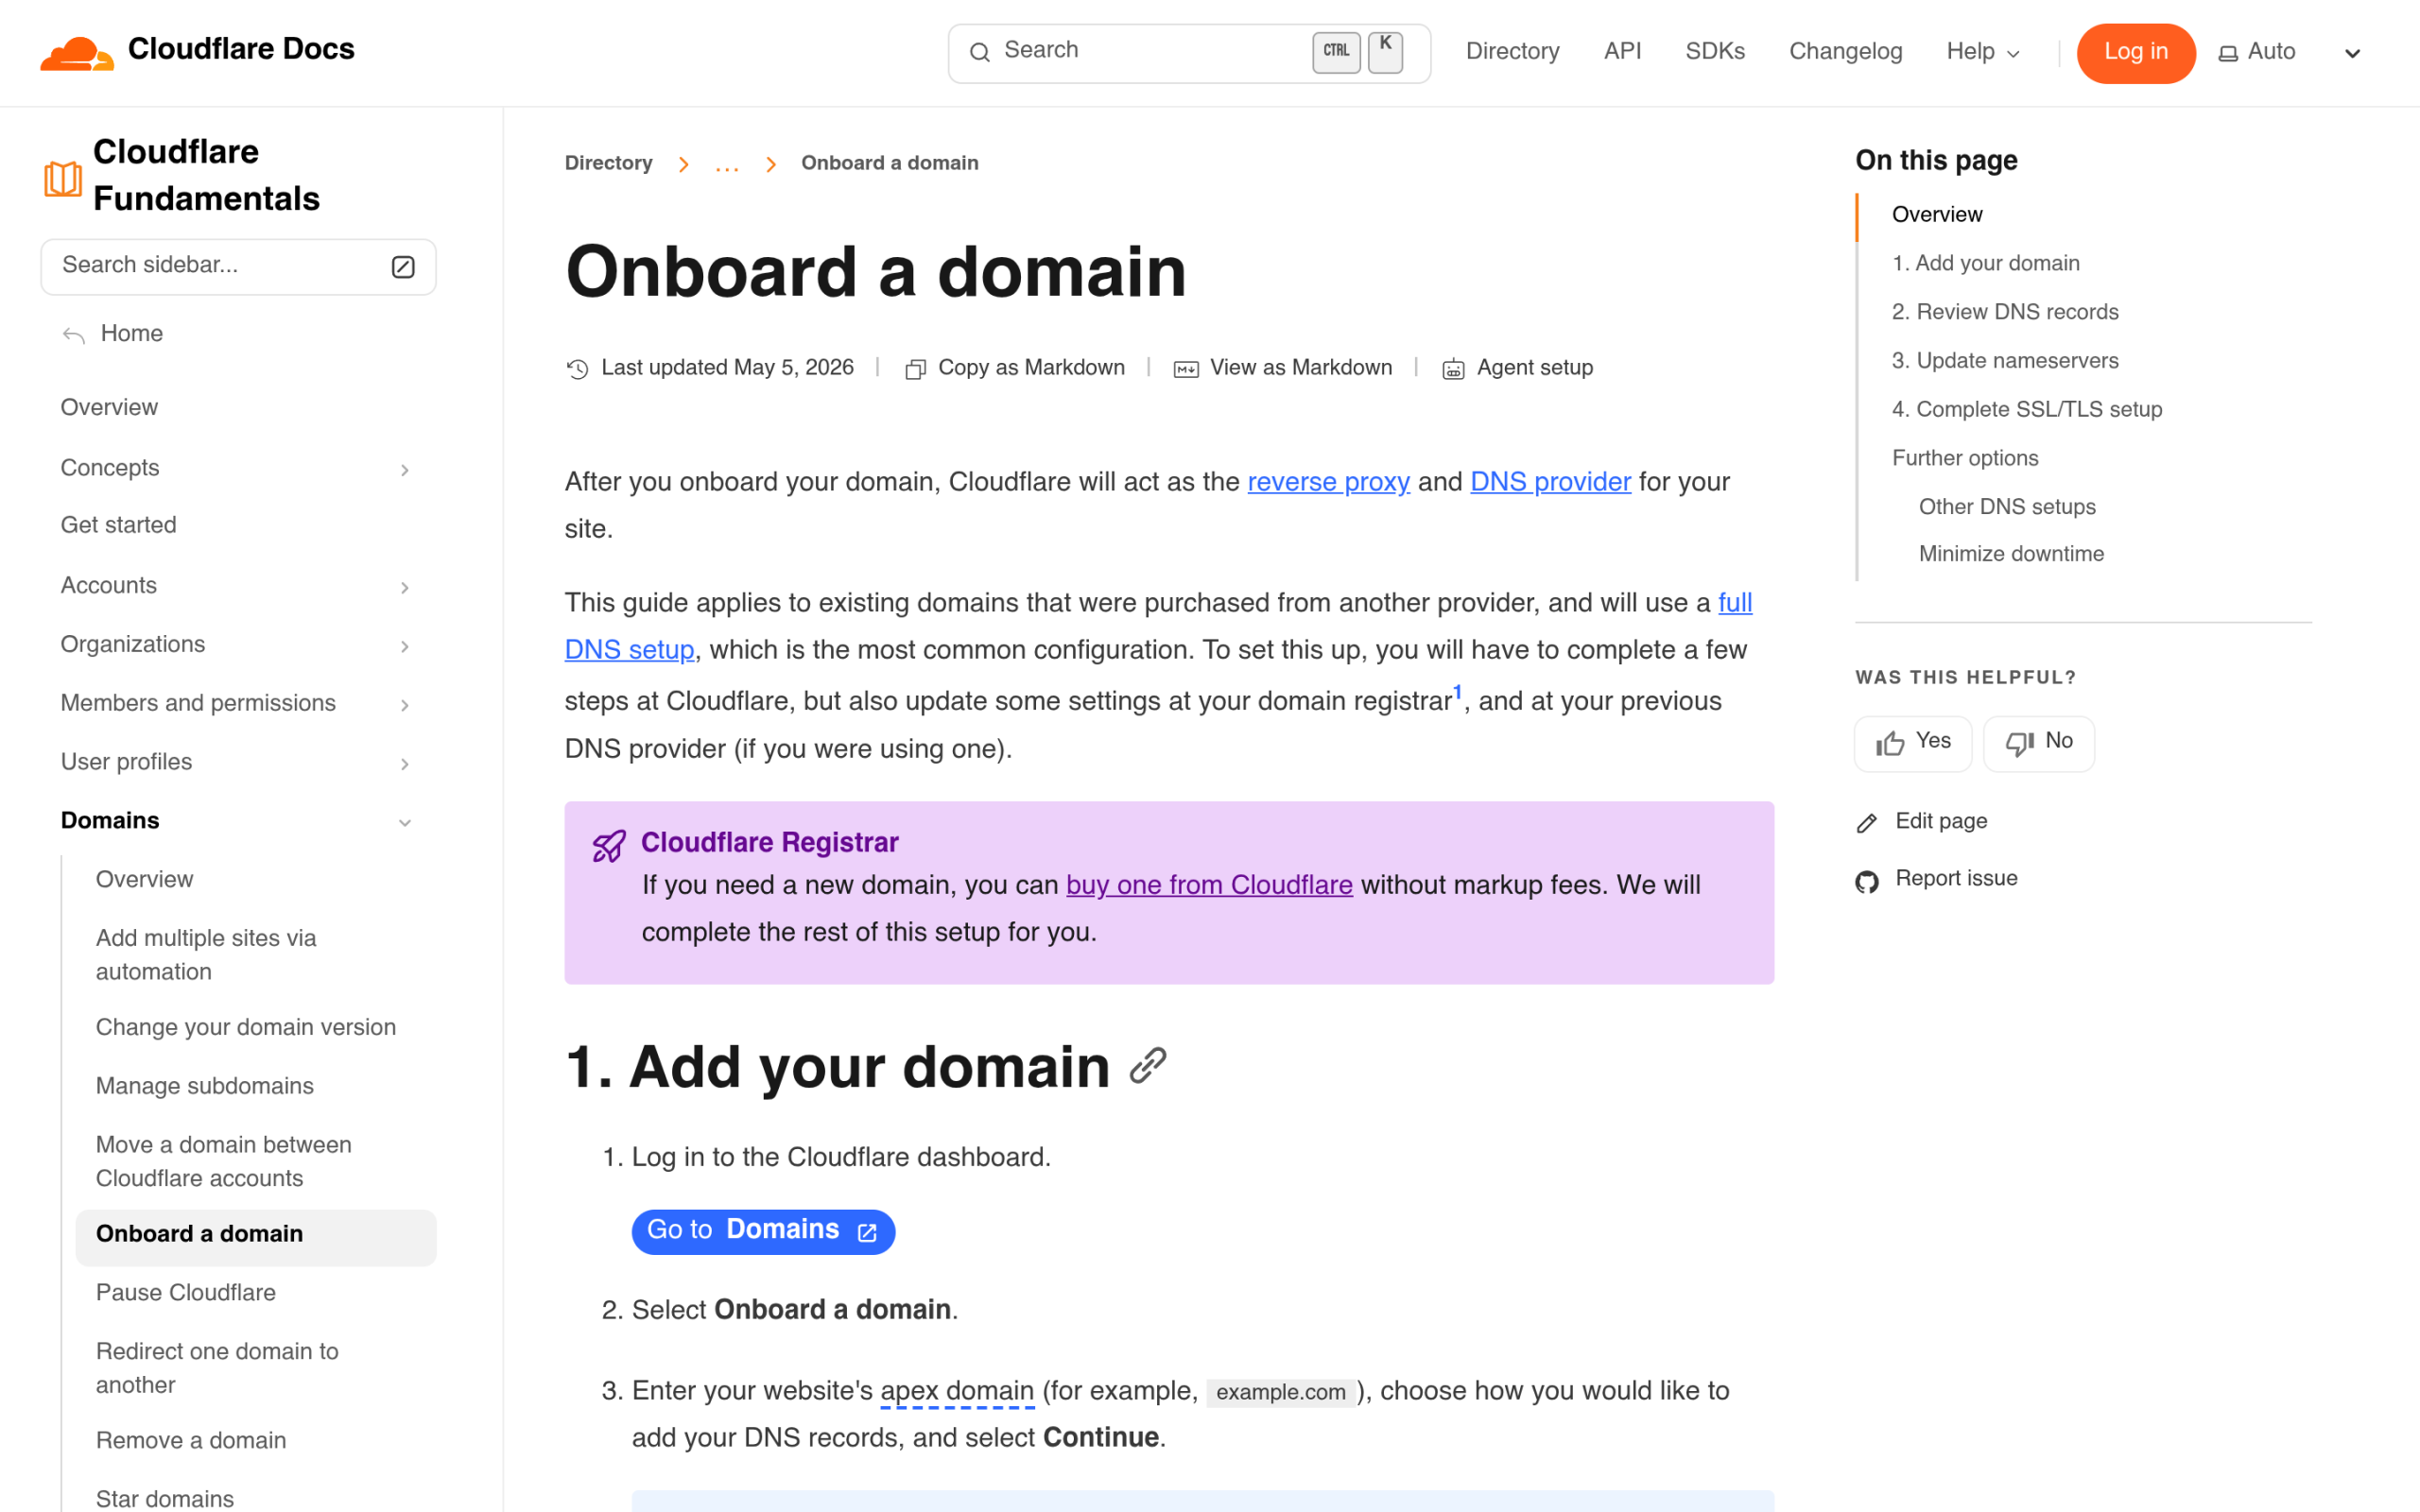
This is the standard setup and the one Cloudflare walks you through. It moves your whole domain onto Cloudflare, which is what unlocks the CDN, SSL, and security features together. The steps, straight from Cloudflare’s onboarding docs:
- Add your domain. Log into the Cloudflare dashboard, choose to onboard a domain, enter your apex domain (example.com), and pick a plan. Free is fine to start.
- Review your DNS records. Cloudflare scans your existing records, but it warns that “the quick scan is not guaranteed to find all existing DNS records.” Check the results against your registrar and manually add anything missing, especially your email (MX) records, or you can knock your email offline.
- Update your nameservers. Cloudflare assigns you two nameservers. Log into your registrar and replace the current nameservers with Cloudflare’s.
- Set up SSL/TLS. Review the certificate settings so visitors do not run into insecure-connection warnings.
- Wait for activation. Cloudflare emails you once the domain is active on its network.
One honest caveat before you flip the switch. Cloudflare warns that if you “activate your domain on Cloudflare without setting up the correct DNS records,” visitors can hit DNS_PROBE_FINISHED_NXDOMAIN errors, which is the whole site failing to resolve. So spend the extra minute on step two.
Also Read: Cloudflare Turnstile vs reCAPTCHA once your domain is on Cloudflare, its bot and spam tools are one toggle away.
Route B: Start with the Cloudflare for WordPress plugin
If you are not ready to move nameservers today, or you would rather manage things from inside wp-admin, install the official Cloudflare plugin. On the WordPress.org directory it shows 200,000+ active installations, version 4.14.4, last updated within the past few days, tested up to WordPress 7.0.1, published by Cloudflare, and it needs PHP 7.4 or higher.
Inside WordPress it gives you:
- “One-click application of WordPress specific recommended settings.”
- Cache purge across the Cloudflare network, without leaving your dashboard.
- Toggles for Always Online, Image Optimization, Security Level, and the Web Application Firewall.
- Analytics on cached requests, bandwidth used, unique visitors, and threats blocked.
One thing to be clear about: the plugin still needs your domain connected to Cloudflare to do anything. It is a control panel, not a shortcut around the nameserver step. Route A and Route B are not either/or. Most people do Route A once, then use the plugin day to day.
Should you turn on APO?
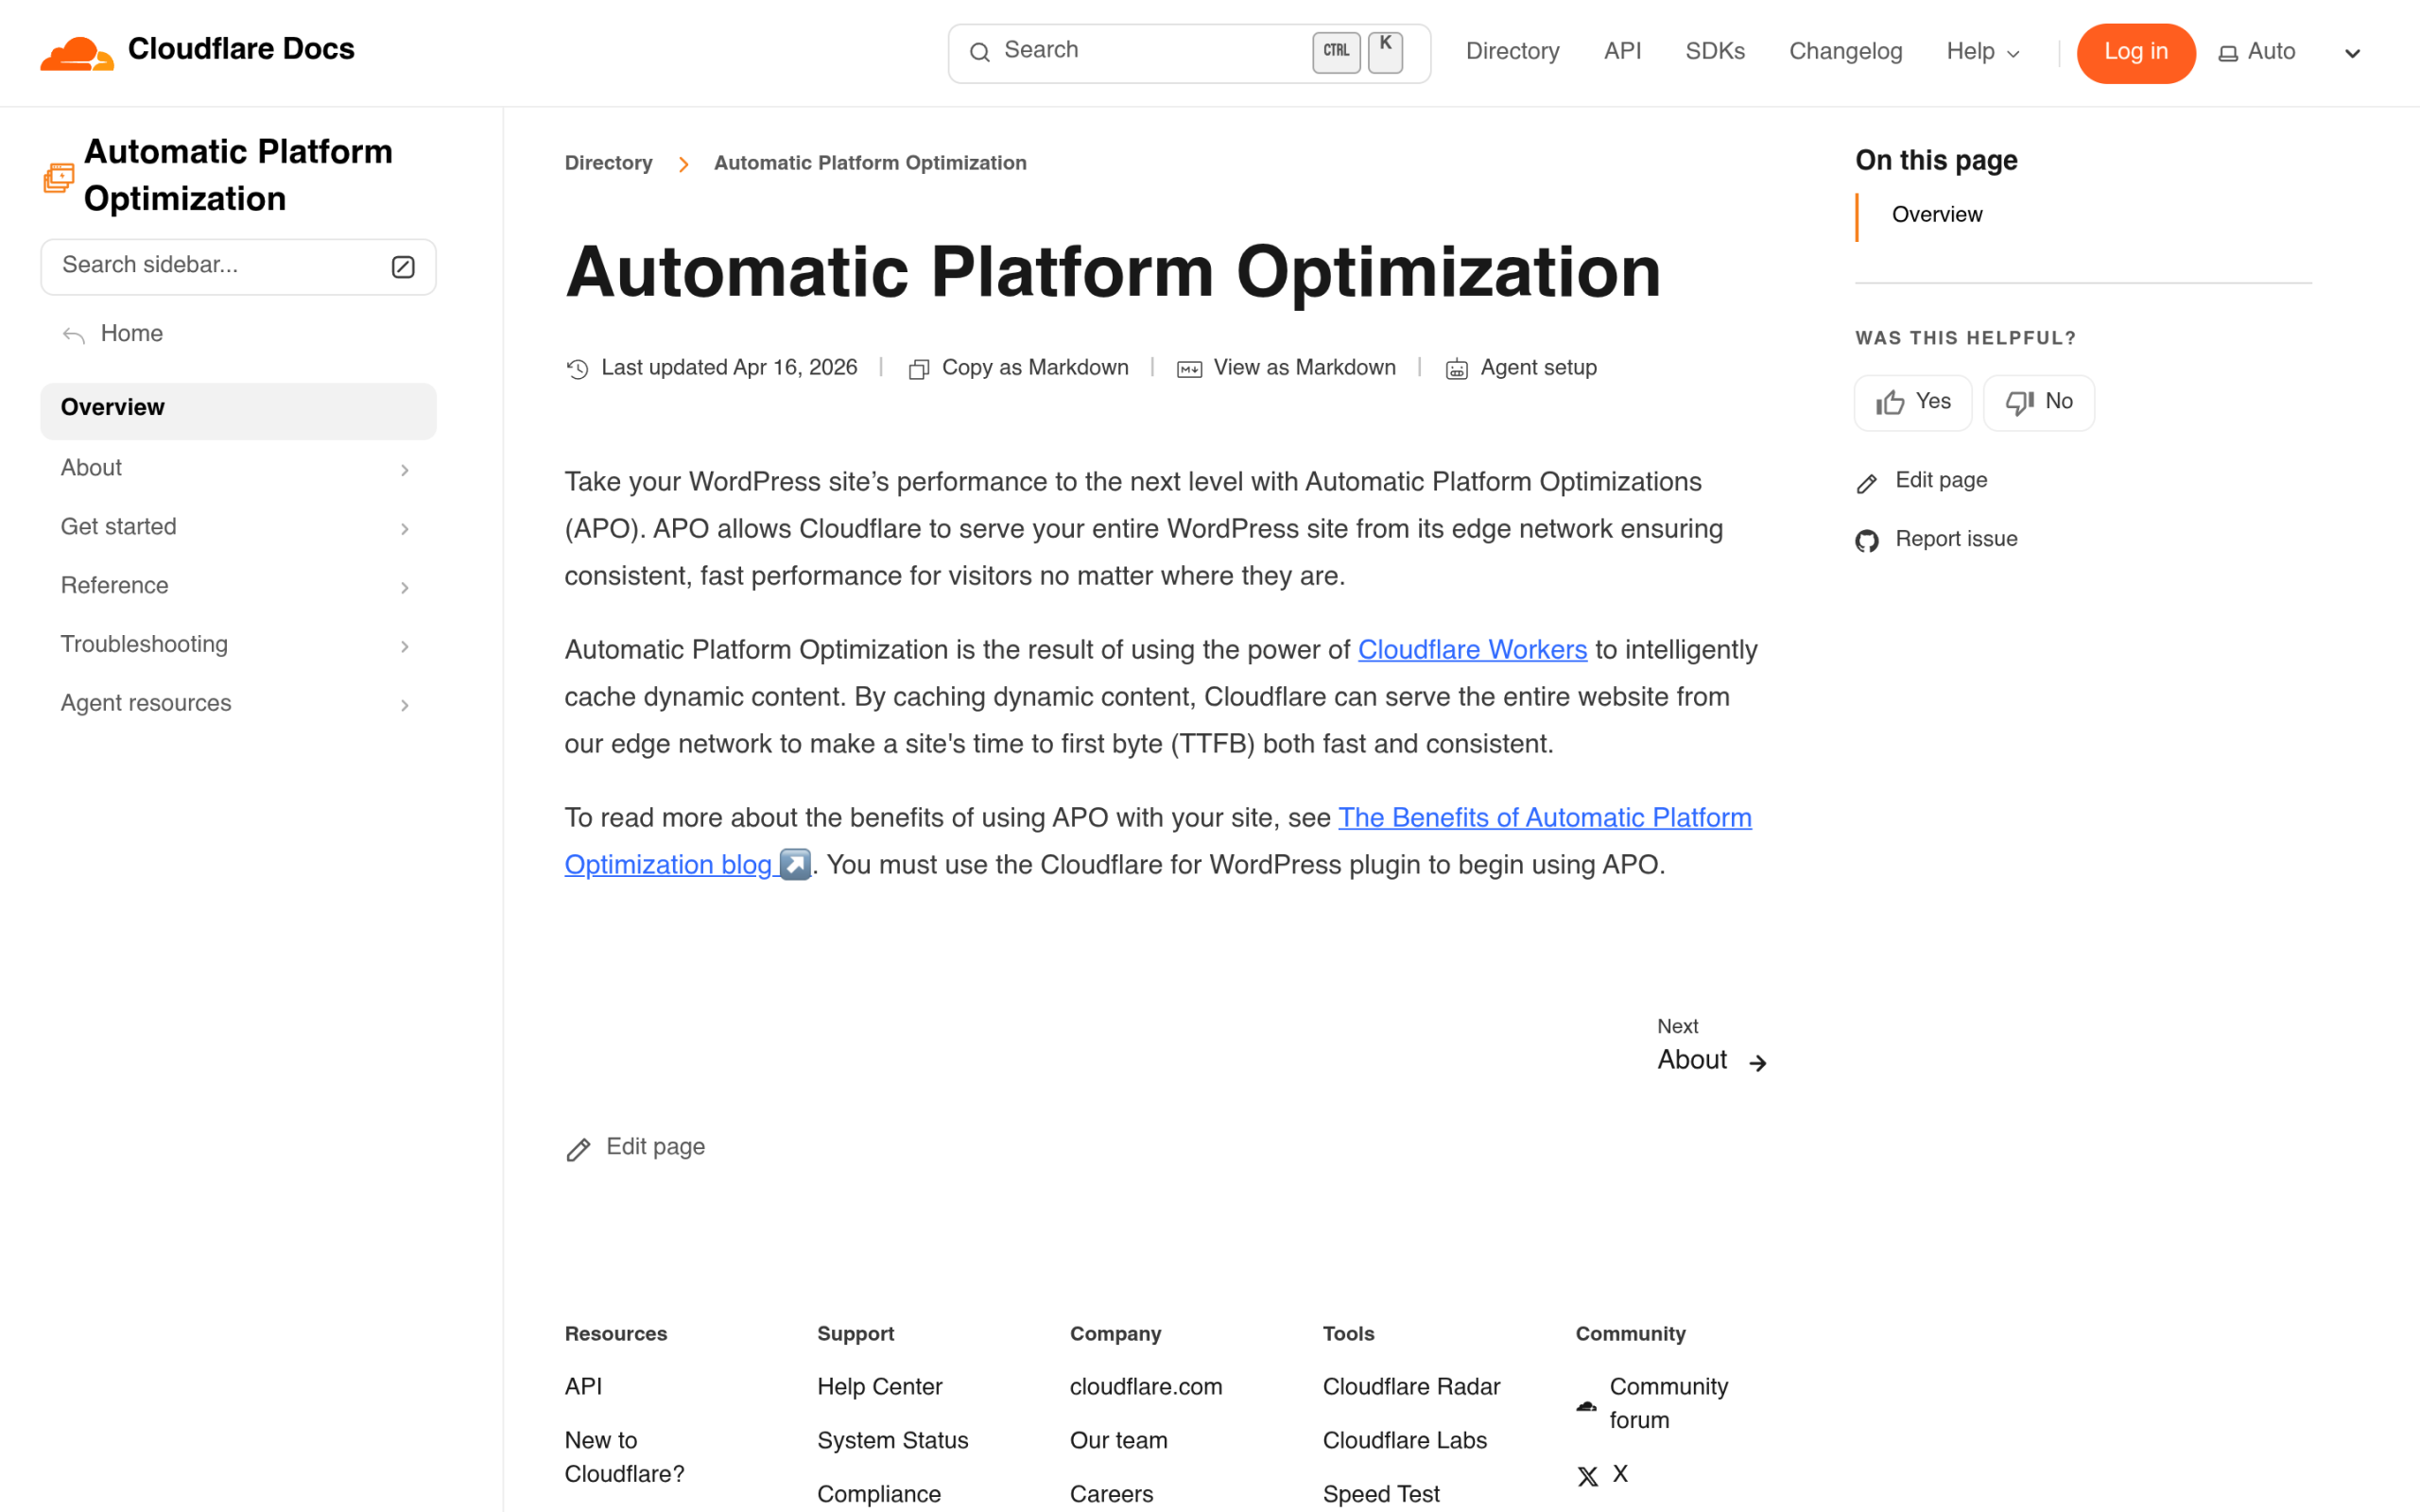
Automatic Platform Optimization (APO) is the upgrade that makes the biggest single difference for WordPress. Cloudflare uses “the power of Cloudflare Workers to intelligently cache dynamic content,” which lets it serve your full HTML page from the edge, not just the images and CSS. The result, in Cloudflare’s words, is that “a site’s time to first byte (TTFB)” becomes “both fast and consistent.”
The cost, stated plainly in the plugin’s own documentation: “APO is a $5 add-on with Cloudflare’s free plan,” and it is “free for all paid plan users,” so if you already have Cloudflare Pro or Business you can just switch it on. It does require the Cloudflare for WordPress plugin to run. For a content site or blog, APO is usually the setting most worth the five dollars.
The Cloudflare settings that actually matter for WordPress
Most of Cloudflare’s defaults are sensible, so you do not need to touch much. These are the few worth checking:
- Caching level: Standard is correct for almost every WordPress site. Leave it.
- Browser Cache TTL: keep this reasonably high so returning visitors reuse cached assets.
- Always Online: keep it on. If your origin goes down, Cloudflare can still show a cached copy of the page.
- Never cache wp-admin, login, cart, or checkout. Cloudflare does not cache these by default, but the moment you start writing custom page rules, it is easy to cache a logged-in page by accident. Do not.
- Rocket Loader: it defers JavaScript to speed up first paint, and it can also break some themes and page builders. Test your site with it on, and turn it off if anything misbehaves.
After any settings change, purge the cache so you are testing the new version and not a stale one. If a change does not show up, that is almost always a caching layer, and knowing how to clear your WordPress cache at every level saves a lot of confusion.
Also Read: 5 Best WordPress Cache Plugins a page cache plugin handles the layer Cloudflare’s free CDN does not.
The other half most people skip: fix the origin too
A CDN and a lean site are not a choice between two options. They stack. Cloudflare handles the edge; you still want the origin doing less work. Three things move the needle:
- Run a page cache plugin so your server is not rebuilding pages from scratch on every hit. Unless you are running APO, this is still worth doing. See our roundup of the best WordPress cache plugins.
- Cut what each page ships. Removing unused JavaScript and choosing to host Google Fonts locally both stop the browser from waiting on extra requests.
- Start from a light base. A heavy theme undoes a lot of what a CDN buys you, which is exactly what the NexterWP vs Kadence speed benchmark was set up to measure.
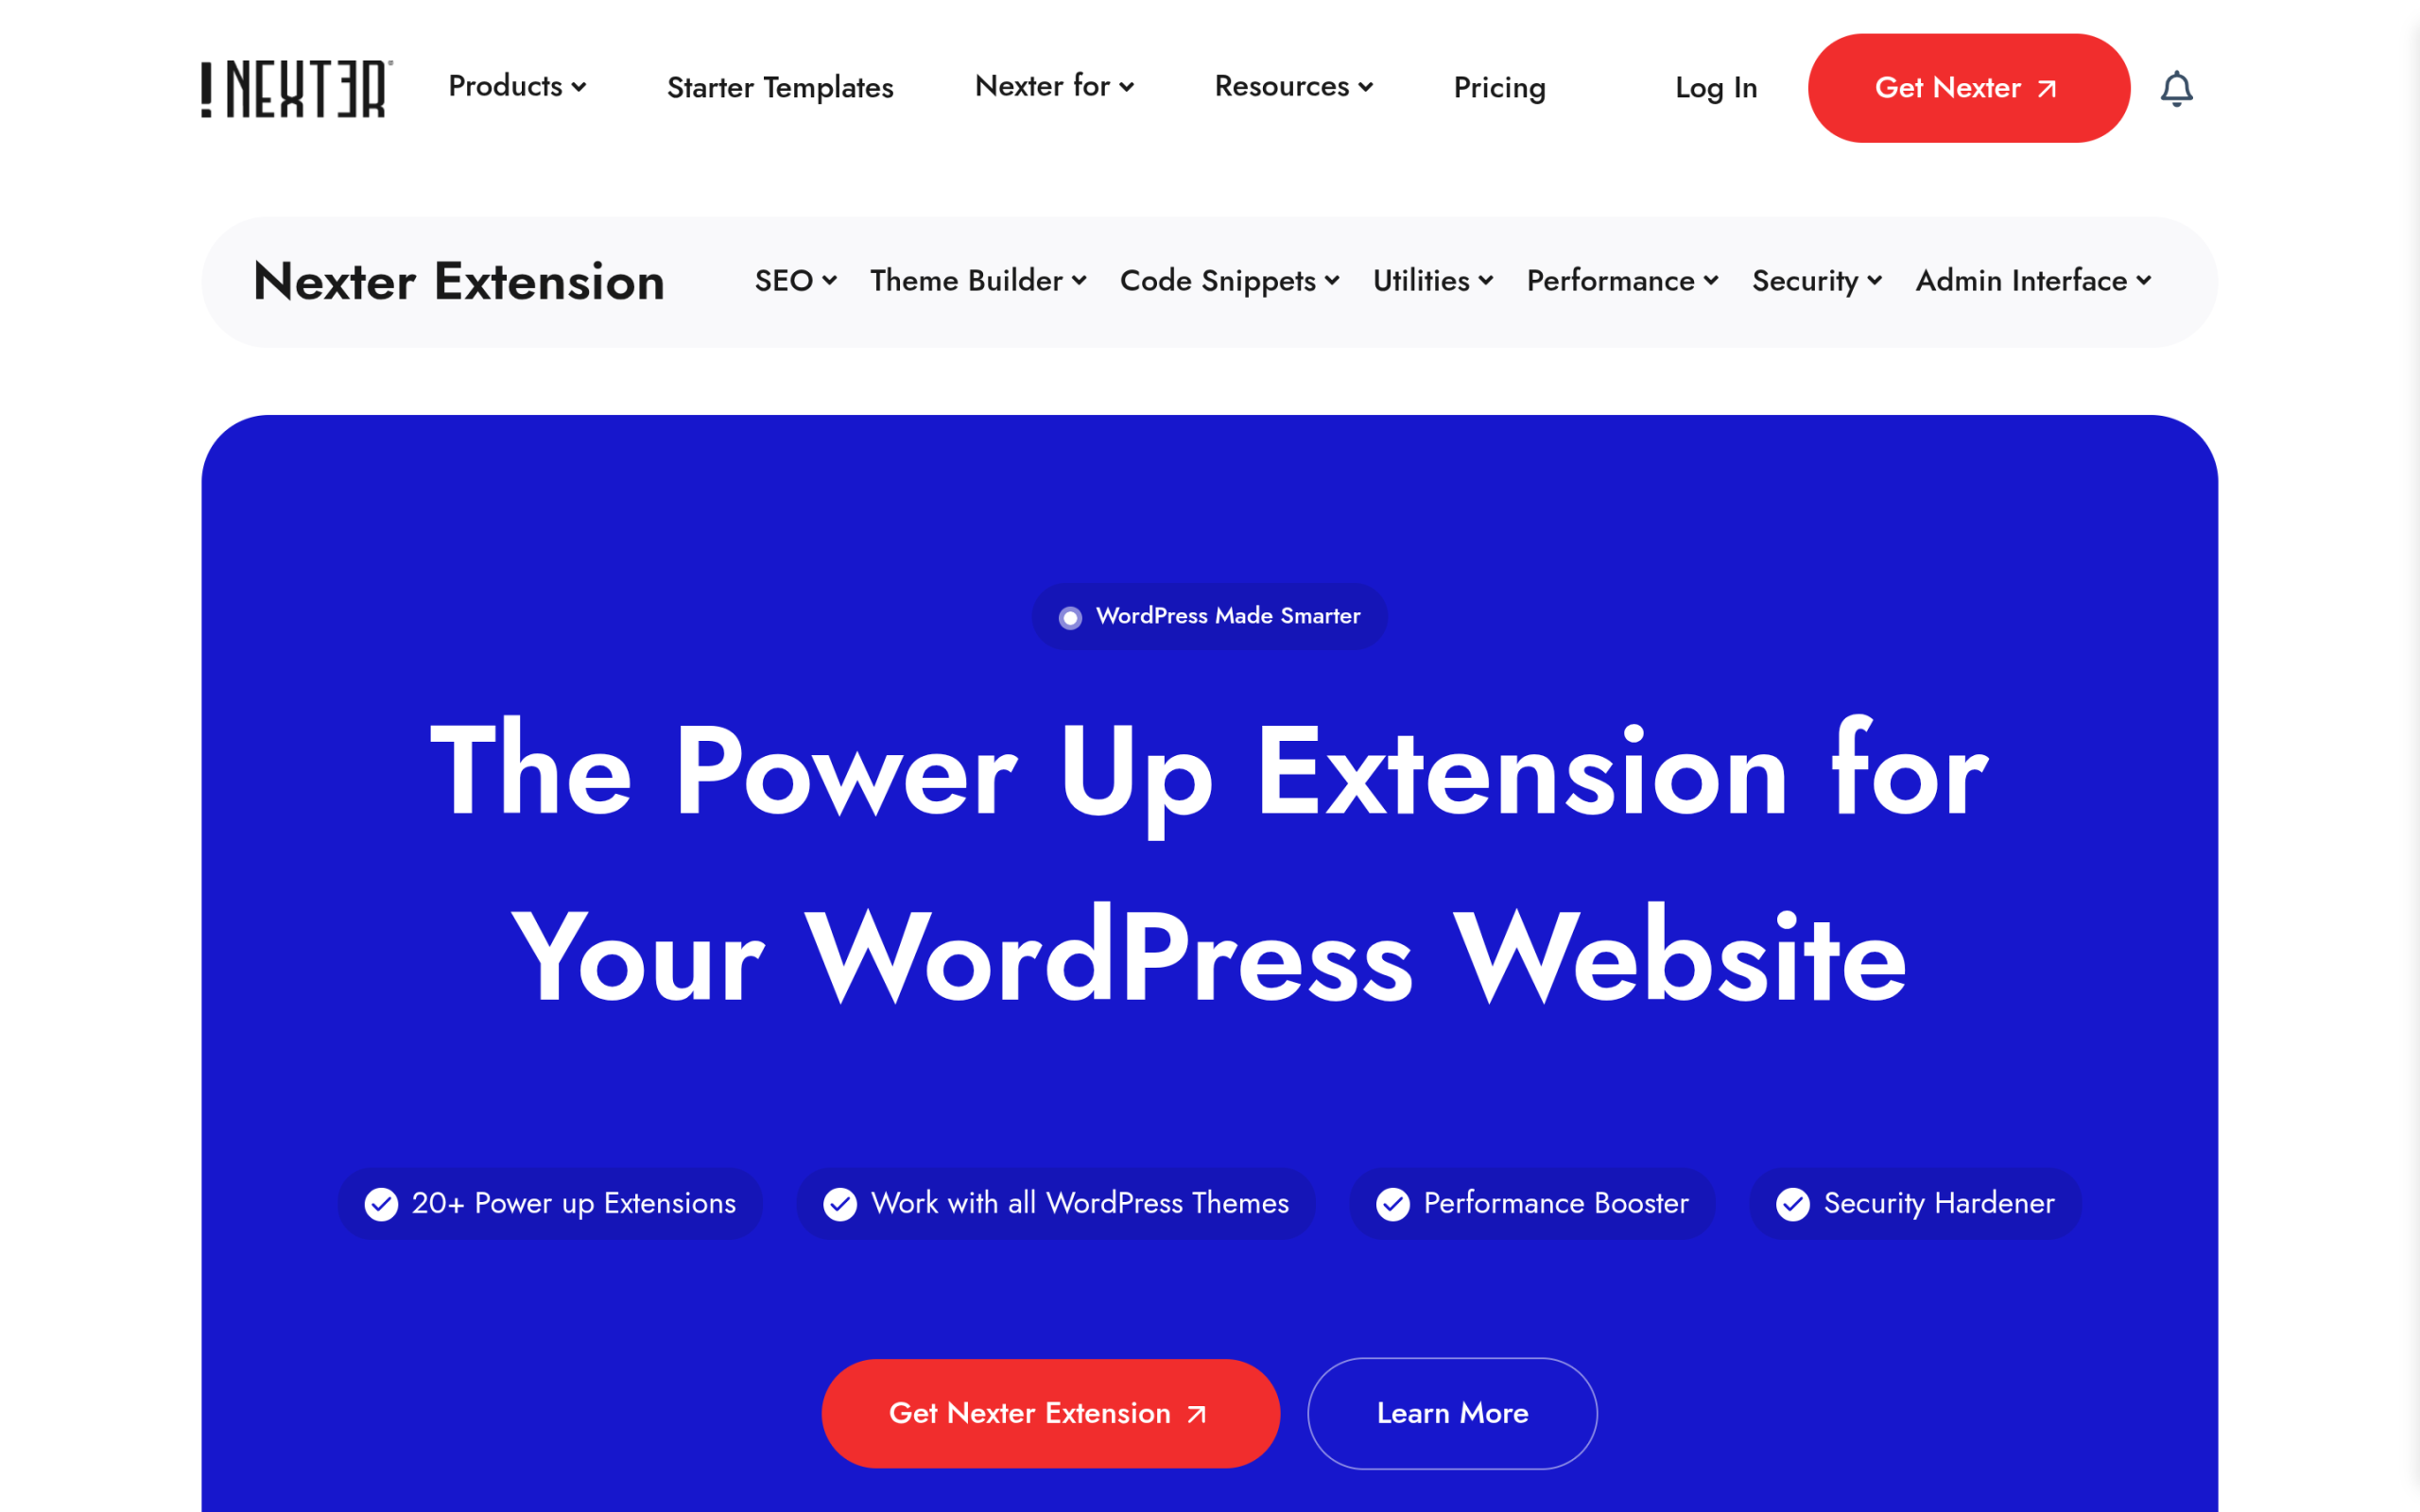
On the origin side, our own Nexter Extension is built to be the companion to a CDN rather than a replacement for one. It bundles an “Advanced Performance Booster” that “removes non-required assets to ensure faster loading,” a “Self Host Google Fonts” option, plus Heartbeat Control, Revision Control, and image upload optimization, all written in “pure Vanilla JS and no jQuery.” Cloudflare speeds up delivery from the edge; Nexter Extension trims what your origin sends in the first place. Good hosting rounds it out, so it is worth checking your setup against the best WordPress hosting providers.
How to check it is actually working
Do not assume it worked because the setup finished. Two quick checks:
- Response header. Open your browser dev tools, reload a page, and look at the response headers for the document or a static asset. A “cf-cache-status” header reading HIT means Cloudflare served it from cache. MISS or DYNAMIC means the request went all the way to your origin.
- Cloudflare dashboard. Once real traffic flows, the analytics tab shows cached requests and how much bandwidth Cloudflare saved your server.
If you keep seeing MISS on static files, revisit your caching settings, then clear both Cloudflare’s cache and your WordPress cache and test again.
Suggested Reading
- How to Clear Your WordPress Cache: Every Layer Explained
- 5 Best WordPress Cache Plugins
- Gutenberg Core Web Vitals: How to Speed Up a Block-Theme Site
- How to Host Google Fonts Locally in WordPress
- 7 Best WordPress Hosting Providers Compared
Frequently Asked Questions
Is Cloudflare CDN free for WordPress?
Yes. The Cloudflare Free plan includes the CDN, a Universal SSL certificate, and unmetered DDoS protection. You only pay if you add APO, which is $5 on the free plan, or move up to Pro or Business.
Will Cloudflare slow down my WordPress site?
It should not. It adds a caching layer close to your visitors. The two things that occasionally cause trouble are Rocket Loader, which you should test, and caching pages you should never cache, like logged-in, cart, or checkout pages.
Do I still need a cache plugin if I use Cloudflare?
Usually yes, unless you run APO. Cloudflare’s free CDN caches your static assets, but a page cache plugin or APO is what stops your server rebuilding the HTML on every visit.
Do I still need good hosting if I use Cloudflare?
Yes. Cloudflare speeds up delivery, not the work your server does to build a page. Solid hosting plus a CDN is the combination that holds up under real traffic.
